
Etched Lino course with Steve Edwards


Having heard of but never been to Ochre Print Studio I booked myself onto Steve Edwards' weekend etched lino course in April 2018. Although you can learn a lot from the internet, it isn't a substitute for learning from an artist who has spent years perfecting their technique. Steve's course taught me a lot about the subtleties of the technique which I had totally missed in my gung-ho garden experiments with caustic soda lino etching – fun though they were.
For equipment list and safety warnings relating to caustic soda lino etching as well as earlier experiments please see previous post here: Caustic soda is extremely corrosive.
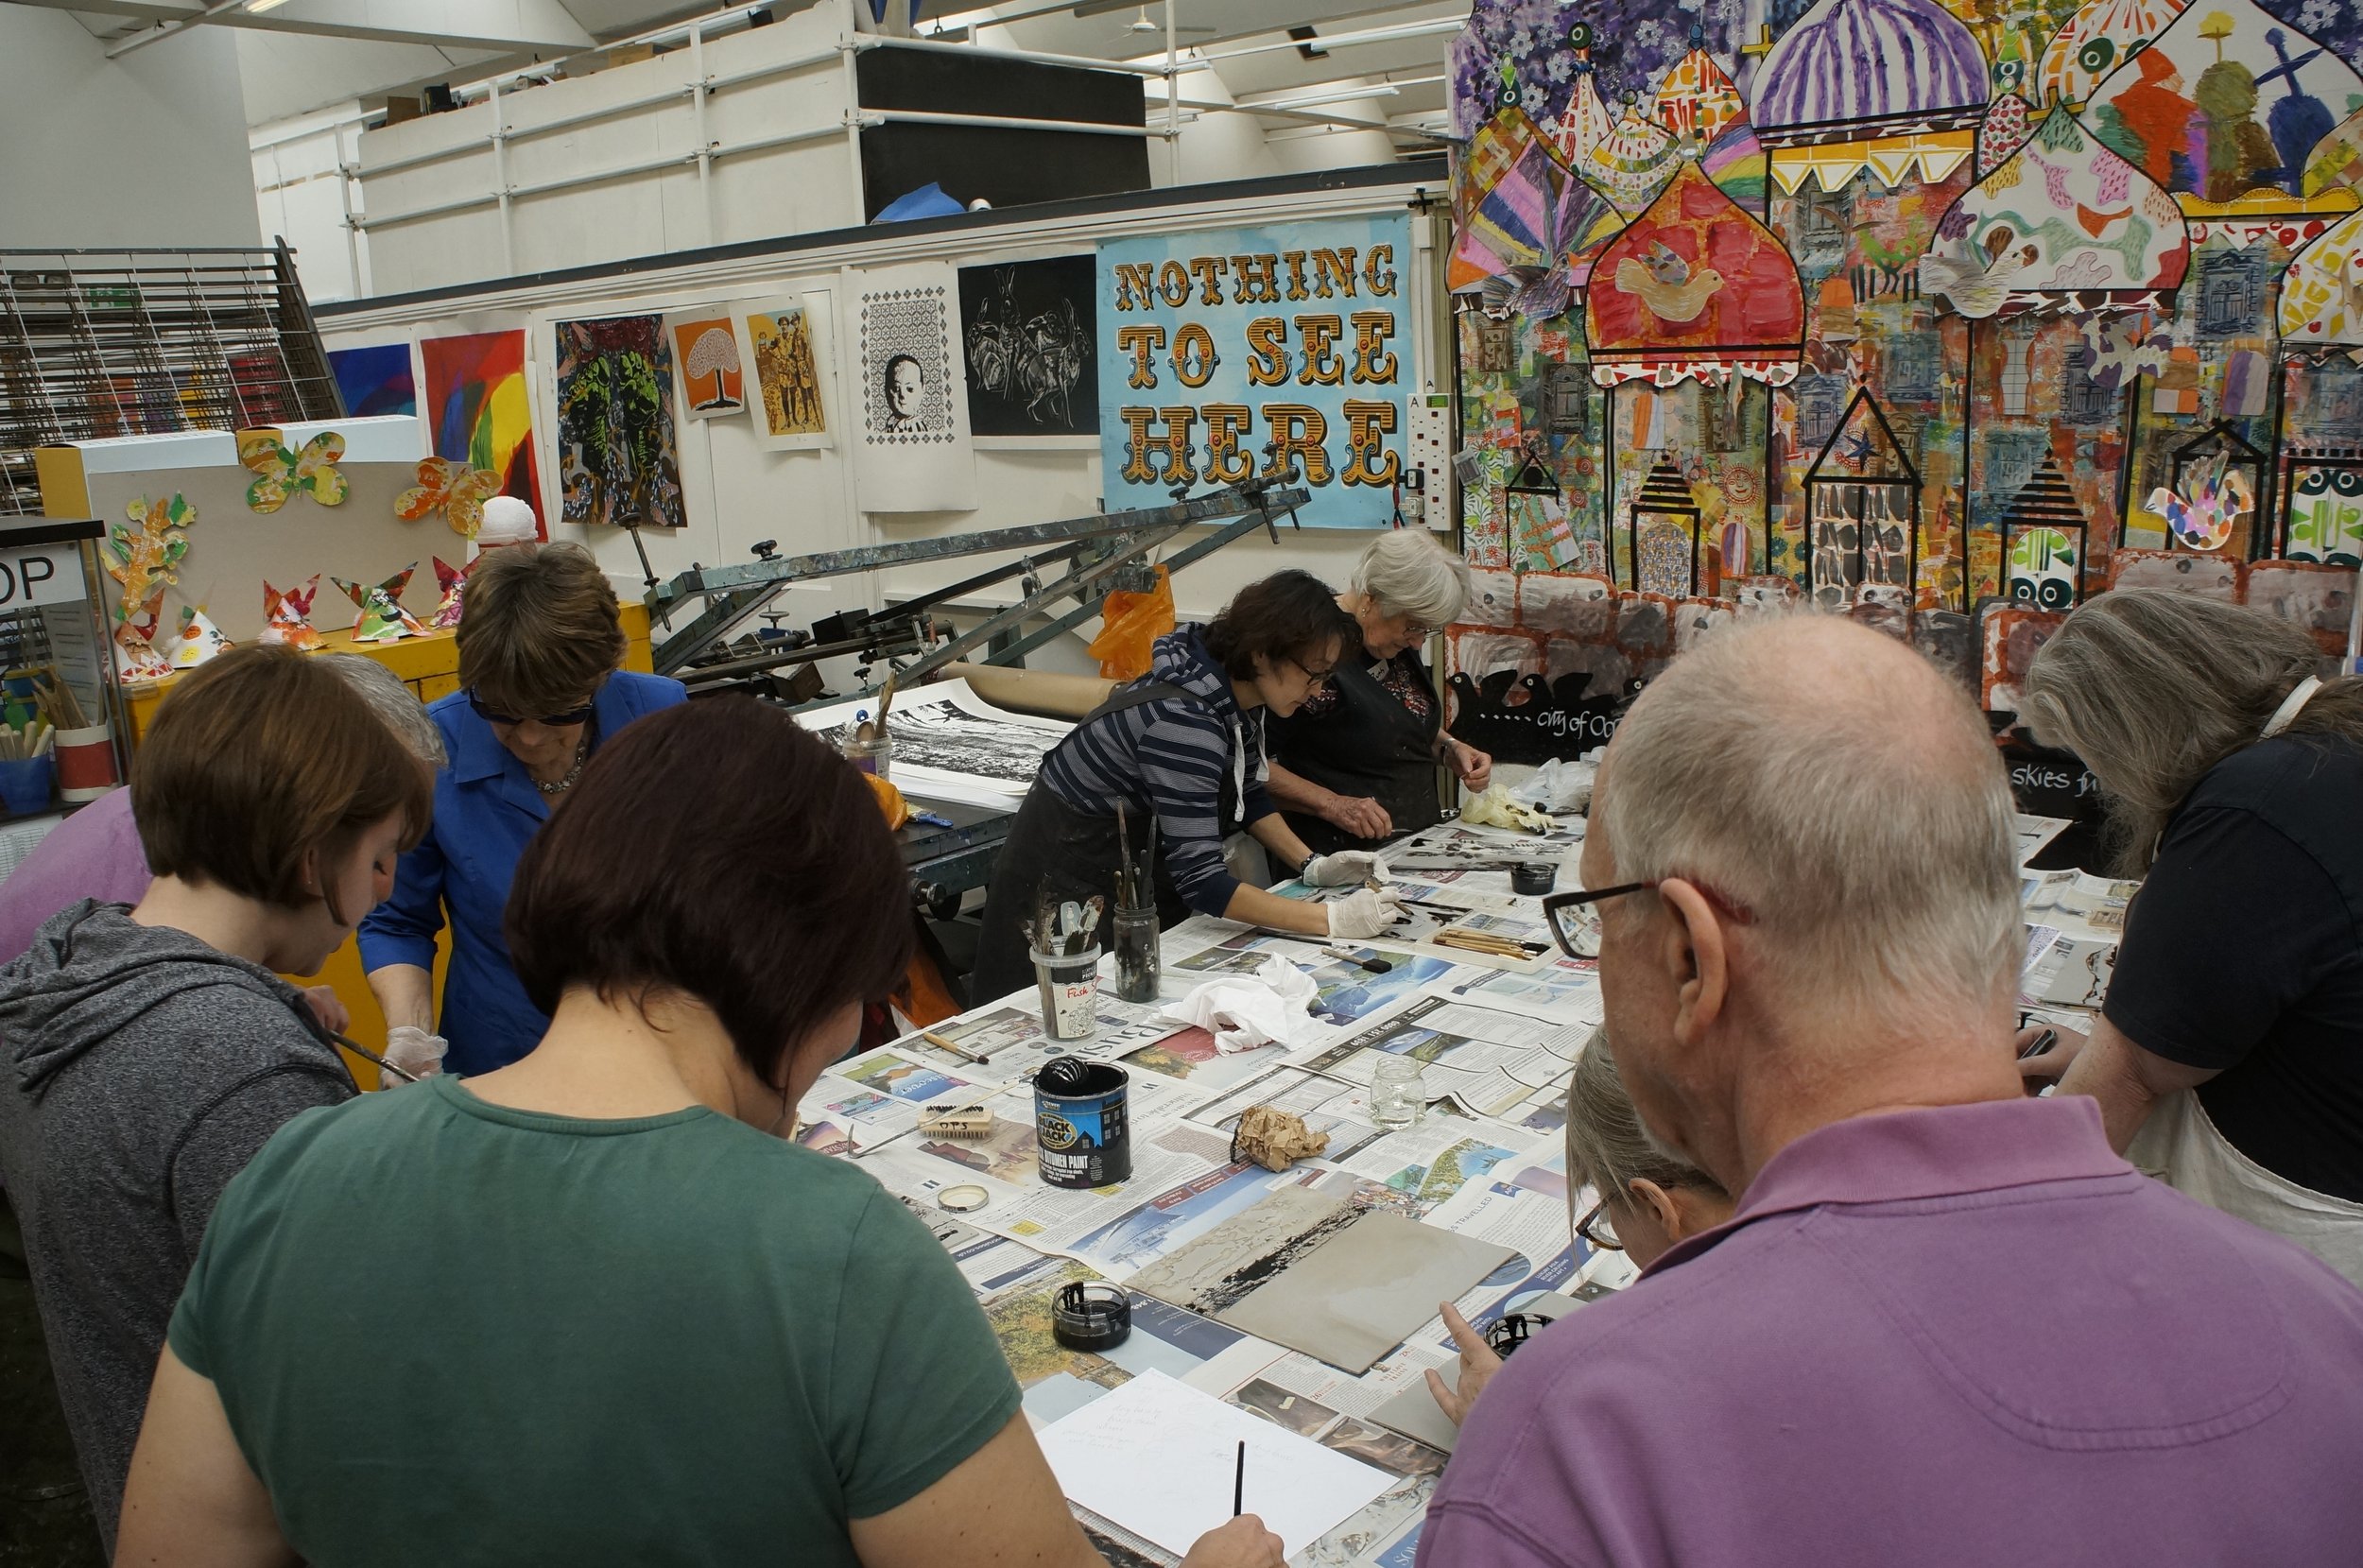
The weekend started, once I'd found the spacious studio on an industrial estate on the outskirts of Guildford, with Steve showing us a few examples of his large scale multi layered lino prints created using the etched lino technique. We were given the choice to work on 2 or 3 different A4 size pieces of traditional grey lino to create a multi-layered design - everyone chose 3 which gives a richer design but does cause a bigger headache in the first place when deciding what to put on each one.
Technique 1 (Plate 1): Layering on stop out
This involves using a resist (stop out varnish or similar) so that the positive marks made remain intact after etching and will ink up when printing the lino. By using multiple layers of resist on different parts of the plate the lino gets eaten away by the caustic solution in unpredictable ways leaving subtle textures behind which are revealed upon inking up. Alternatively brown parcel tape works well if you don’t want to wait for your resist to dry or want straight lines, but the effects are more limited. I wanted to produce something which was similar in style to my coastal work as the marks possible with the process lend themselves well to landscape and seascape imagery. I brought along an image of maunsel sea forts in the Thames estuary to act as the contrasting key block and because it fits with my use of silhouetted sea structures. On this occasion with only a couple of days to prepare I worked from a second hand image which is not something I usually do. I used the photo as a rough guide and adapted the forms to fit the abstracted background.
We were given an array of tools e.g. brushes, sticks, rags, card strips, nail brush etc to apply steve’s preferred resist –black jack bitumen paint – around £11-15 per litre. This is more cost effective than stop out varnish but has a very similar consistency. We left the varnish to dry in between applications and were aiming for between 3 and 4 coats in total, depending on how thickly it was applied and how much you wanted the plate to etched away.
Once the varnish is dry you can also score or scratch into it to expose the lino underneath. This was particularly useful where I had been a bit heavy handed with the bitumen paint.
NB: Tools need to be washed in white spirit to remove bitumen paint and it’s necessary to work in a well ventilated space due to the smell of the paint and white spirit – not one to experiment with in your kitchen!
Once the plates were dry we coated them in caustic solution and left them overnight to etch. Steve felt that after around 8 hours the mixture is ‘exhausted’ so any time beyond this makes little difference. In total our plates were probably in caustic solution from around 16 hours.
If you want a quicker and deeper etch I learnt from experience (see previous post) that the quantity of mixture applied makes a big difference. My first experiments at home caused a deep etch in around 30 minutes to an hour but were coated in a thick layer of caustic paste poured on top and left in a developing tray in a ventilated area.
Technique 2 (Plate 2) - Direct caustic painting
This plate requires no resist so is much quicker to work into. Caustic solution thickened with wallpaper paste is painted directly onto the surface using brushes (keep a jar of water next to the paste to rinse the brush regularly to avoid the bristles being eaten away).
Varying depths and subtle marks can be created by varying the dilution. While the caustic crystals must to be added to water and not the other way around, once the solution is mixed steve showed us how to apply thin layers with a brush dipped in water or alternatively dripping water on to the caustic on the plate causing it to disperse in unusual patterns.
The reaction can be observed happening immediately, as soon as the caustic goes on the lino it turns brown.
Technique 3 Plate 3 - Lino cut
We worked on the cut block containing image details throughout day one in between applying resists and etchant to blocks 1 and 2. The cut block was to contain the detail and in most cases acted as a key block to be printed in a darker colour over the top of the others and bring the image together.
Each block does not have to contain only one type of mark making, you can of course combine them. I decided to produce cut details in the middle of my key block but brush caustic onto the top and bottom of the plate to give a sea and sky texture.
Day 2
The following morning steve and Jay, from Ochre studio, had already begun rinsing and scrubbing blocks as we arrived. We then spent around 30 minutes rinsing and stripping the thick bitumen paint off which was done outdoors using industrial quantities of white spirit. The blocks were then dried and flattened under weights to try and control the worst of the curling and prep them for printing in the afternoon. the drying and flattening stage is an important one you could take a bit more time on at home because registering curled blocks accurately is very difficult.
The afternoon was spent selecting colours and printing the three blocks in sequence. I experimented a bit with the order of the blocks and working out extra bits which needed cutting out of the blocks to improve the design.
We used a surprisingly small amount of oil based printing ink mixed with extender to create transparent colours which enabled the details from each block to be seen on the finished print. Most people chose to print their key block in a darker colour as the top layer to bring unity to the finished designs.


Steve recommended Somerset or Fabriano for printing, used dry which I imagine would only really work if printing on a press rather than hand burnishing due to the weight of the paper although thinner paper would work fine and I have used japanese simili paper at home for hand burnishing etched lino experiments.
A registration frame had been prepared for use with the etching presses at Ochre studio and unusually, we printed without the use of blankets or any kind of padding. Steve explained that this gives a cleaner print which picks up surface texture and detail better and doesn’t force the paper down into the recesses of the print.
The variety of imagery and colour combinations produced by everyone was the most inspiring part of the process. Participants chose to explore the medium in different ways including combining with pre-cut plates they had brought to the course. I found it difficult to produce the image I wanted and think I need more time at home now I understand the process to produce a design which is suited to the method or at least refine the one I started. I particularly enjoyed using the plates and blocks I produced at home in combination with a test plate from the course to create textured abstract designs. The freedom which came from trying out random combinations rather than reconstructing a figurative image was more fun and less fraught with my usual artist angst and self criticism!
Many thanks to Steve for sharing his expertise and to Jay for being at everyone’s beck and call and keeping the course running smoothly, it was really well organised and I'd recommend it to anyone with an interest in relief printing or simply those with some knowledge of it wanting to get out of their comfort zone and try a different way of working with lino.