
Experimenting with Etching Lino
Having decided that creativity in a vacuum sucks (pun intended) I decided to find a course to guide me through a print technique which I’m not familiar with. I happened upon Ochre Print studio in Guildford which was running an Etched Lino course with Steve Edwards (www.steveedwards.com) who is known for his mastery of this technique and uses it to produce multi plate prints often of the london riverside skyline.
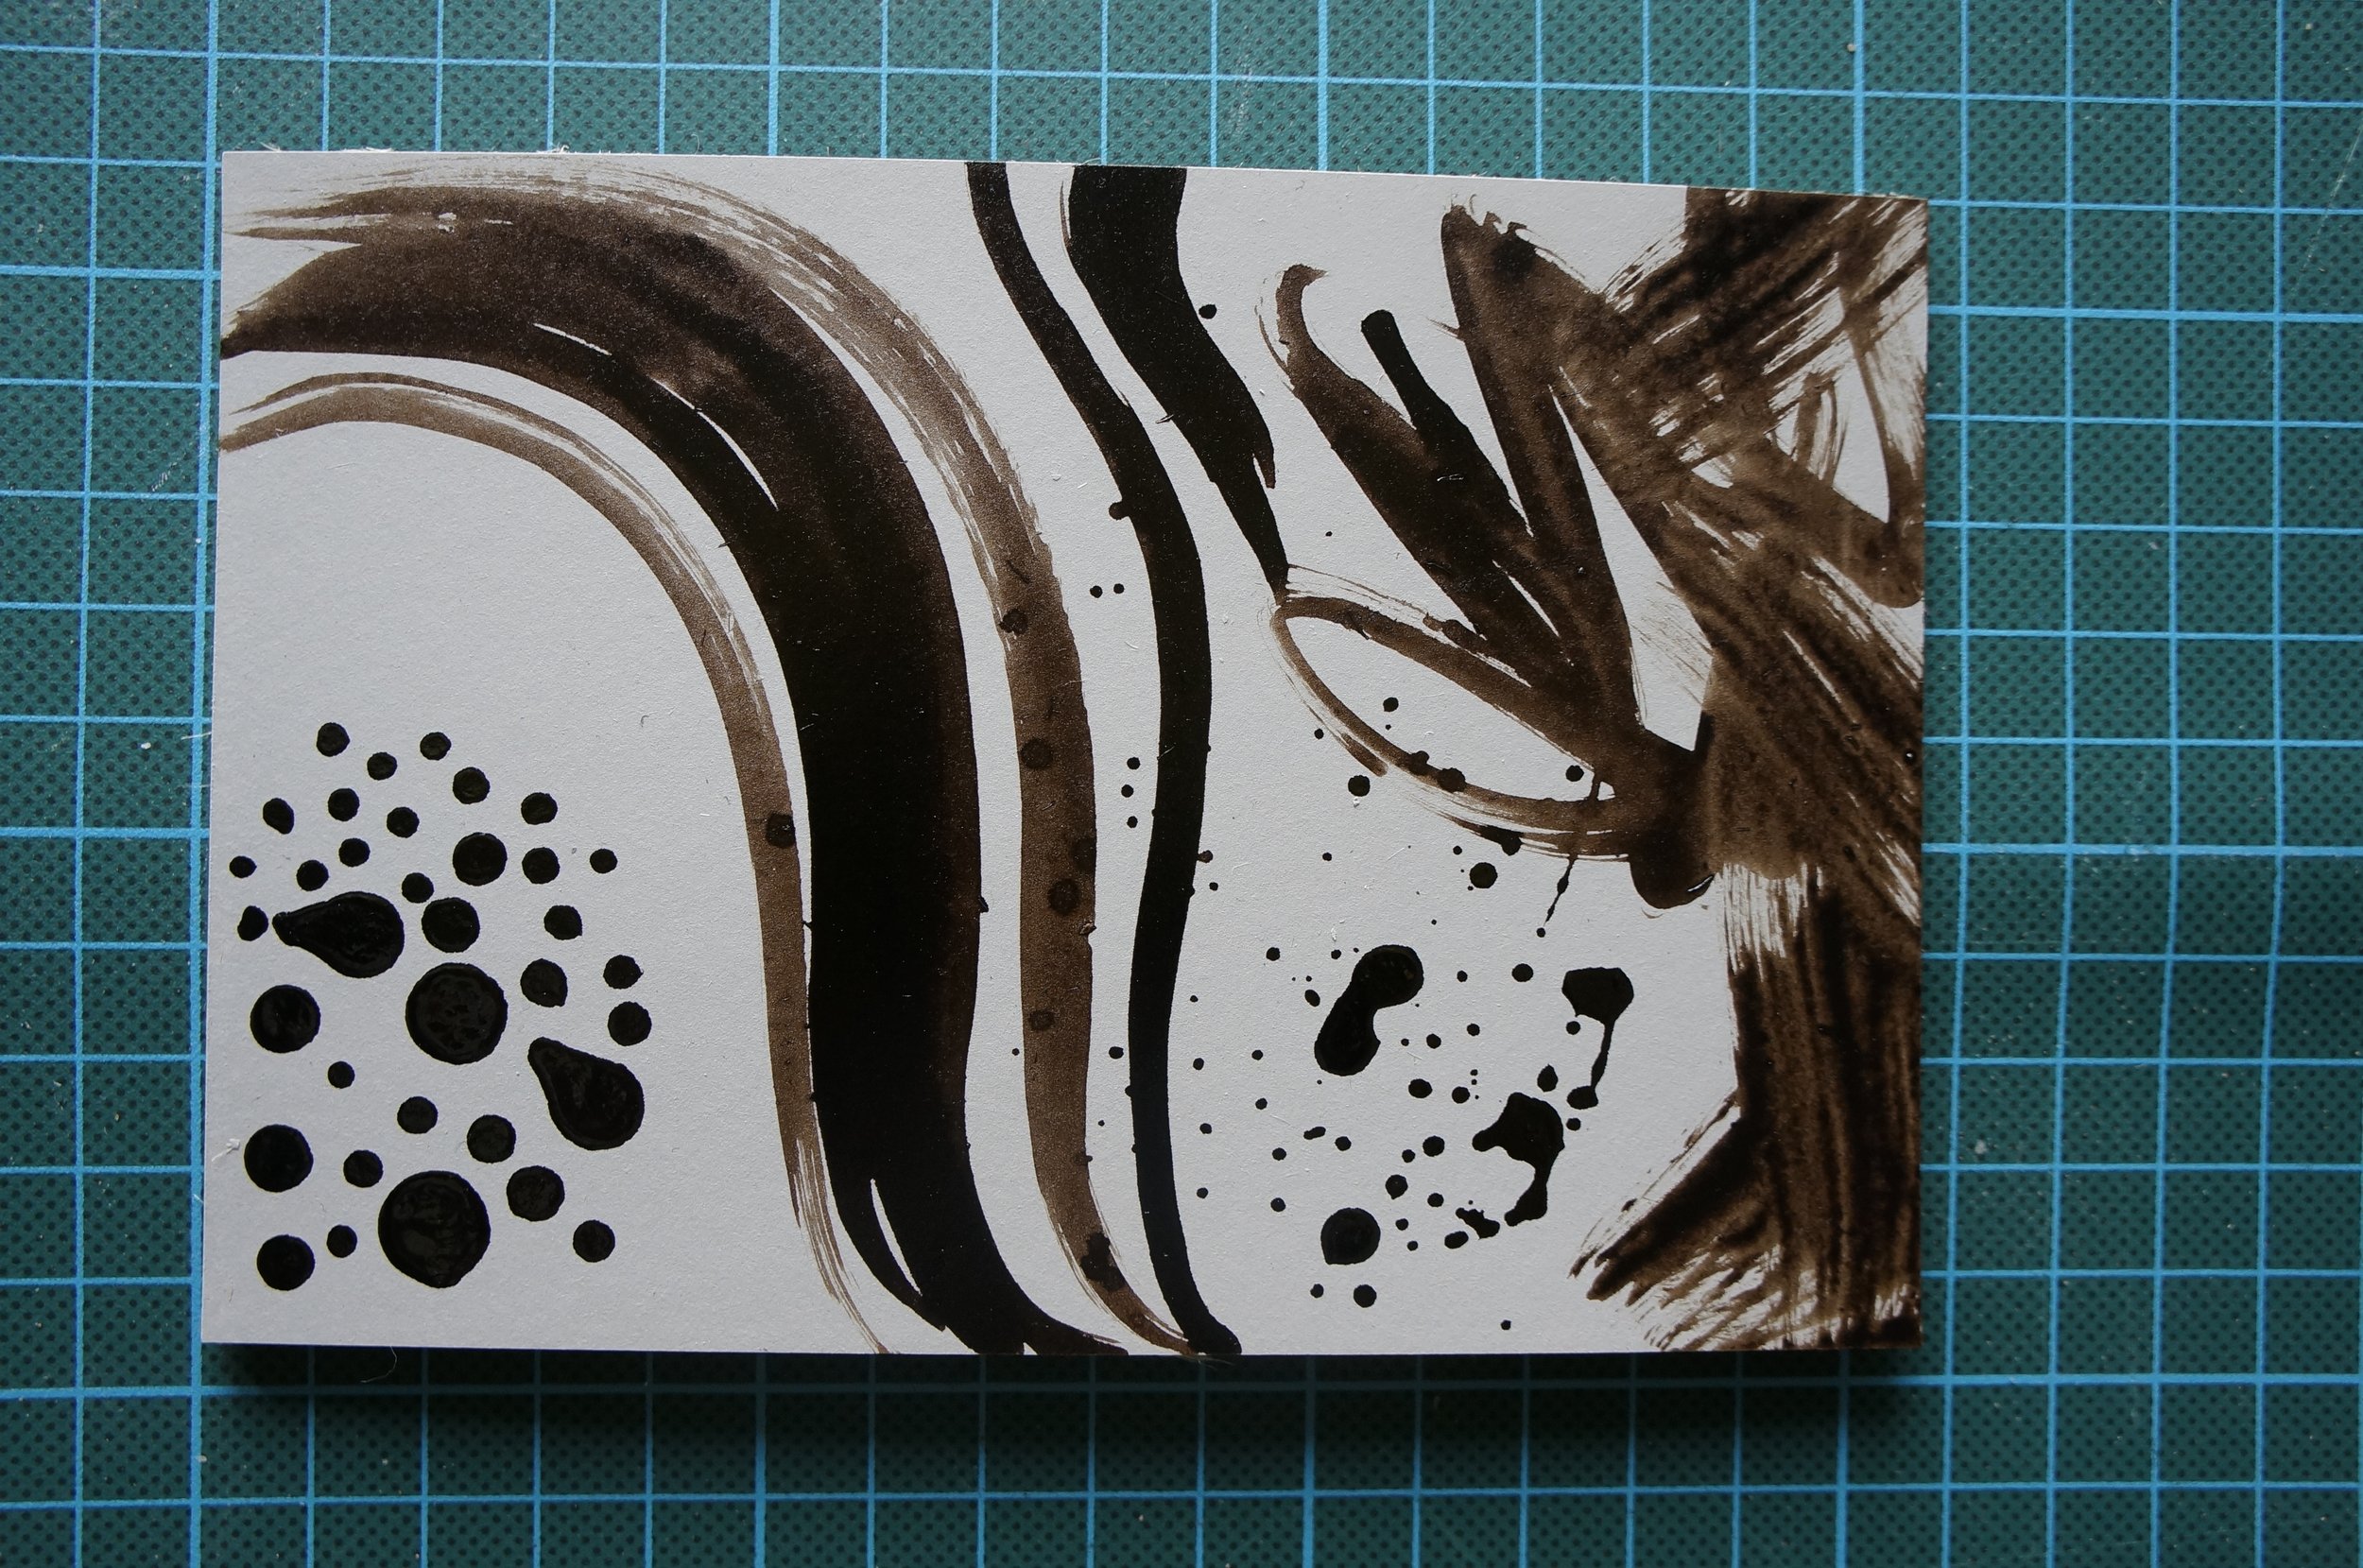
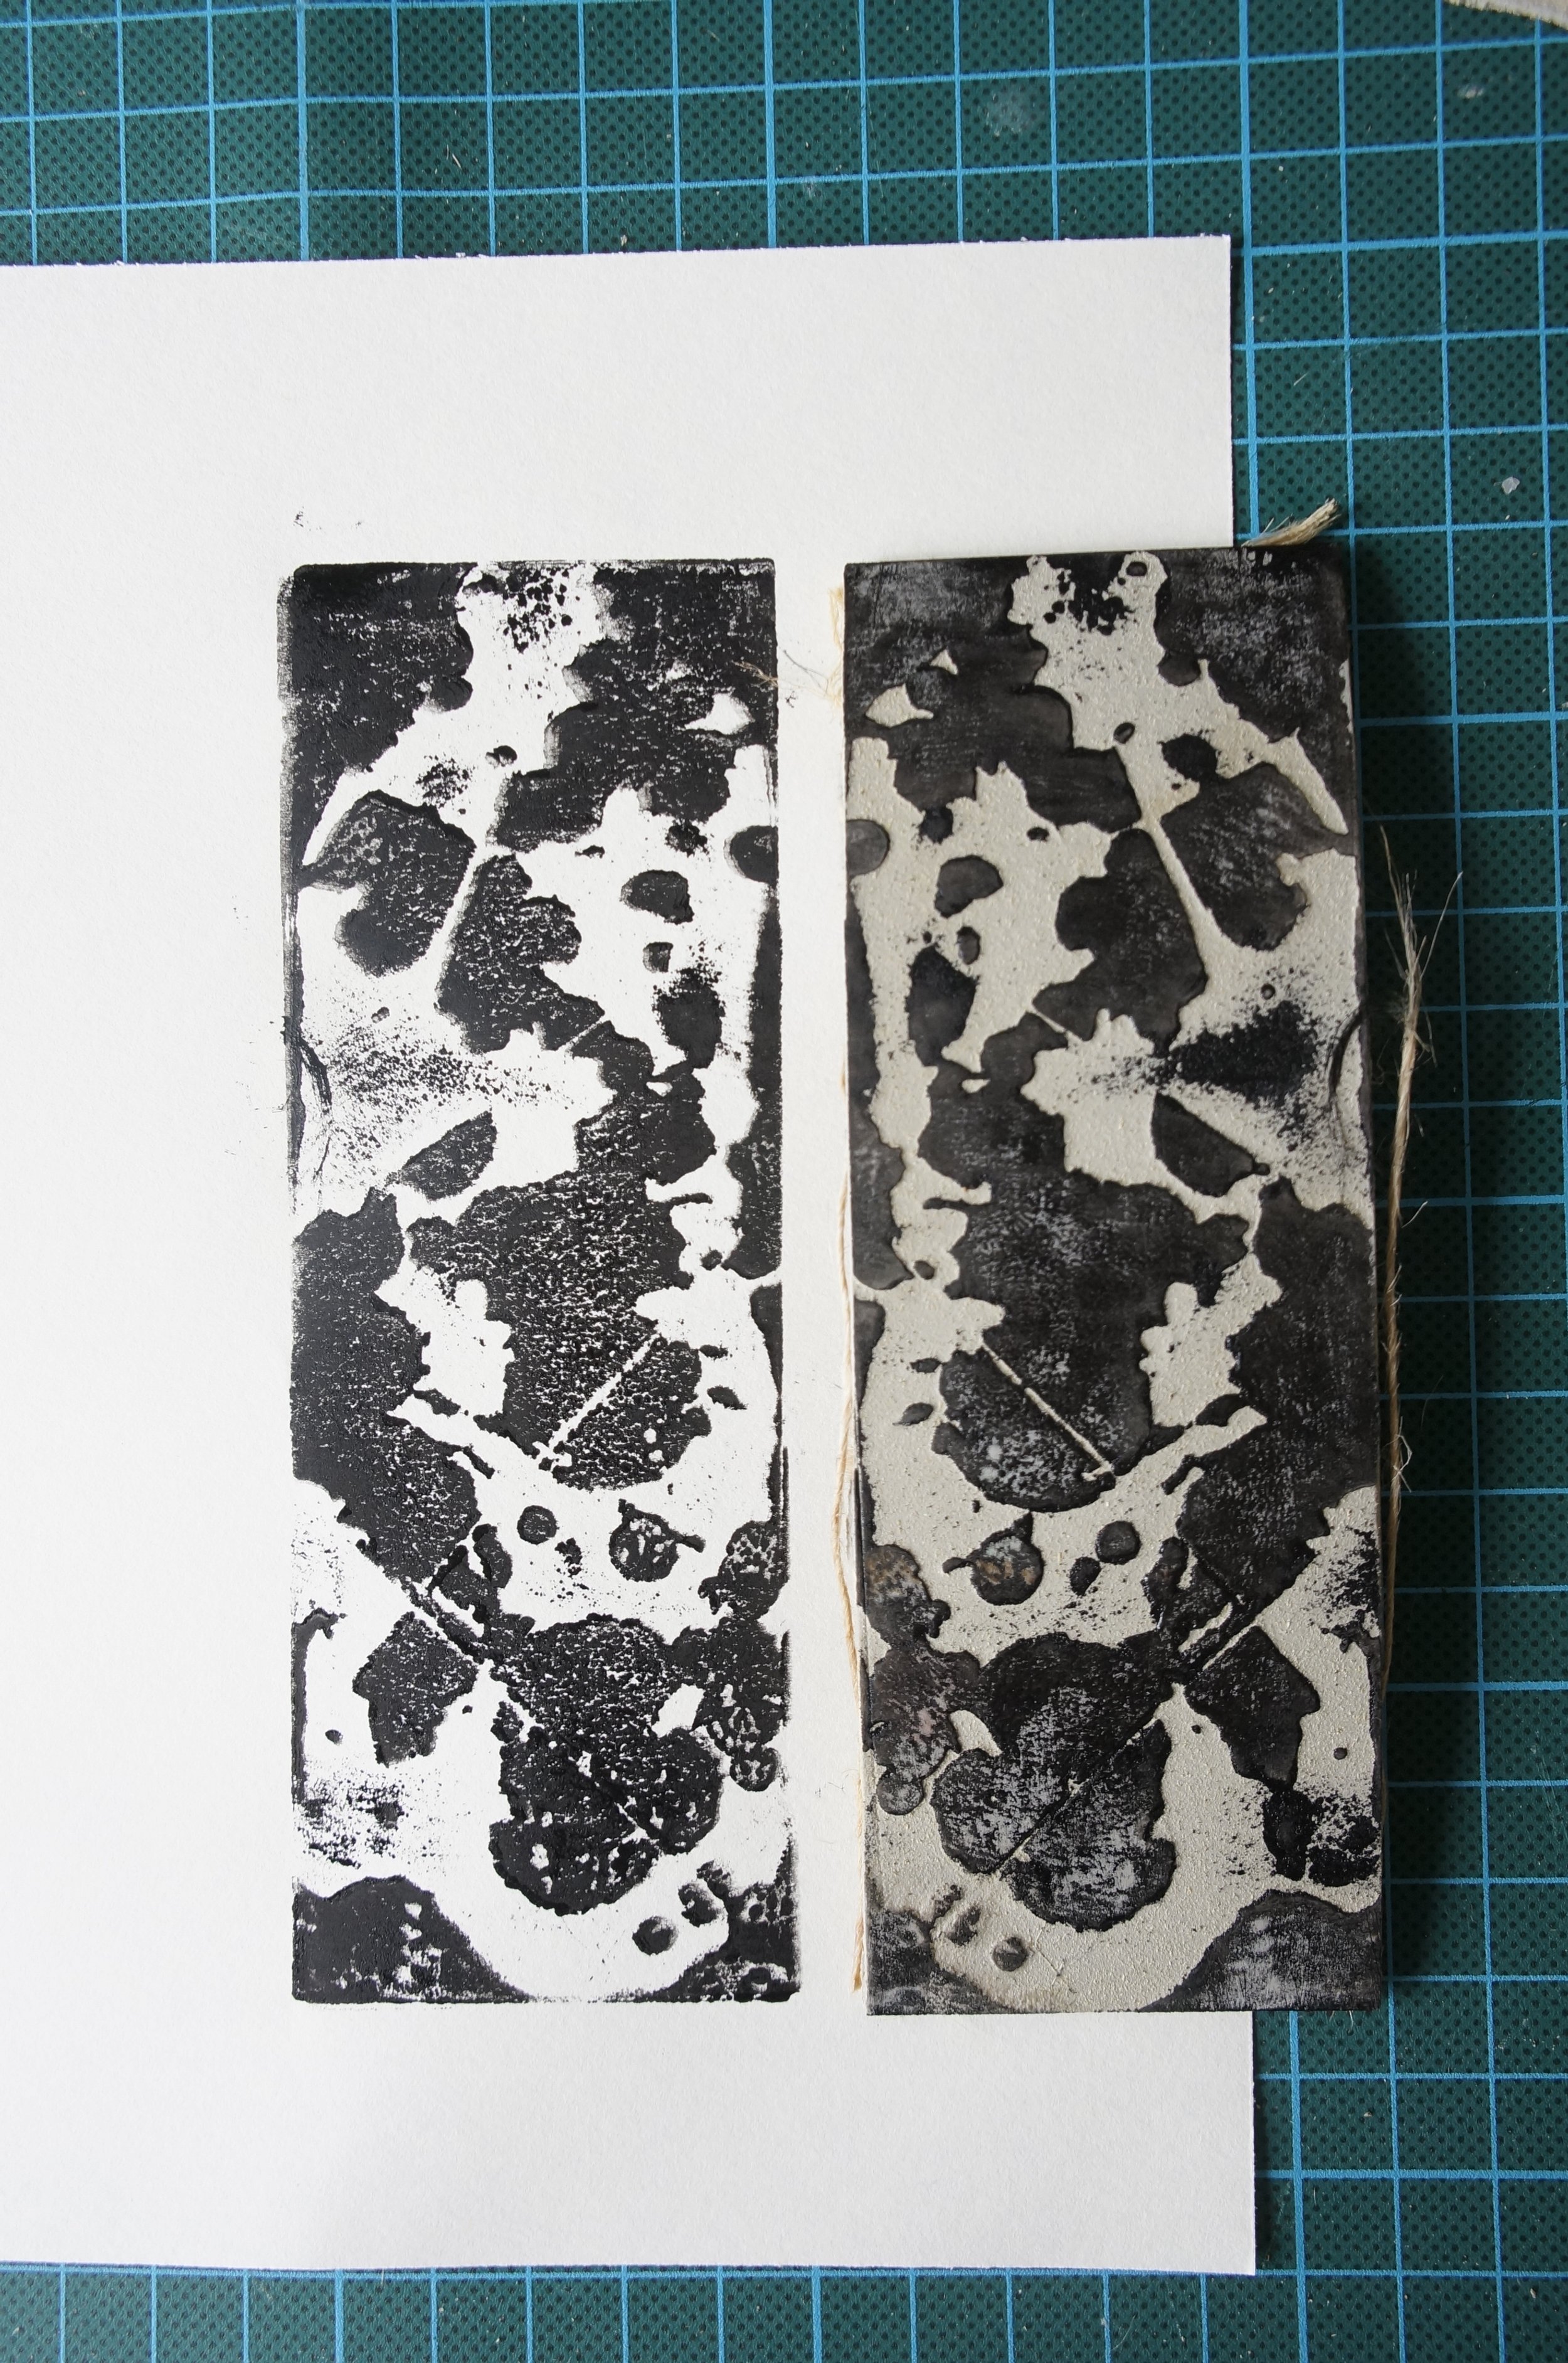
To get the most from the course I decided to do a bit of online research the week before and create some test prints on small pieces of lino which I’m covering here and Steve’s course in another post as I took lots of photos.
I’m a great fan of self-learning and the internet contains a wealth of information to guide auto-didacts. However on this occasion my own experiments threw up more problems than they solved and I was really glad I decided to do a course where I got to see how the process can be used in subtle and unexpected ways.
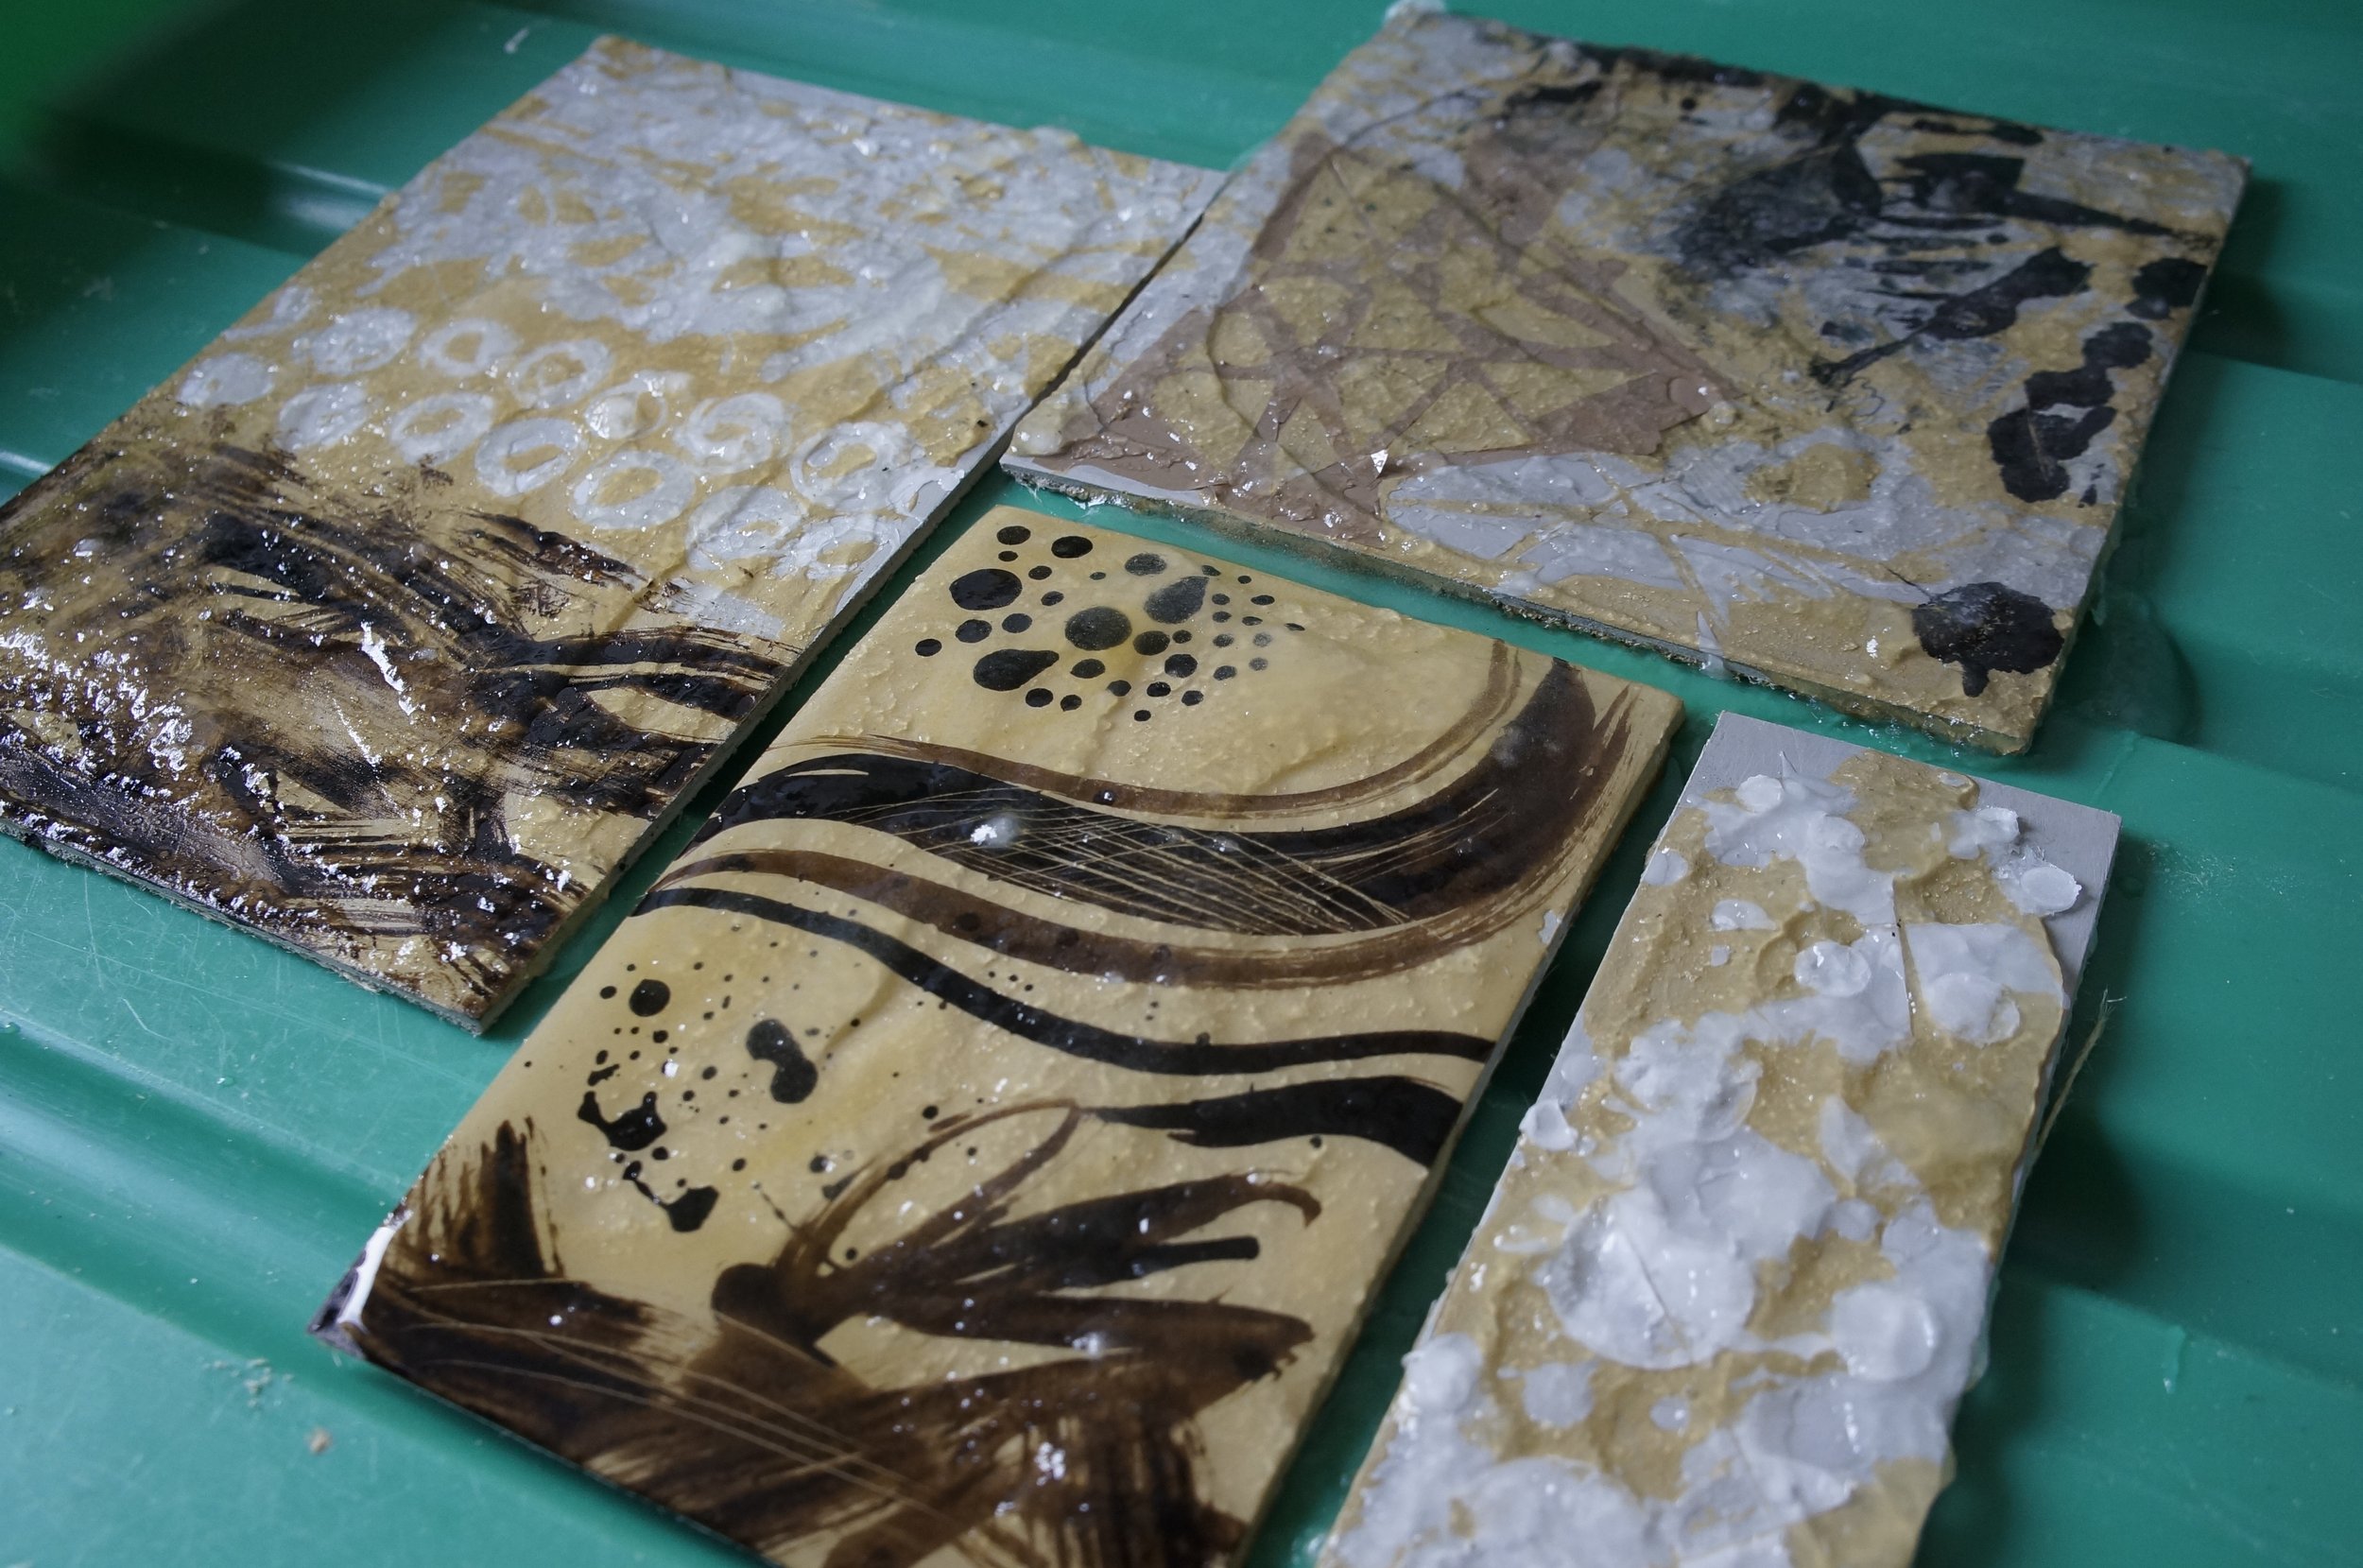
My solution ended up being too strong and applied too thickly to an inadequate resist layer. It ate through the lino not in the recommended 1 hour plus but actually acted in 20 minutes and left me washing most of the lino except the hessian backing down the sink! The candle wax was the best resist for leaving behind solid areas of lino untouched and parcel tape also held up pretty well. However after the ochre print course I realised some of the rooky errors I made – you live and learn. For images and technique from steve Edwards course see post here. If you want to see the tests and results I got from my own experiments read on.


You will need:
Traditional hessian backed lino - grey or brown – both work, I used some old brown lino which is at least 8 years old and very stiff and it still worked.
Caustic soda crystals – available from a hardware store (it’s used to unblock drains)
Safety goggles, apron, thick rubber gloves (acid resistant available from hardware stores are ideal but others will do), a mask is up to you, I didn’t use one but was working outside.
Two glass jars or plastic containers – one for solution, one for clean water
Stirrers – wood or plastic not metal
Spoon - for measuring crystals ideally plastic but metal will do as long as it doesn’t come into contact with the solution
Jug to measure water
Wallpaper paste flakes
Scrubbing brush – do not use this on your dishes afterwards, best to keep it separate
Brush with nylon bristles (optional) for coating lino
Vinegar (optional) mix with clean water to make a neutralising solution when you wash caustic paste away)
Large glass or plastic dish or developing tray – cheap cat litter trays work well.
*All utensils need to be inert e.g. glass, plastic, wood are ideal but not metal as this can react with the solution.
Pros:
Creative freedom - unpredictable textures and results you don’t normally get with lino
Affordable compared to some print materials
Readily available materials
Combines well with other print techniques and cut lino blocks
Cons:
Can be dangerous – risk of chemical burns if not properly handled and need good ventilation and/or outdoor space to work in
Unpredictable results – difficult if you’ve got a specific effect/image in mind
Lino which has been washed out in water curls and stretches so can be difficult to register multiple prints
Time -If using a slow acting solution it can be best to leave it overnight to work
You need to allow time for the lino to dry thoroughly after washing out before it’s ready to print from
The resists I used were stop out varnish, melted candle wax (using a glass bowl heated over a pan of hot water on the stove) and brown parcel tape.
I mixed the caustic solution up in the garden to be on the safe side as this stuff is seriously corrosive and took the recommended safety precautions of acid resistant rubber gloves, long sleeves, apron and safety goggles. You can also protect yourself with a mask although if working in a well ventilated area this may not be necessary.
My solution: 150 ml tap water then add 3 rounded tsp of caustic soda granules and stir with a wooden stick. Once dissolved I put 2-3 tbps of wallpaper paste flakes to the solution and stirred until it thickened. WARNING: Never add water to caustic crystals as this causes a dangerous reaction.
Set aside another jar of clean water to rinse all utensils in immediately so you don’t accidentally transfer caustic solution onto other surfaces. You can add a little white vinegar as well which neutralises the caustic. If it comes into contact with your skin you will soon know about it, rinse immediately under running water.
To get an ‘all or nothing’ result I placed the lino test pieces into a plastic developing tray and poured a thick layer of caustic gloop onto the lino and left outside to develop. It was a hot day and in hindsight I also wonder if the additional heat accelerated the corrosive properties. I also sanded the lino first which may have sped up the reaction.
The reaction with the unexposed lino can be seen happening immediately as the grey lino turns brown.