Polystyrene tile printing on paper and fabric


Polystyrene tile printing, sometimes referred to as styrofoam, is a versatile and affordable introduction to relief printing and is suitable for use with all ages from very young as you don’t need to use sharp tools. As a former teacher I have used the technique during workshops with 5 and 6 year olds as well as A level classes as an introduction to lino printing and overlapping colour. Relief printing is a process where a surface is pushed down to create a design and printing ink or paint is rolled over the top surface then printed onto paper. The areas of the block which have been pushed down or drawn will show up as white (or the paper colour you’re printing on to). Any areas which are left untouched or are on the surface will print as your ink colour.
In the Autumn of 2020 I was asked to make a printing kit for a Scottish charity STAF for their care leavers to be able to participate in an art project from home. There’s a link to a video tutorial which goes through polystyrene tile printing on paper and fabric which you may find helpful. You can skip to the relevant parts using the time stamps. There’s also a link to two pinterest boards one for polystyrene tile printing ideas and one with similar ideas for block printing or lino with design ideas suitable for those starting out with relief printing. If you’re interested in moving on to lino or softcut printing I make two kits available from the art kits page of my website or on my etsy shop which make great gifts.
SOURCING POLYSTYRENE TILES
You can buy specially made polystyrene tiles which cost a few pounds and usually come in A4 or 30 x 30cm sizes which can be easily cut into smaller sizes or different shapes with a craft knife or scissors. I buy mine in multipacks from Baker Ross in the UK or you can start experimenting on polystyrene food packaging such as pizza bases, just give them a wipe first.
MARK MAKING TOOLS
Mark making tools are also readily available items you’ll have around the home, I prefer to use a biro with the ink tube taken out and a sharp pencil and ruler. I also look out for any random items which could be used to make an interesting mark e.g. pen lids, cookie cutters, playdoh tools, comb, fork, stencils and hama bead boards which create rows of dots when pressed lightly into the surface.
DESIGNING + CREATING YOUR BLOCK
Simple, bold designs work best as polytiles can’t capture fine detail well. Designs could be drawn freehand from imagination or if you like to plan you can draw round the tile onto paper first then sketch a design in the box. I have a pinterest board with simple design ideas for lino printing, many of which would work well for polystyrene tiles as well.
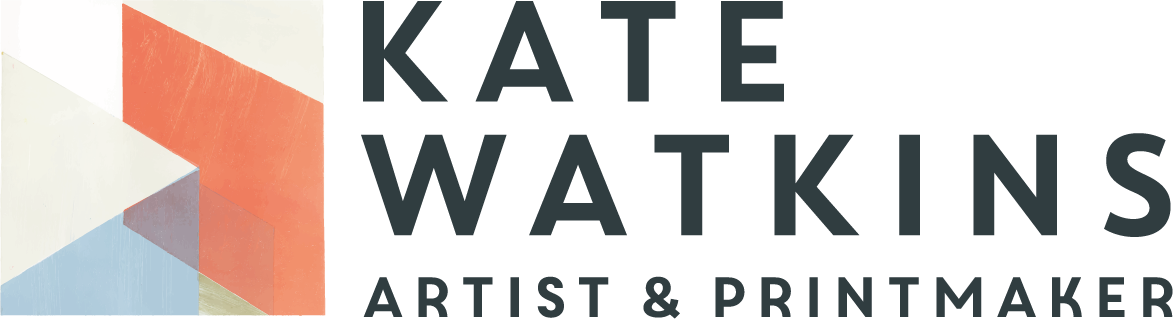
Relief printing is a mirror image process so your design will print in reverse on paper. If it’s important i.e. you have text you want to use you can trace over it in soft pencil onto tracing paper, flip the tracing paper over so it’s face down on the block then rub or shade over the back to transfer your design lightly.
The polystyrene is usually thin enough that if you tape the design and block together and hold it up to the a window you can see through it to trace your design onto the block.
If you need bold lines to follow, a sharpie or permanent pen can be drawn onto the surface of the block as a guide.
Use your sharp pencil or biro to draw into the block so you’re pushing down the surface of the polystyrene, you’ll hear crunching which means you’re breaking the surface, try to be gentle so you’ll get clearer lines and it doesn’t tear.
You can push down larger areas of the tile to create a design with a balance of positive and negative space but rubbing over it with the pencil, biro or pencil rubber. Try using different tools to create different types of marks on the block, it can be fun just to create a mark making block to experiment before drawing out a finished design.
It can be better to go over this a few times more gently pushing down into the block to created lowered areas rather than scribbling hard over it which will tear the block and can cause it to break.
If you want to change the shape of the block you can now cut out or round any parts of the design avoiding cutting out small fiddly shapes which will be difficult to ink.
INKING UP & PRINTING
Once you have finished your design, prepare your ink, block printing ink is best and as the technique is used most readily with school children this is likely to be water based block printing ink. It can dry quite quickly so start with less and add more fresh ink as you go.
When running workshops I buy cheap chopping boards from shops like Asda or poundland to roll ink out on as they’re a good size and affordable for a use with a large group
I buy 10cm red rollers from Baker Ross or Essdee for group work but you can also buy a small foam roller from a DIY store which will work well too. You can buy sets with an inking tray from b&q for £3-4.
Squeeze out a length about 5-7cm onto the end of the plastic inking sheet, if you can spread it out to roughly the width of your roller (brayer) - (also from Baker Ross 10cm red rollers) it makes it easier to roll, Roll back & forth spreading the ink out in a long strip not much wider than the roller, If you roll in one direction only e.g. up or down over & over again it will spread evenly across the sheet a bit more quickly but it doesn’t really matter.
Keep rolling until the ink hasn’t got obvious waves or ridges in, if so there’s too much ink which can result in messy prints where the ink leaks into the depressed areas of the block. It should also make a quiet shhh sound rather than a louder squelching sound.
When you’re ready to ink the block place it on a clean area – old magazines are handy for this as when one page gets too inky you can flip over the page to a clean one. Ink in all directly until you’ve got a good even coating across all areas of the block.
Place clean paper down on a clean working area – or a new magazine page – and place the block inked side down on top of the paper. Face down is the easiest way to see where your print will come out.
Once the block is stuck to the paper you can gently flip it over so you can rub firmly with the heel of your hand or fingers all over the back of the paper. This can also be done with a clean roller if you have one.
Thin smooth slightly absorbent paper e.g. thin cartridge paper and sugar paper works well and comes in lots of colours. You can use printer paper but may find it cockles (goes wavy) when drying due to the water content of the ink. Anything too thick or textured will be difficult to print by hand.
You can check on the progress of your print by pressing one finger down on the corner and peeling back to see how the image is transferring, you may need to continue rubbing if the image hasn’t quite transferred or if there’s too much ink it’s easier to ink up and start again with a fresh piece of paper.
PRINTING A SECOND LAYER
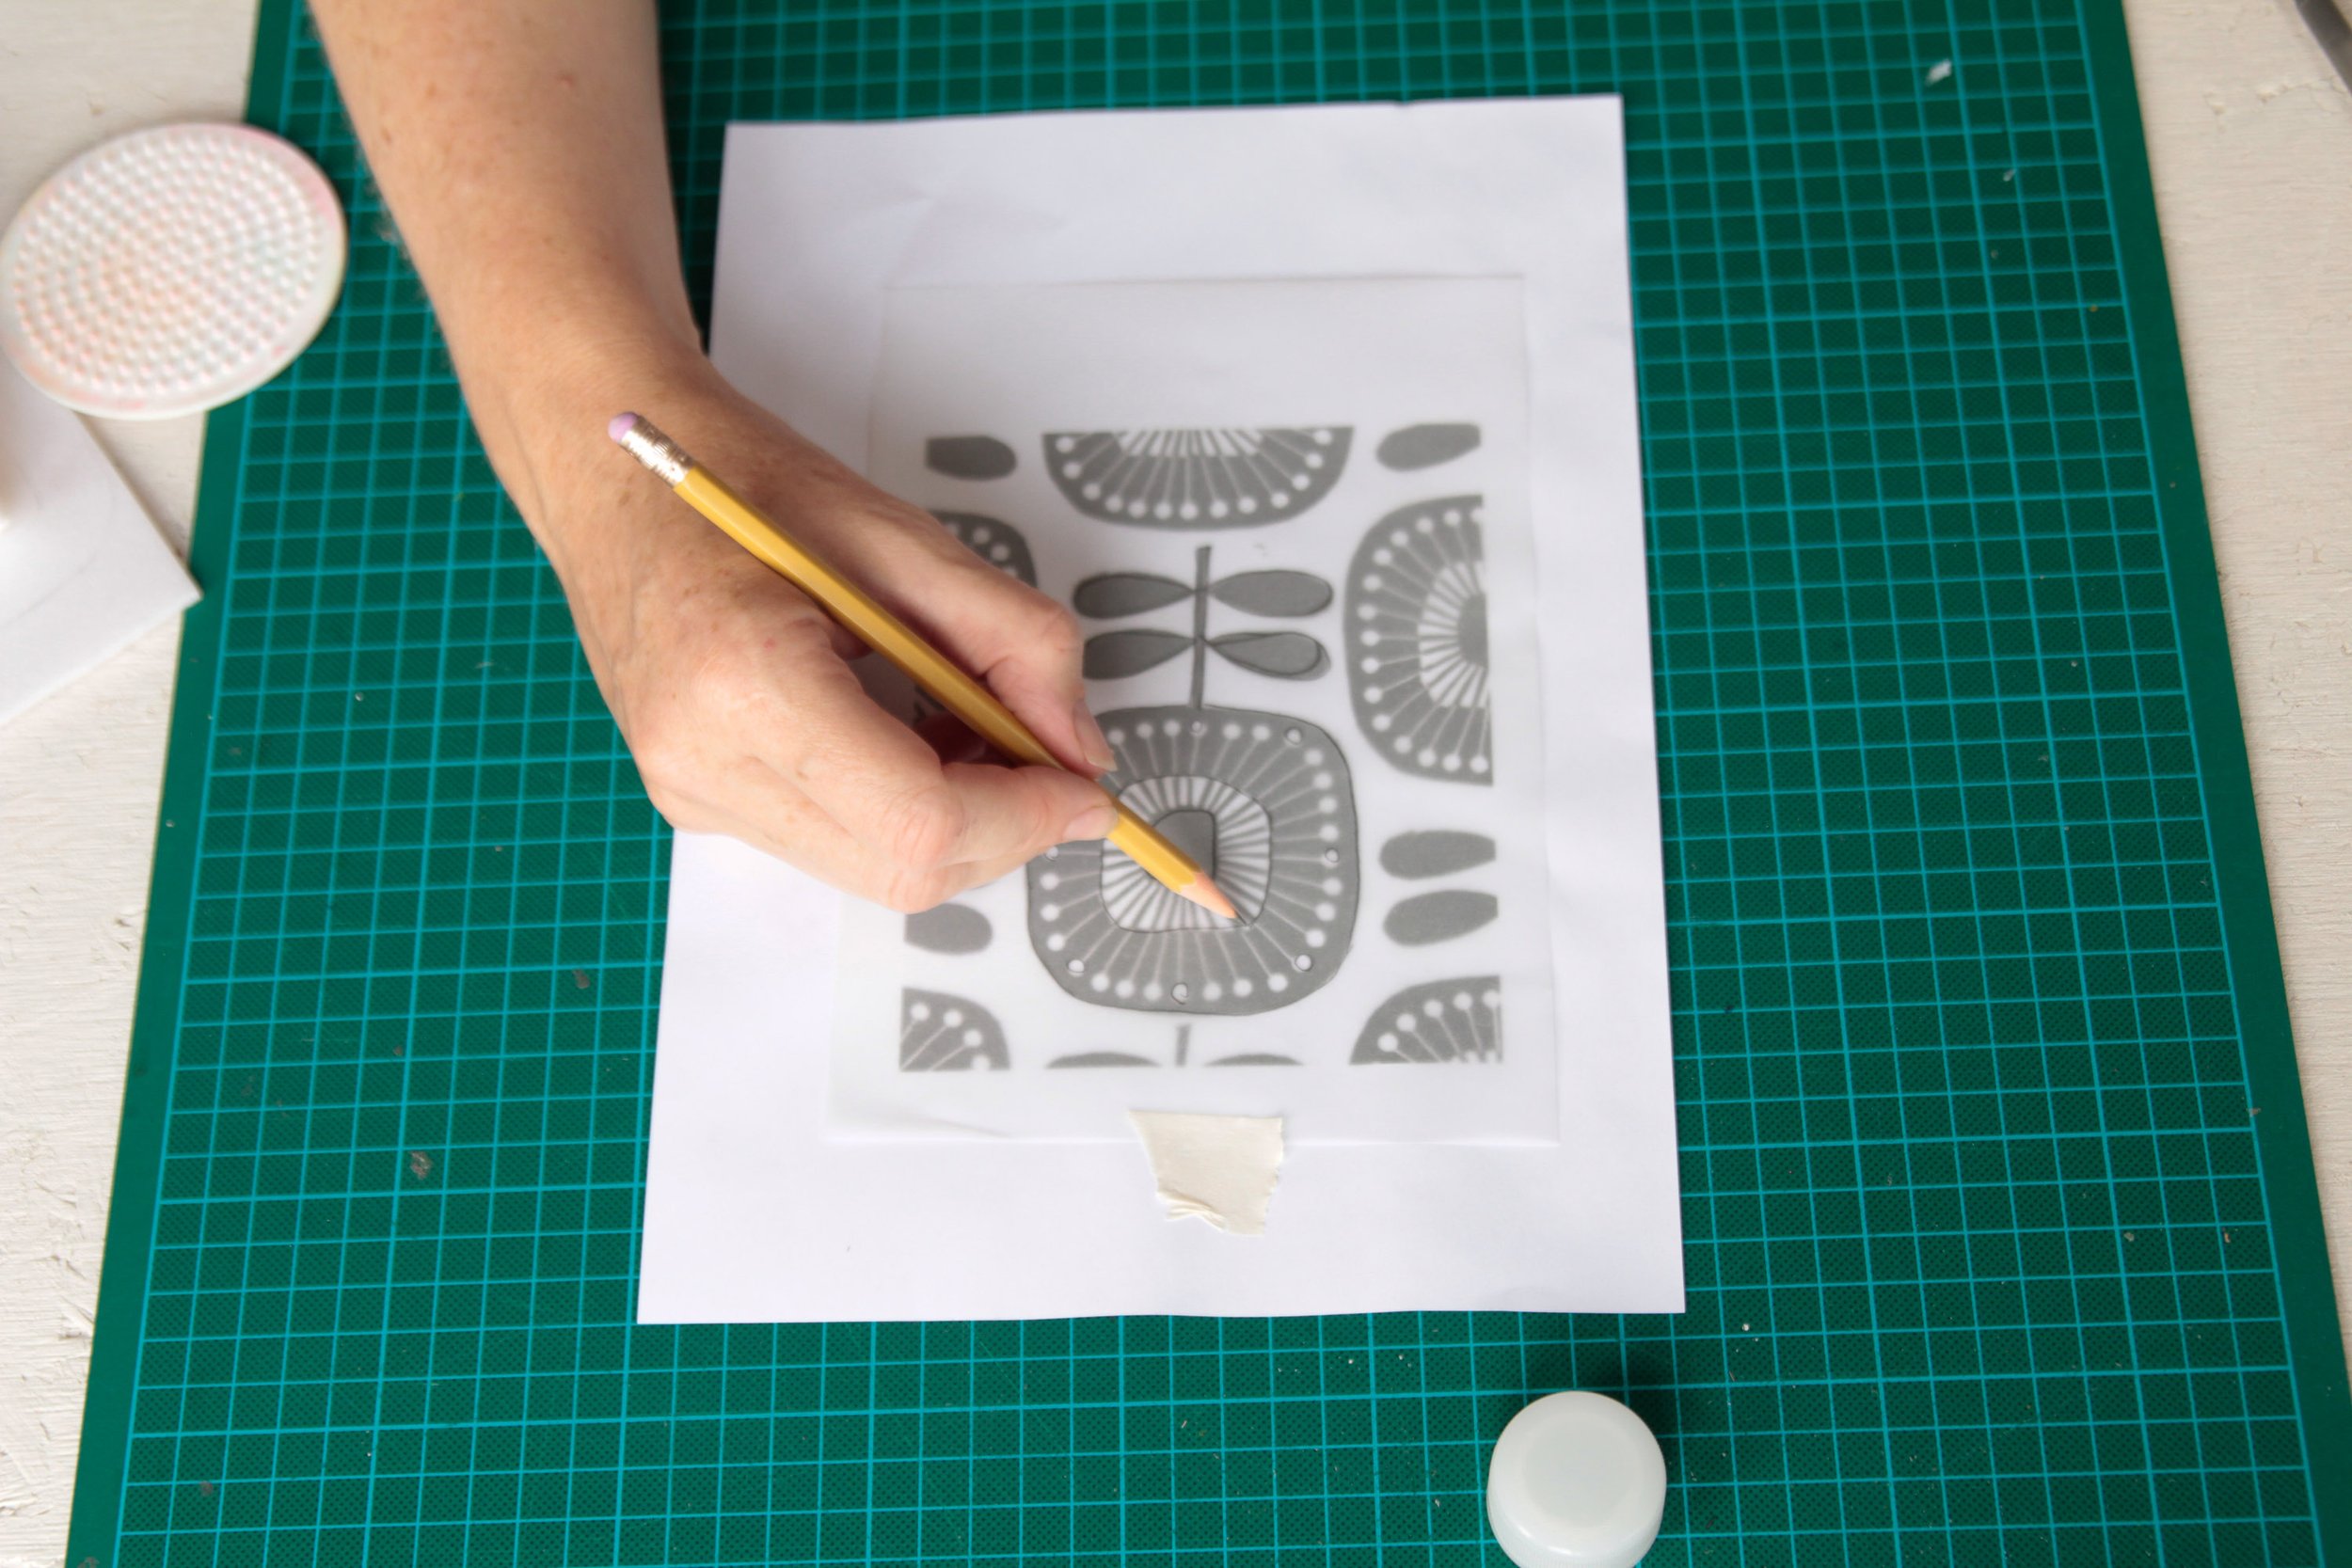
Once you’ve produced a set of prints you can wipe the surface clean with a damp cloth or even rinse under the sink. They won’t last a long time but if you want to carry on drawing into the block or cutting areas away you can get interesting effects from two and three layer prints. You may like to cut away or push down the main design leaving just a border to print in a different colour. See images for examples.
When the plate is dry and you’ve added marks or pushed down new areas simply ink in a different colour, place the block face down on top of your print of the first layer, flip over, rub and peel off.
The beauty of the polystyrene blocks is with the face down method you can get pretty accurate registration which is important in many designs. You can also make a ‘jigsaw’ block where you cut a design into two pieces and ink them separately in two different colours, they can be printing onto paper at the same time but the separate sections help to keep colours apart and a clear boundary in your design.
Once you’ve completed your prints you can wipe the block to keep or simply discard as they aren’t durable like lino prints.
PRINTING ONTO FABRIC
This technique also works for printing polystyrene blocks onto fabric. I did a kit specifically covering polystyrene tile printing onto paper and fabric during lockdown which was sent out as an at home art project for teenagers leaving the care system in Scotland. We used speedball fabric screenprinting inks but any fabric paint would work.
The speedball inks were versatile because they would work on both paper and fabric and applied the printing blocks to canvas tote bags using DIY foam rollers.
The tutorial video covers the process step by step but you can easily skip to the relevant parts showing tile printing or fabric printing using the timestamps.
Happy Printing