A Beginners Guide to Drypoint Printmaking
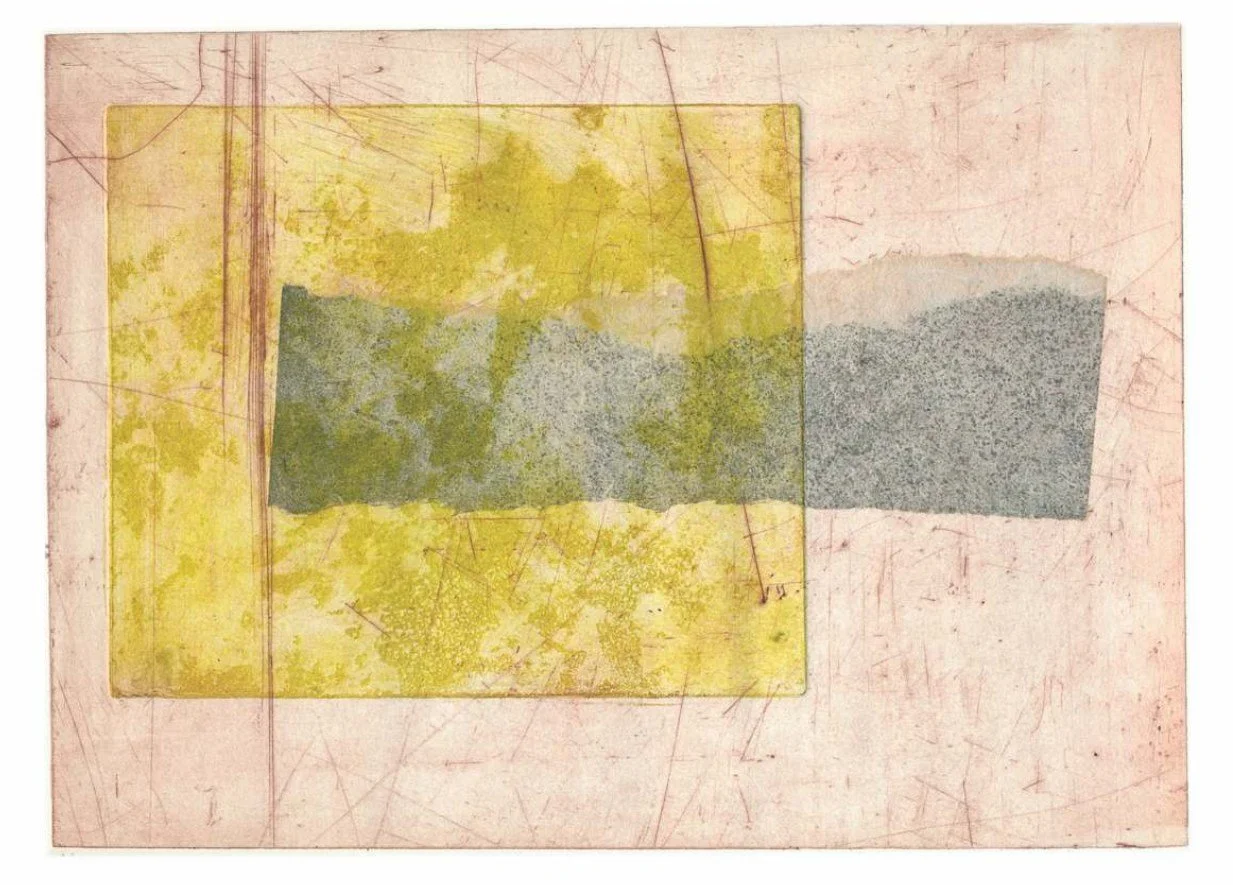
A Beginner’s Guide to Drypoint Printmaking
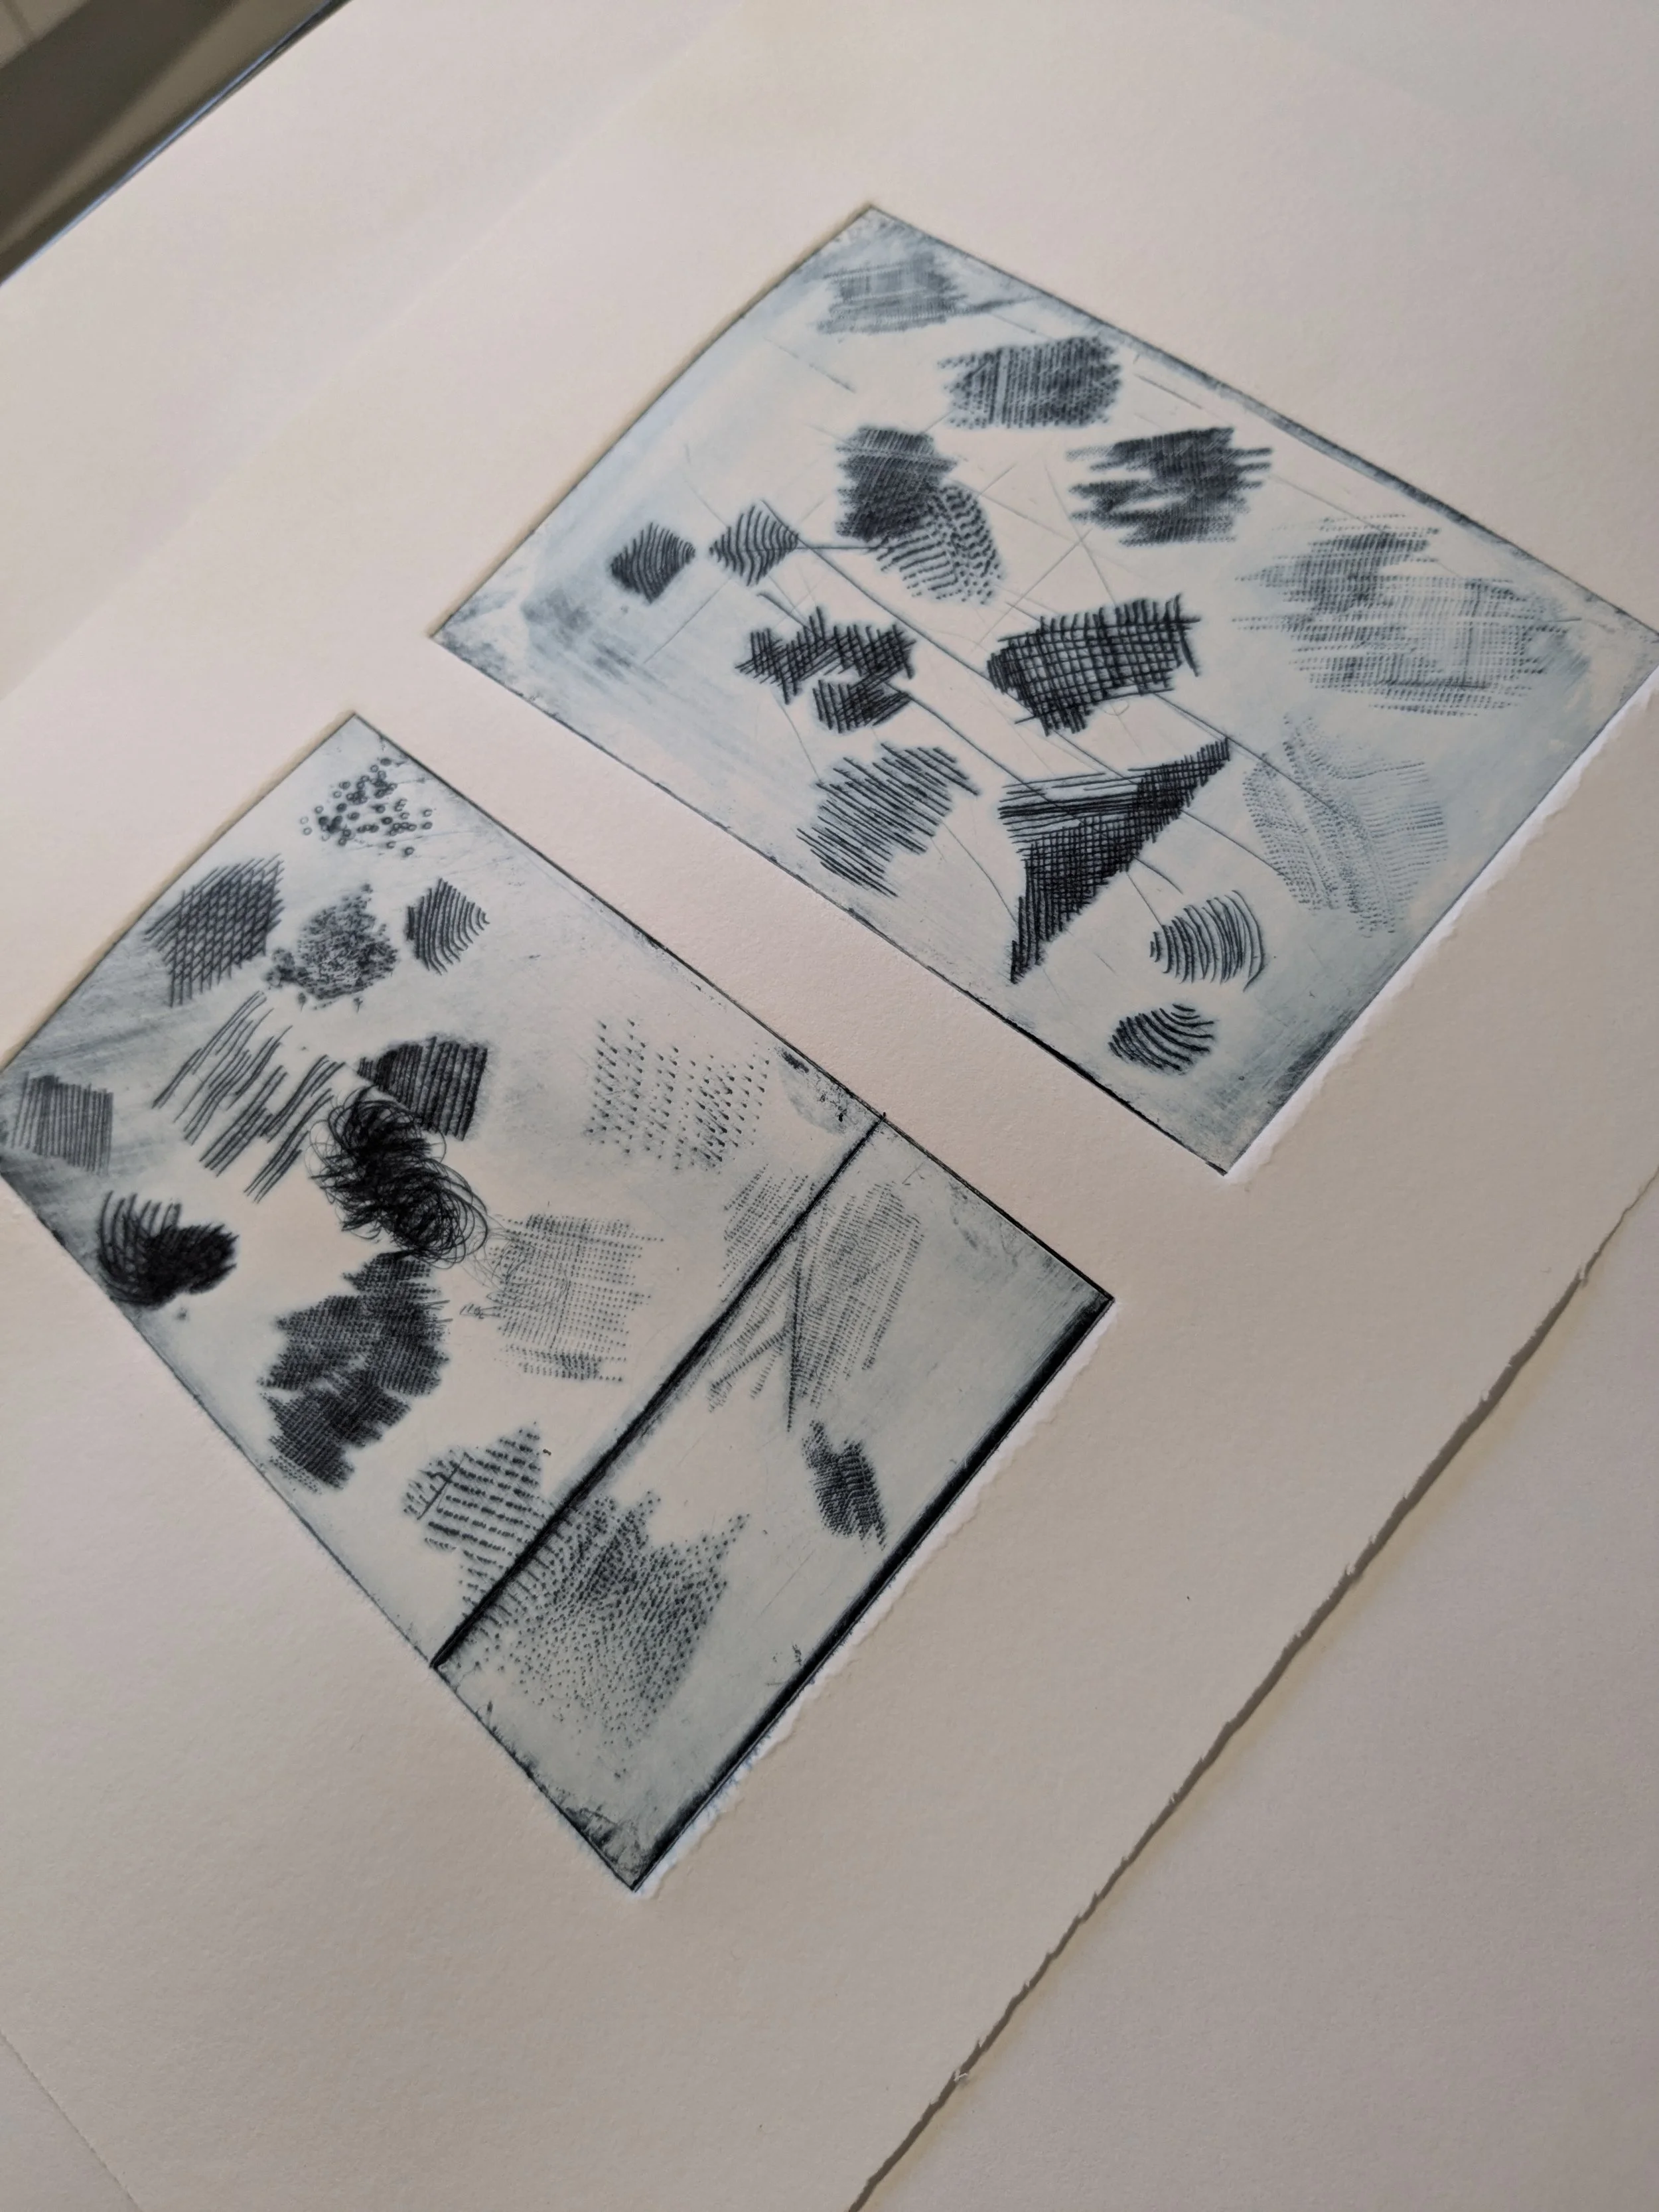
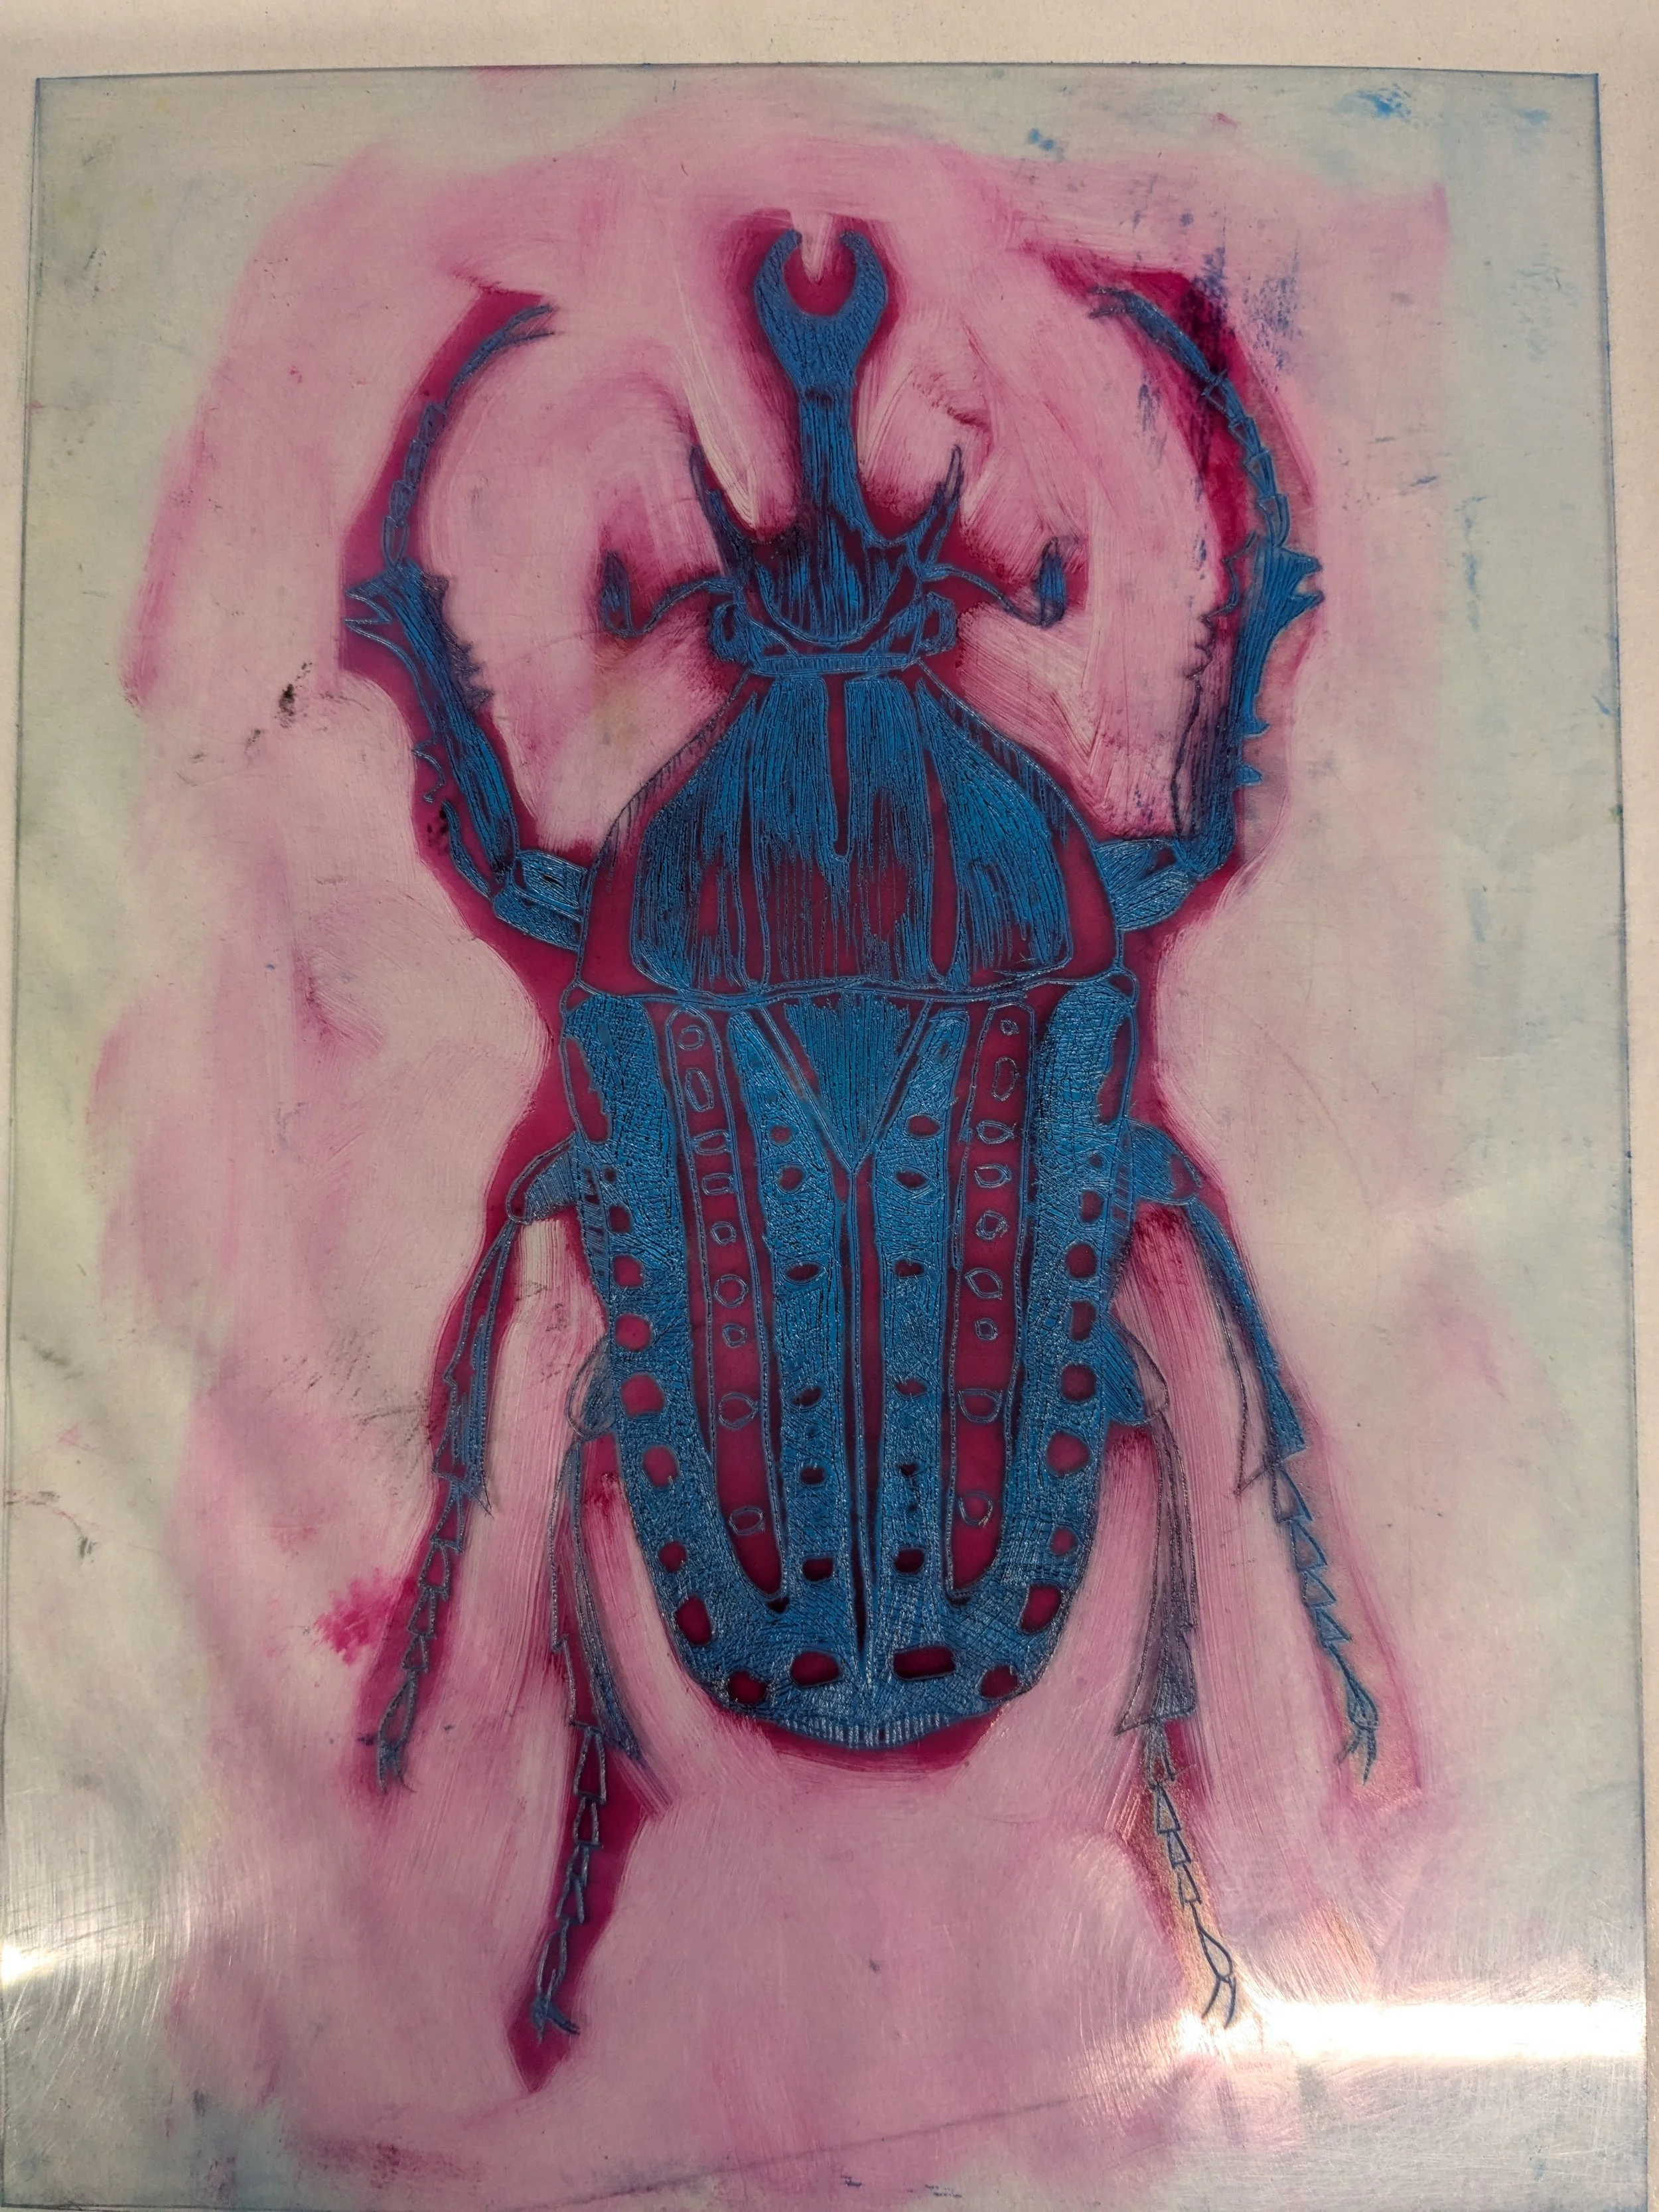
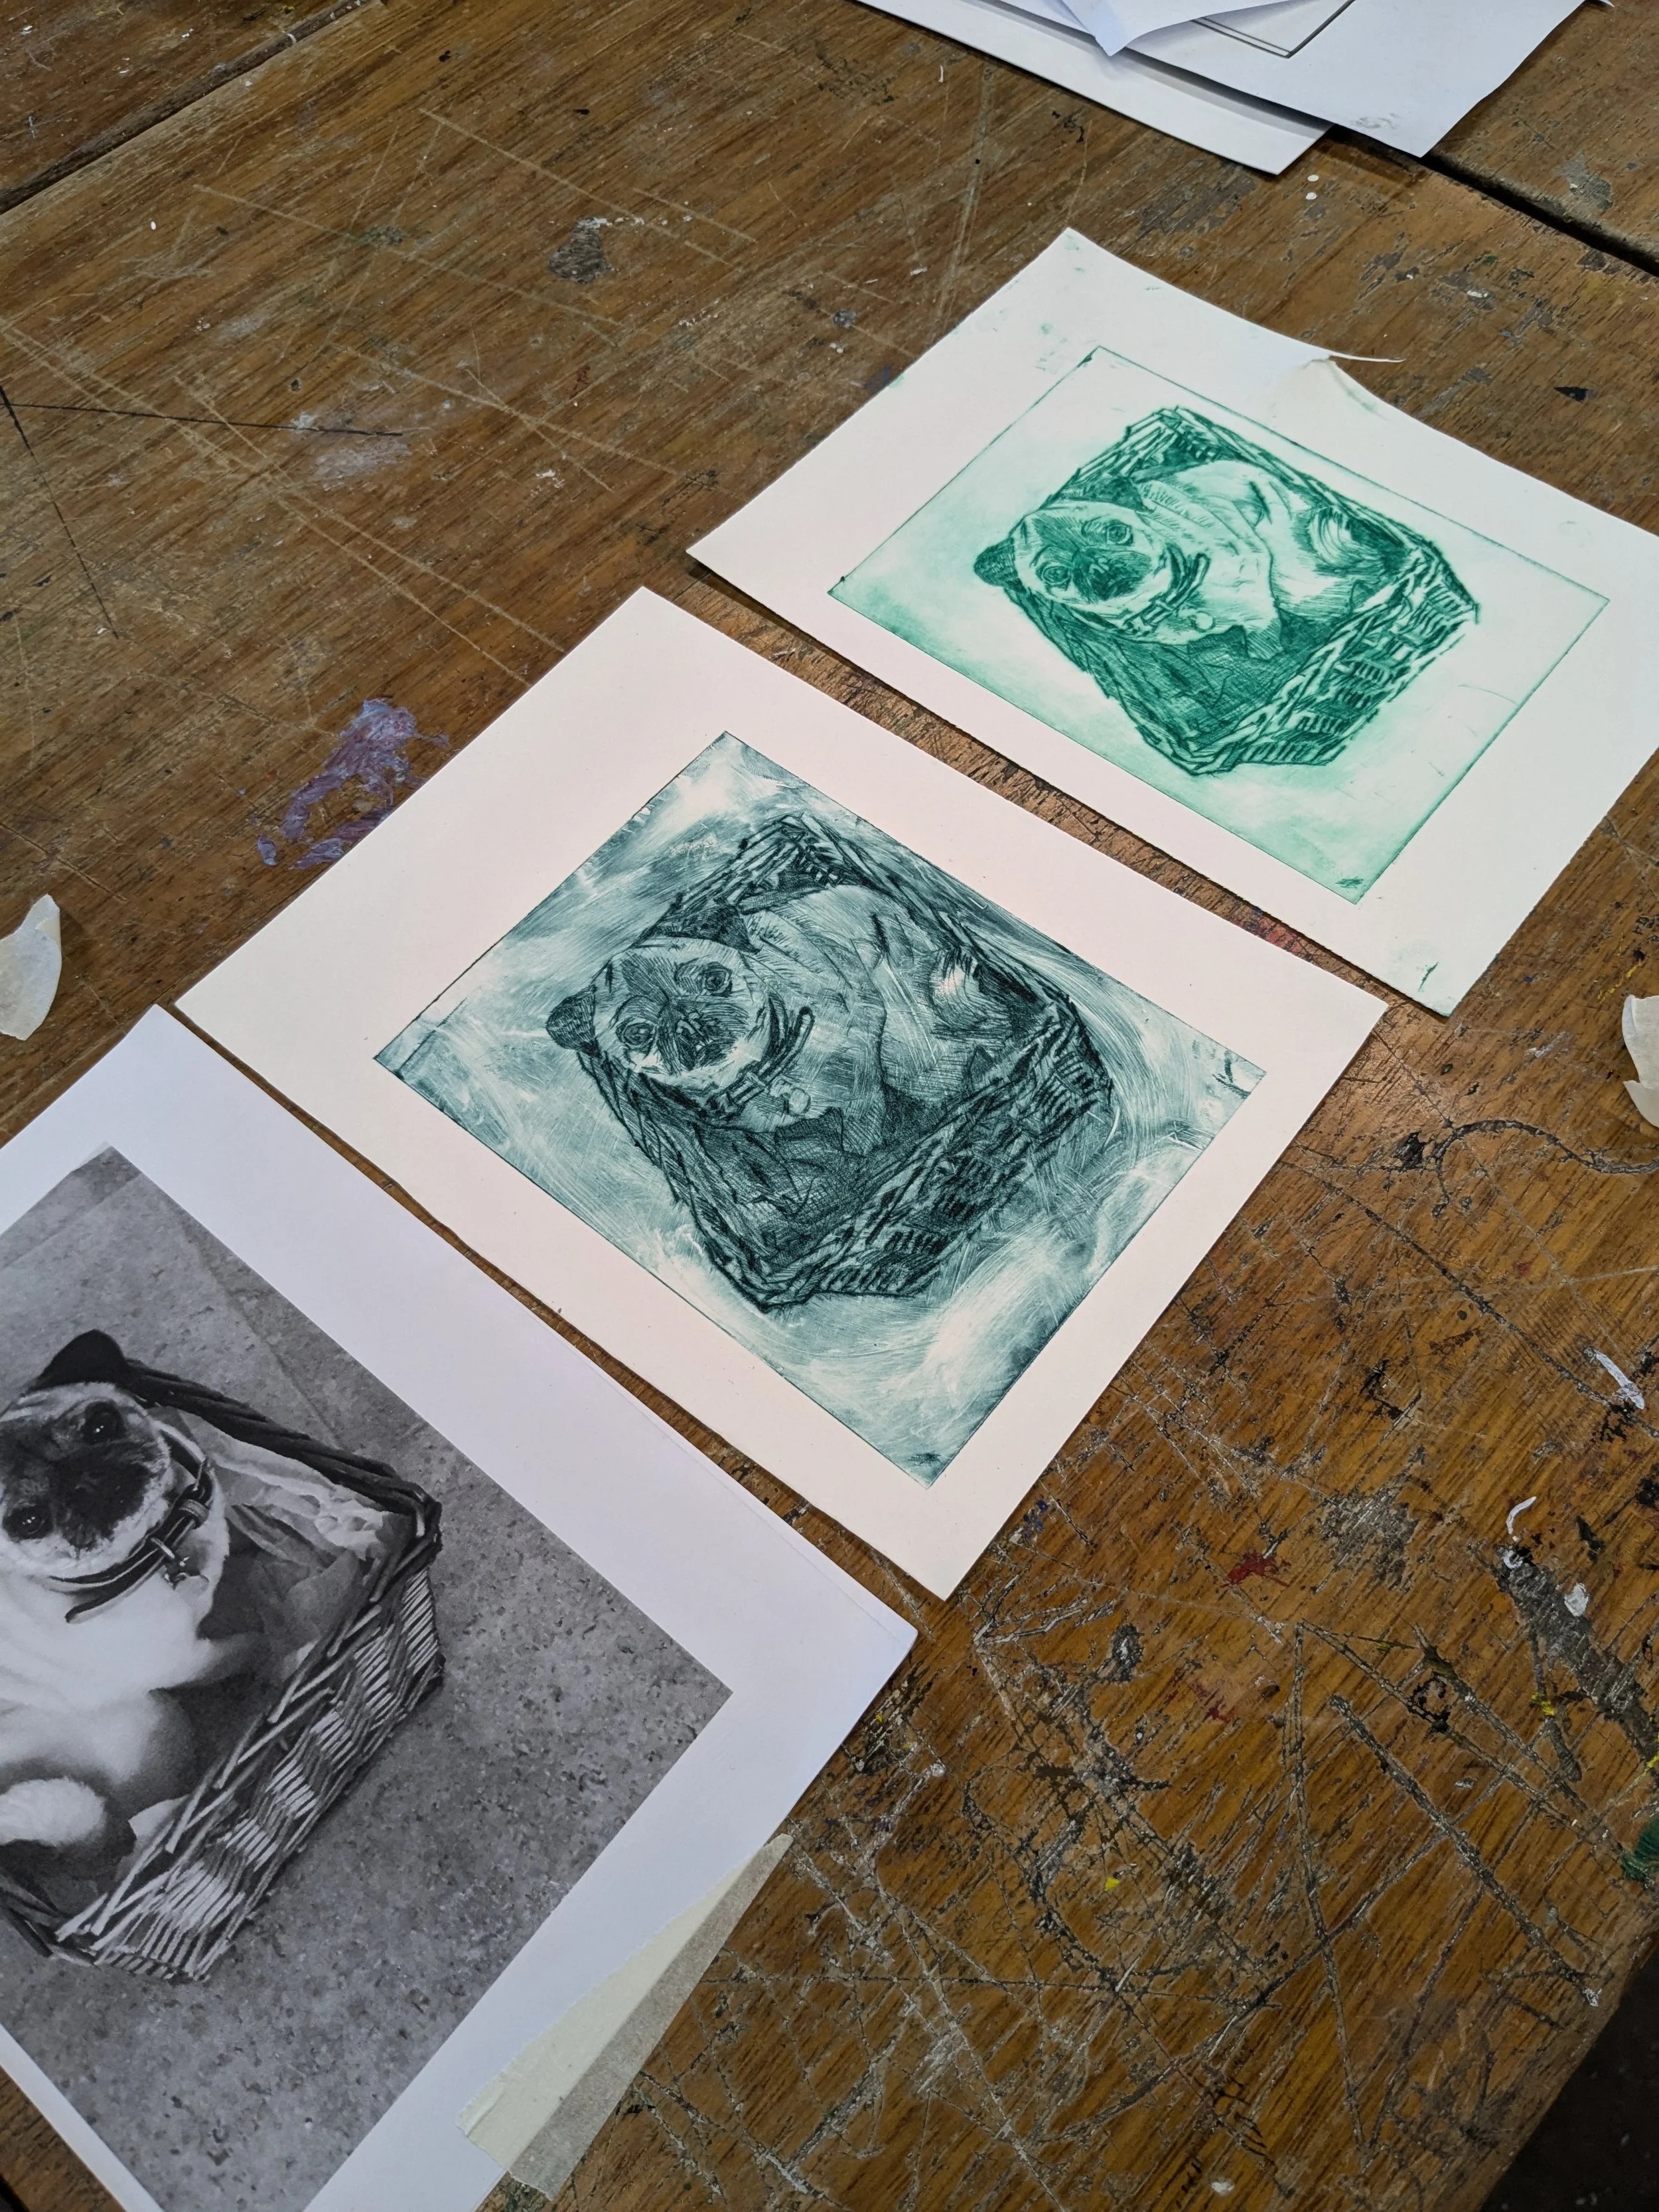
Drypoint is a great introduction to intaglio printing and I usually teach is as the next step after monoprinting where I work at Solent University in Southampton or in adult print workshops around Hampshire. The principle is quite simple - you scratch and score lines directly into a plastic or metal plate to create detailed, textured marks which are then inked with oil based etching ink. The ink sits in the lines and you wipe ink away from the surface areas. The plate is then run through an etching press onto damp paper and the pressure of the press forces the ink out of the lines onto paper. It’s the opposite of relief printing such as a lino where you carve into a surface and print from the ink that’s rolled onto the top surface. Instead, with drypoint you are inking the lowest parts of the plate and wiping the surface clean creating positive lines that look a lot like drawing. You can then print multiple copies either to sell as an edition or to experiment with different materials.
For this reason it’s a great project to do with secondary age or older children and adults as they get multiple copies of the same image to experiment with without worrying about spoiling their original.
The Pros:
You can get delicate and highly detailed images
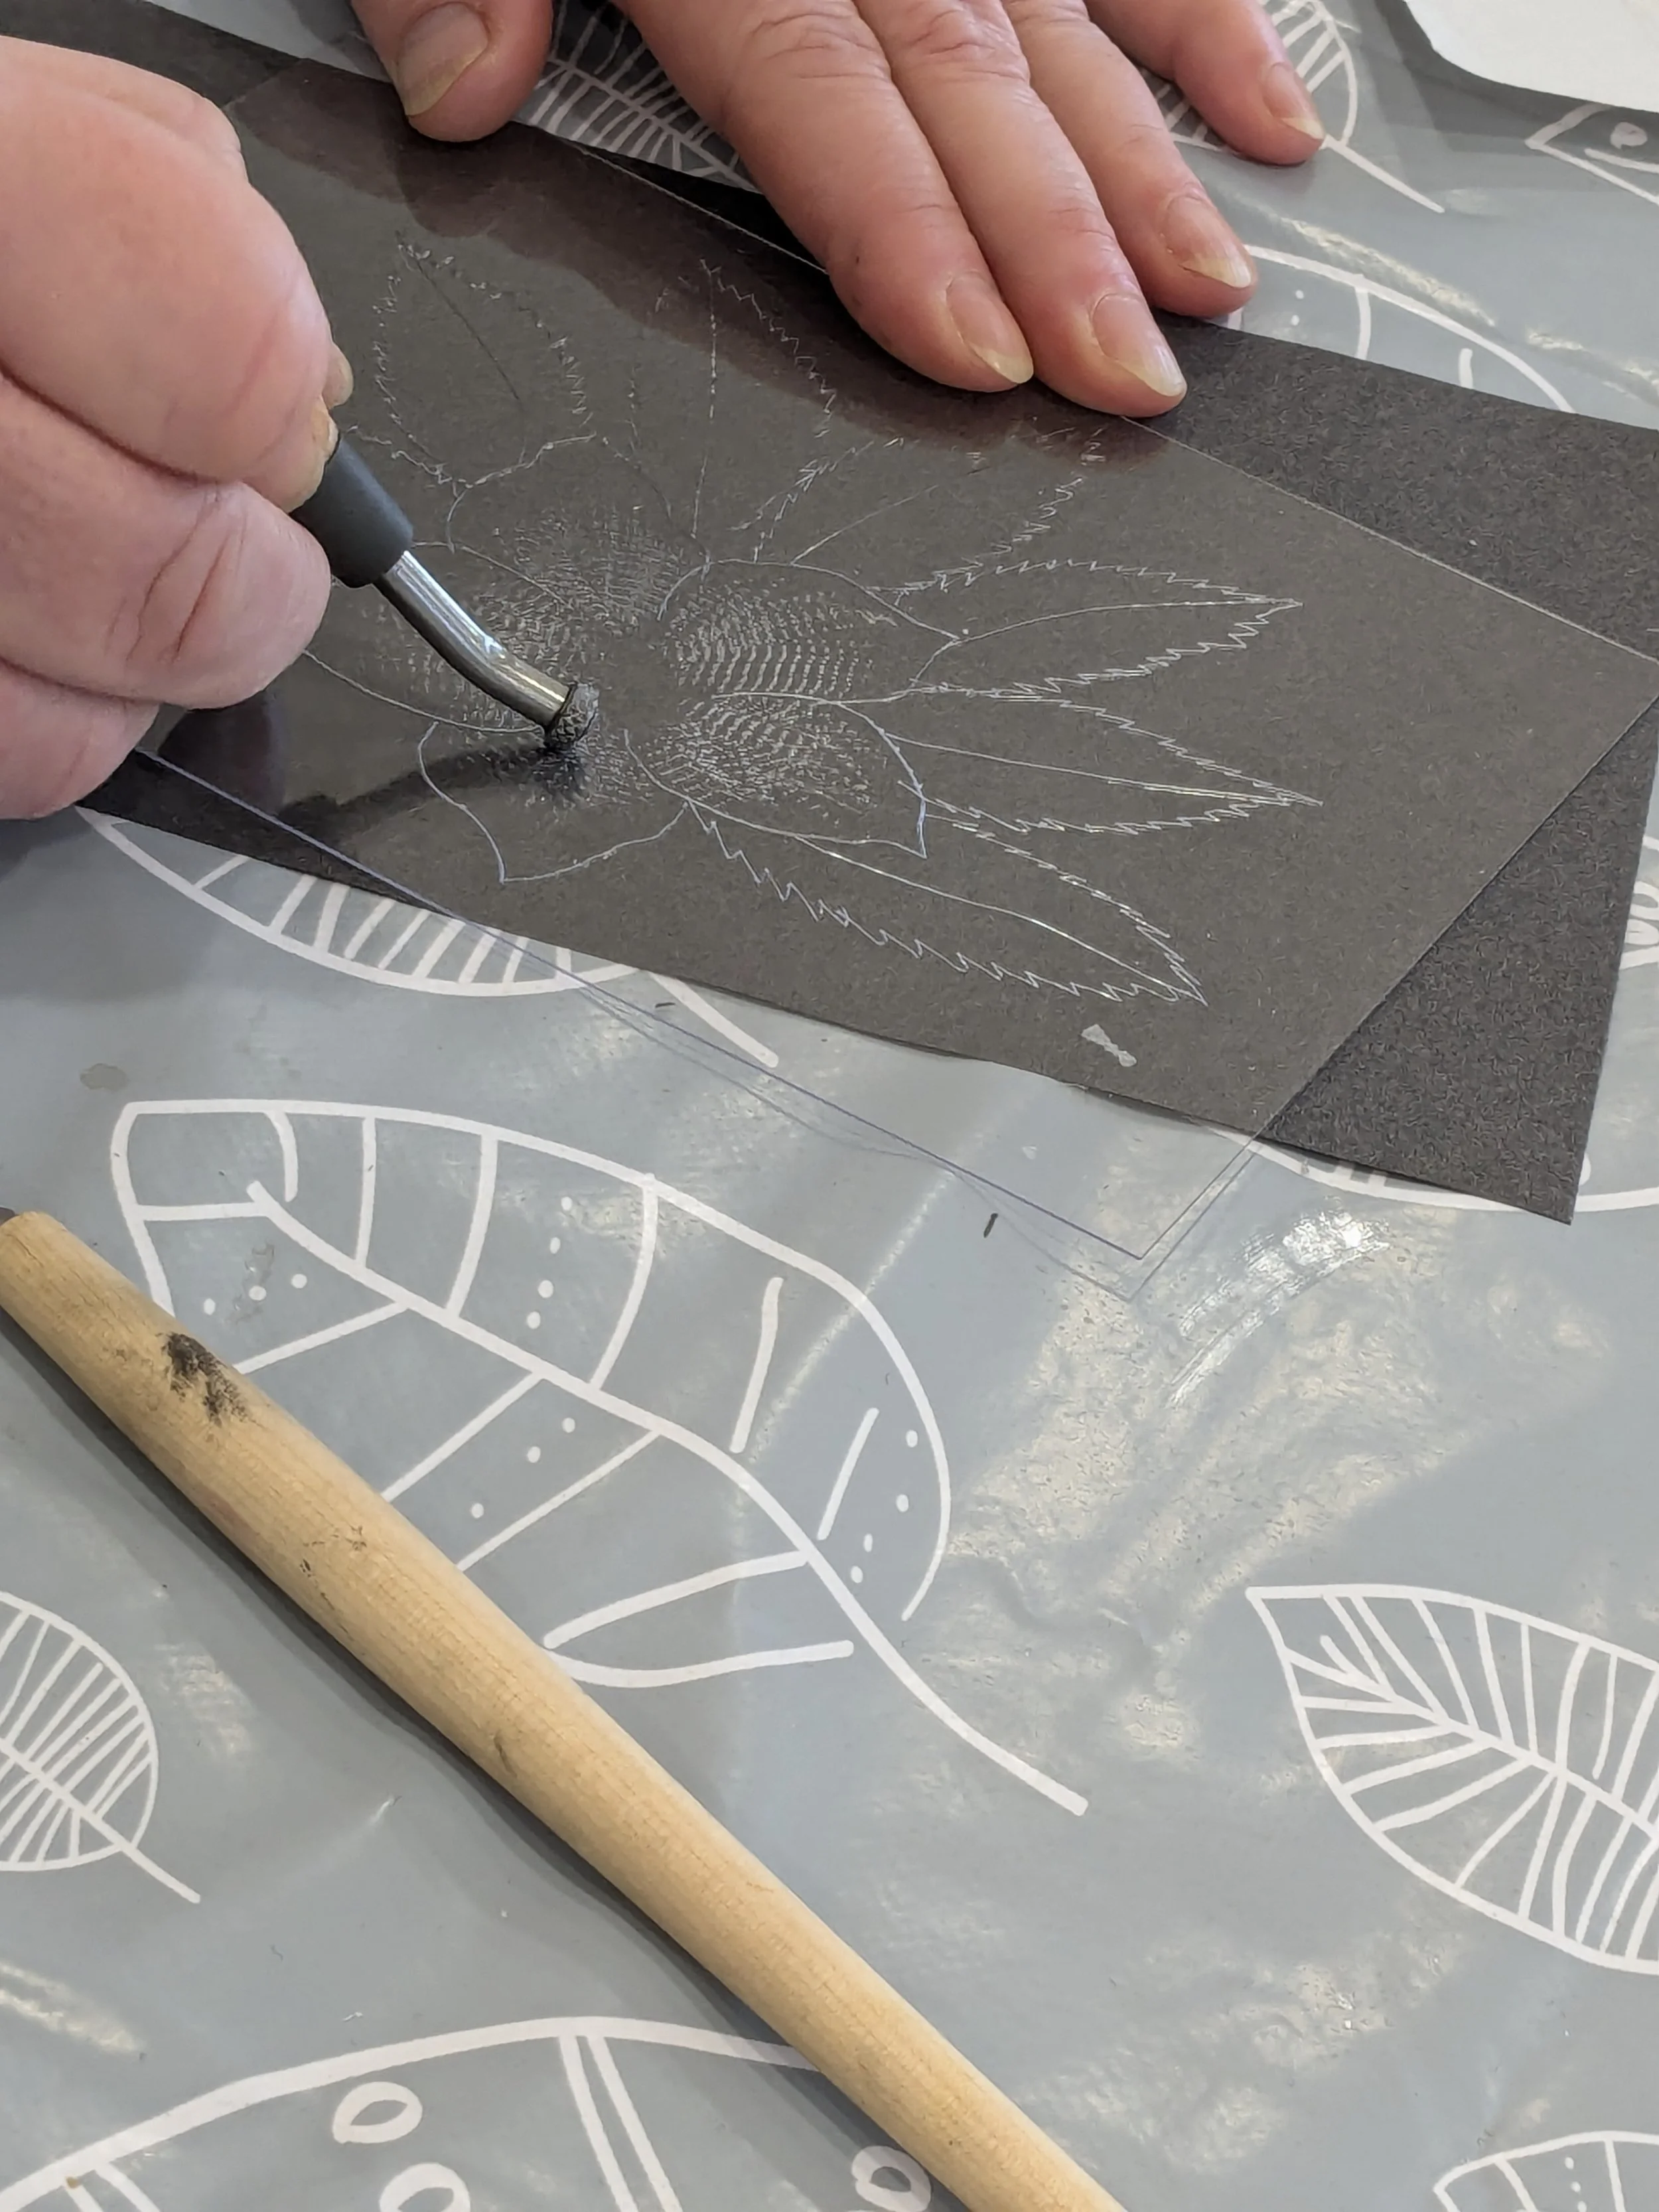
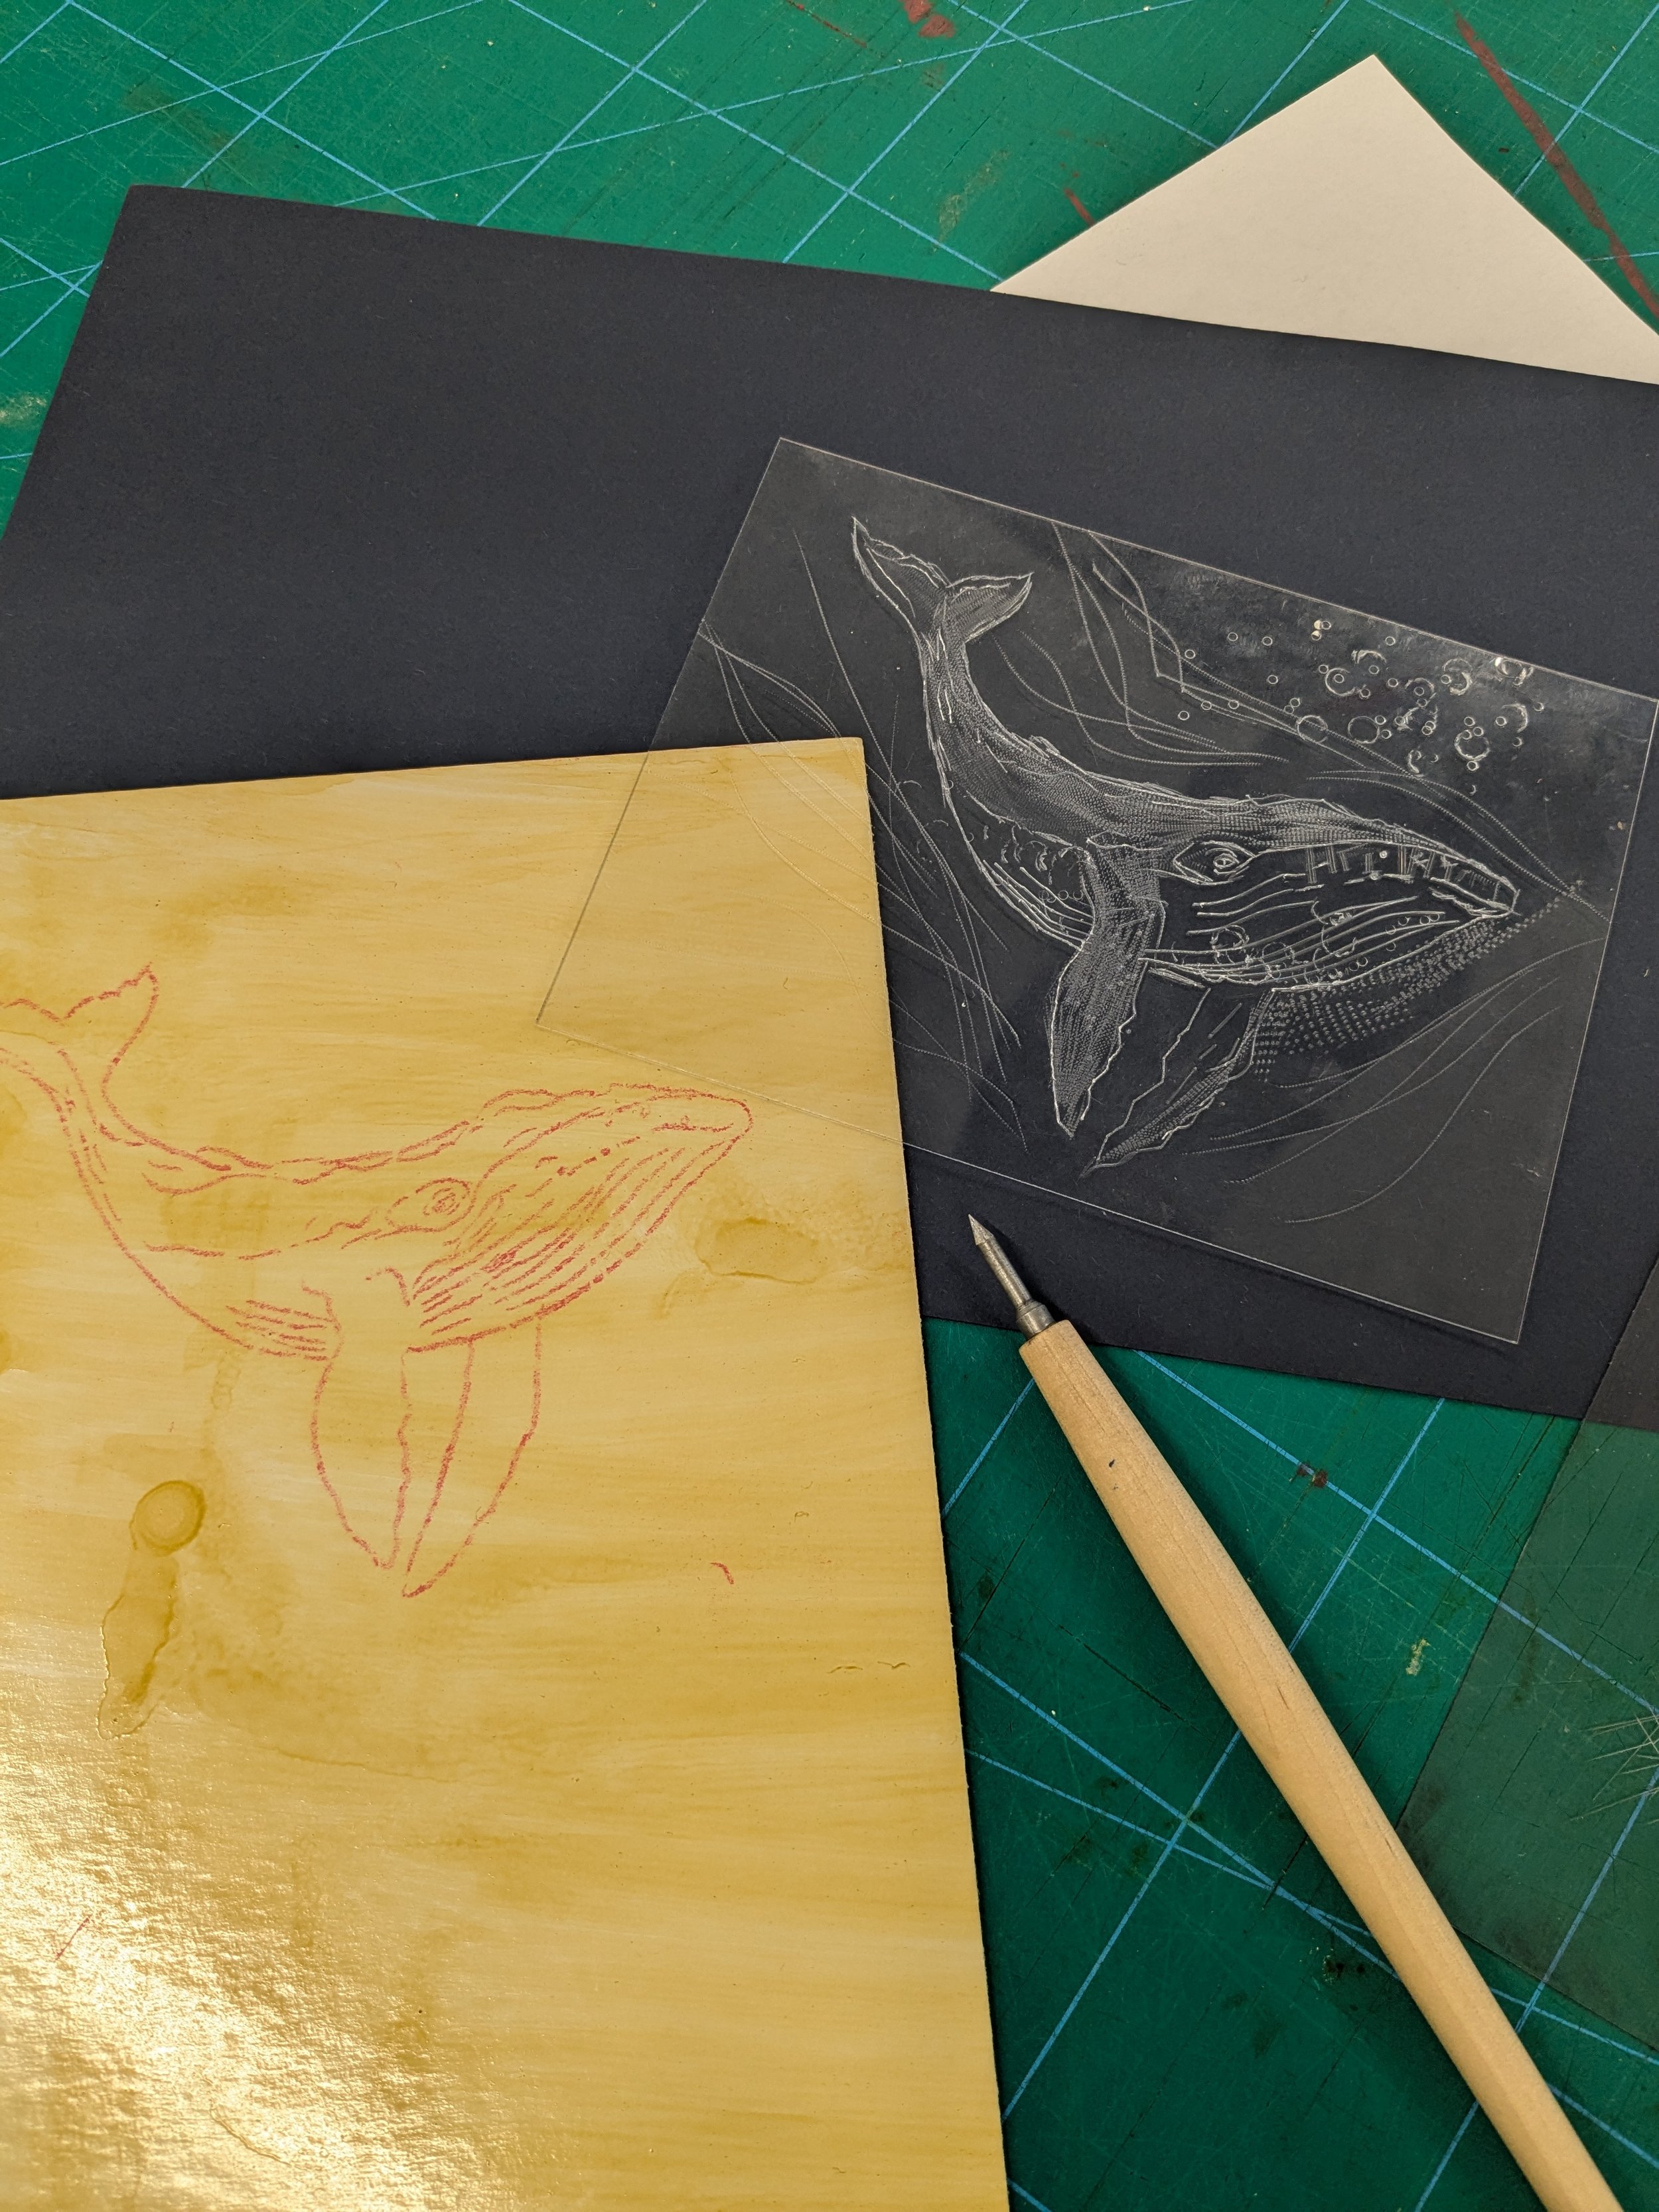
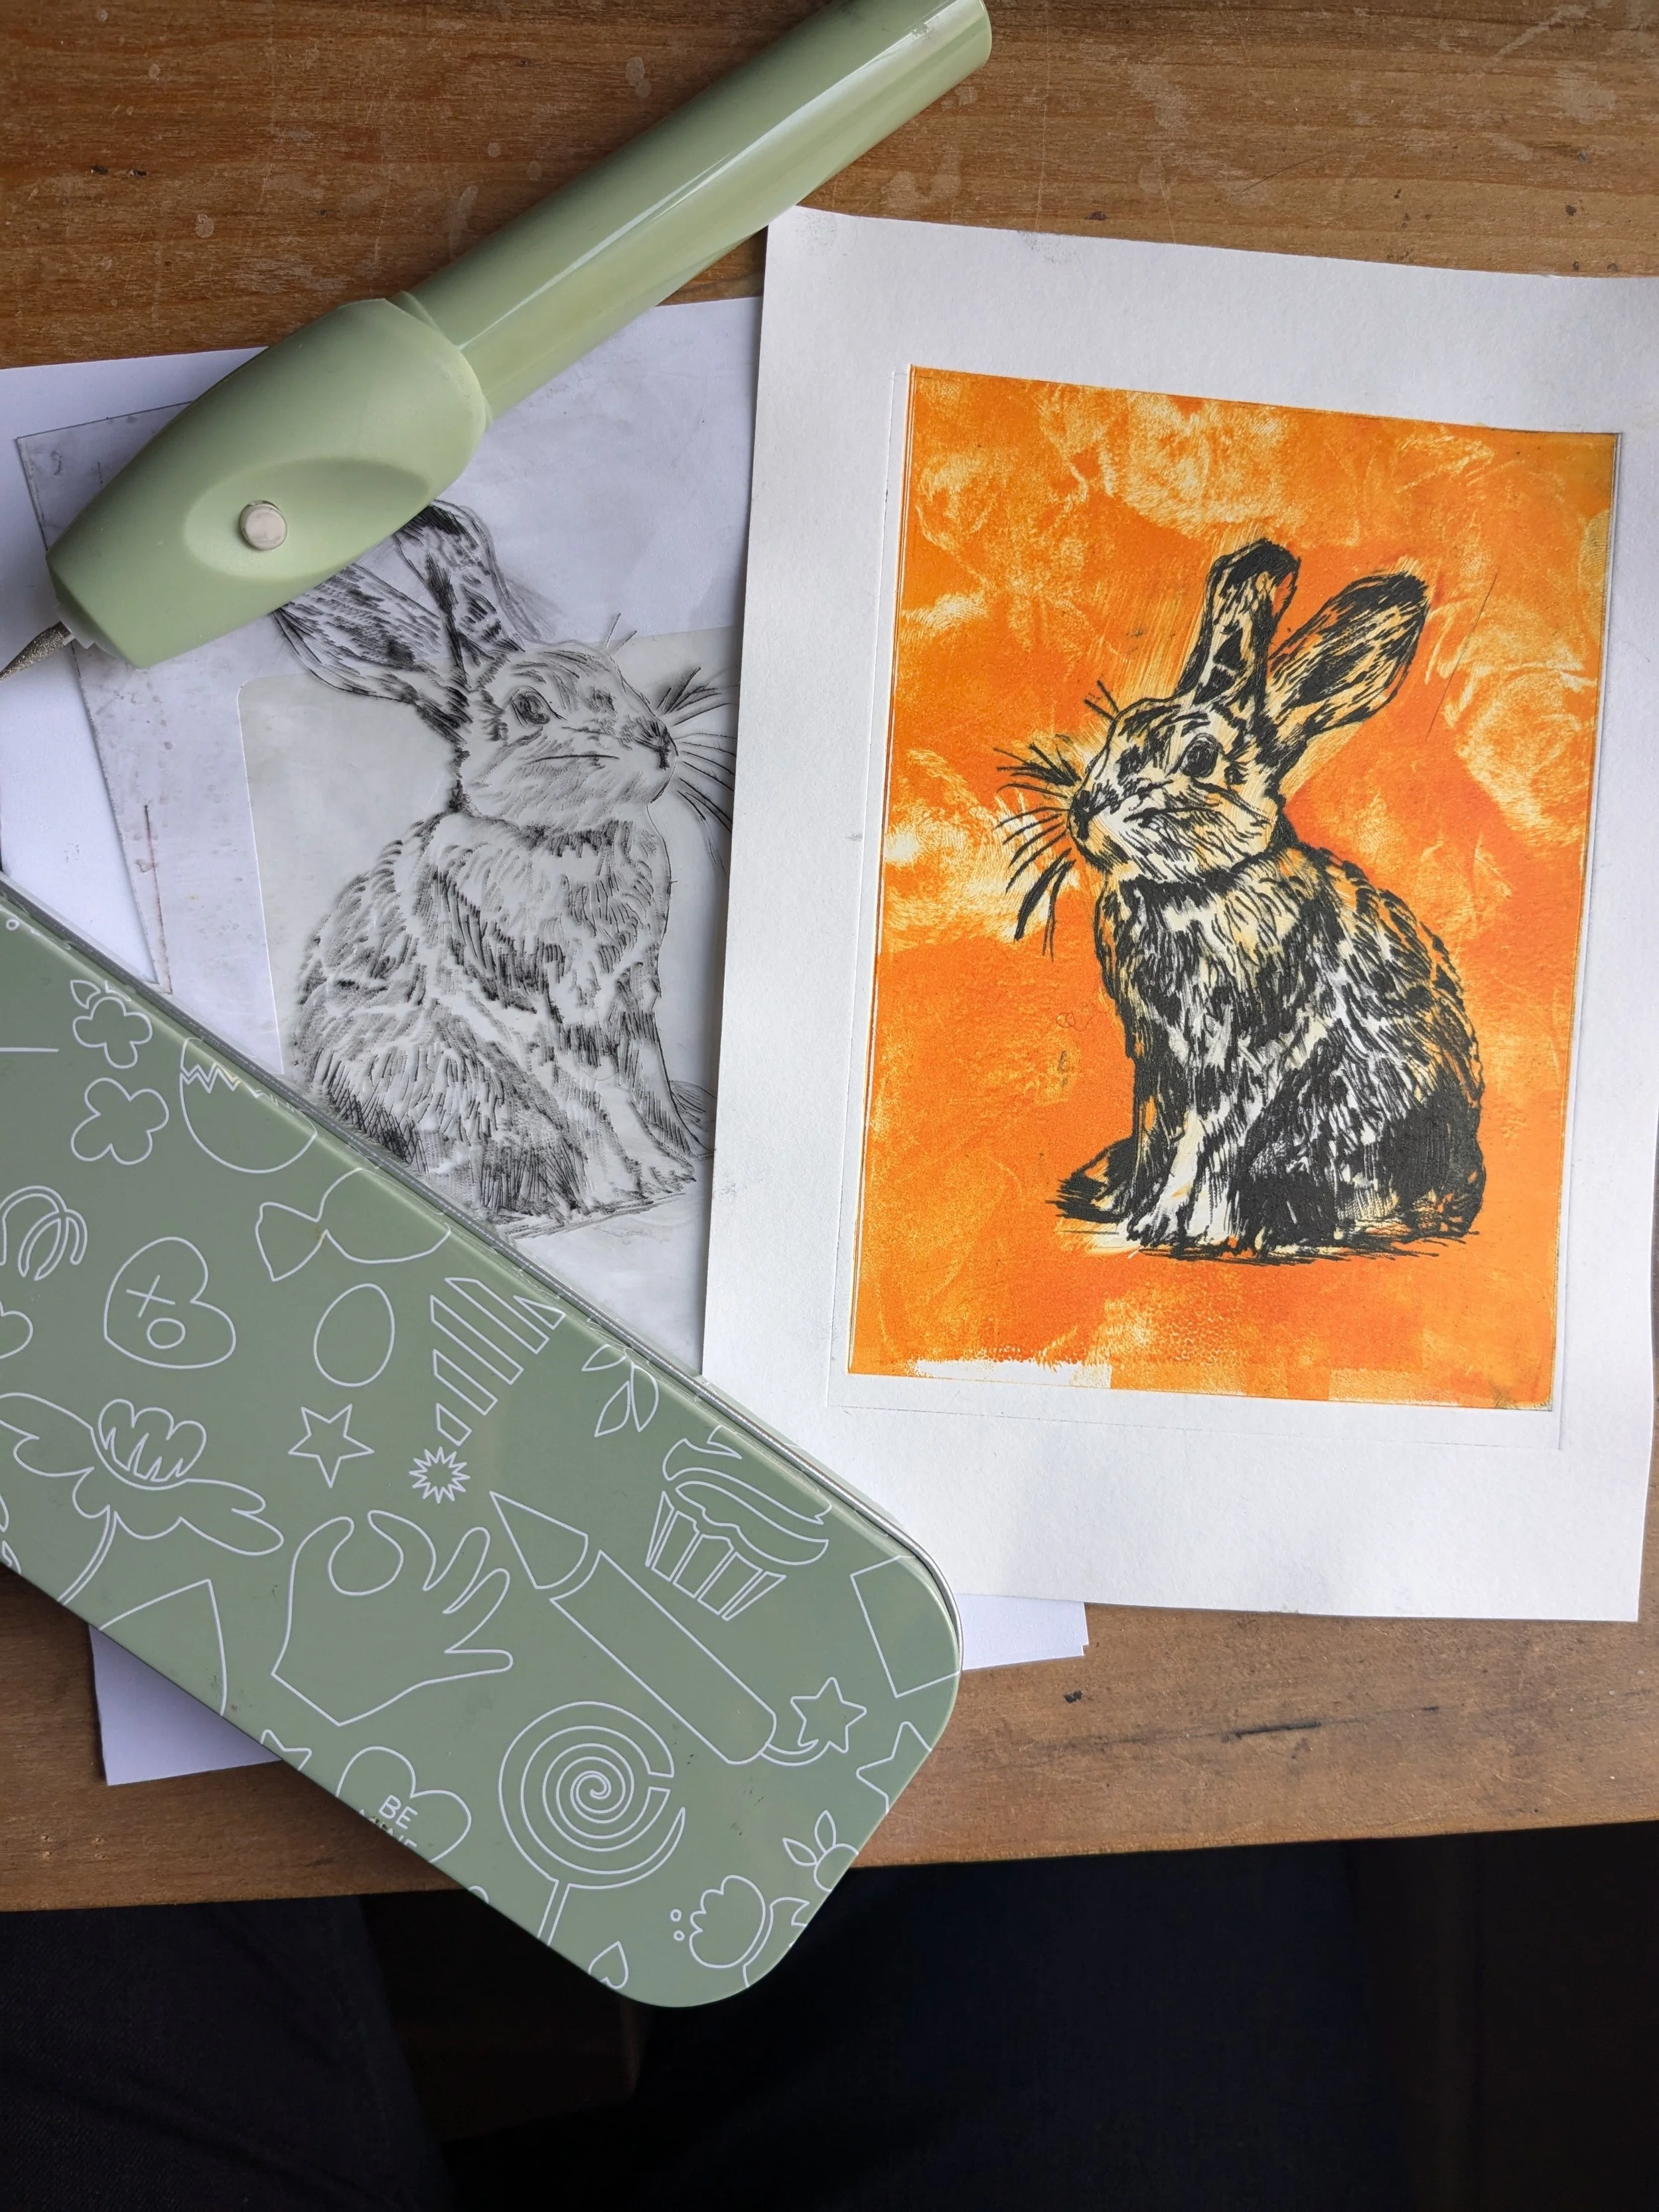
By using plastic drypoint plates you can trace directly over an image, no need for natural drawing skills. You recreate the image with a drypoint scribe, needle or scratching and marking tools as you go.
Plates are cheap and easily available online I buy mine from Jacksons art supplies.
You can use other types of plastic e.g. cheap clipframe plastic works well
Remember to reverse your original image on a photocopier for example but only if there are details which need mirroring such as text or it’s important that the design faces a certain way.
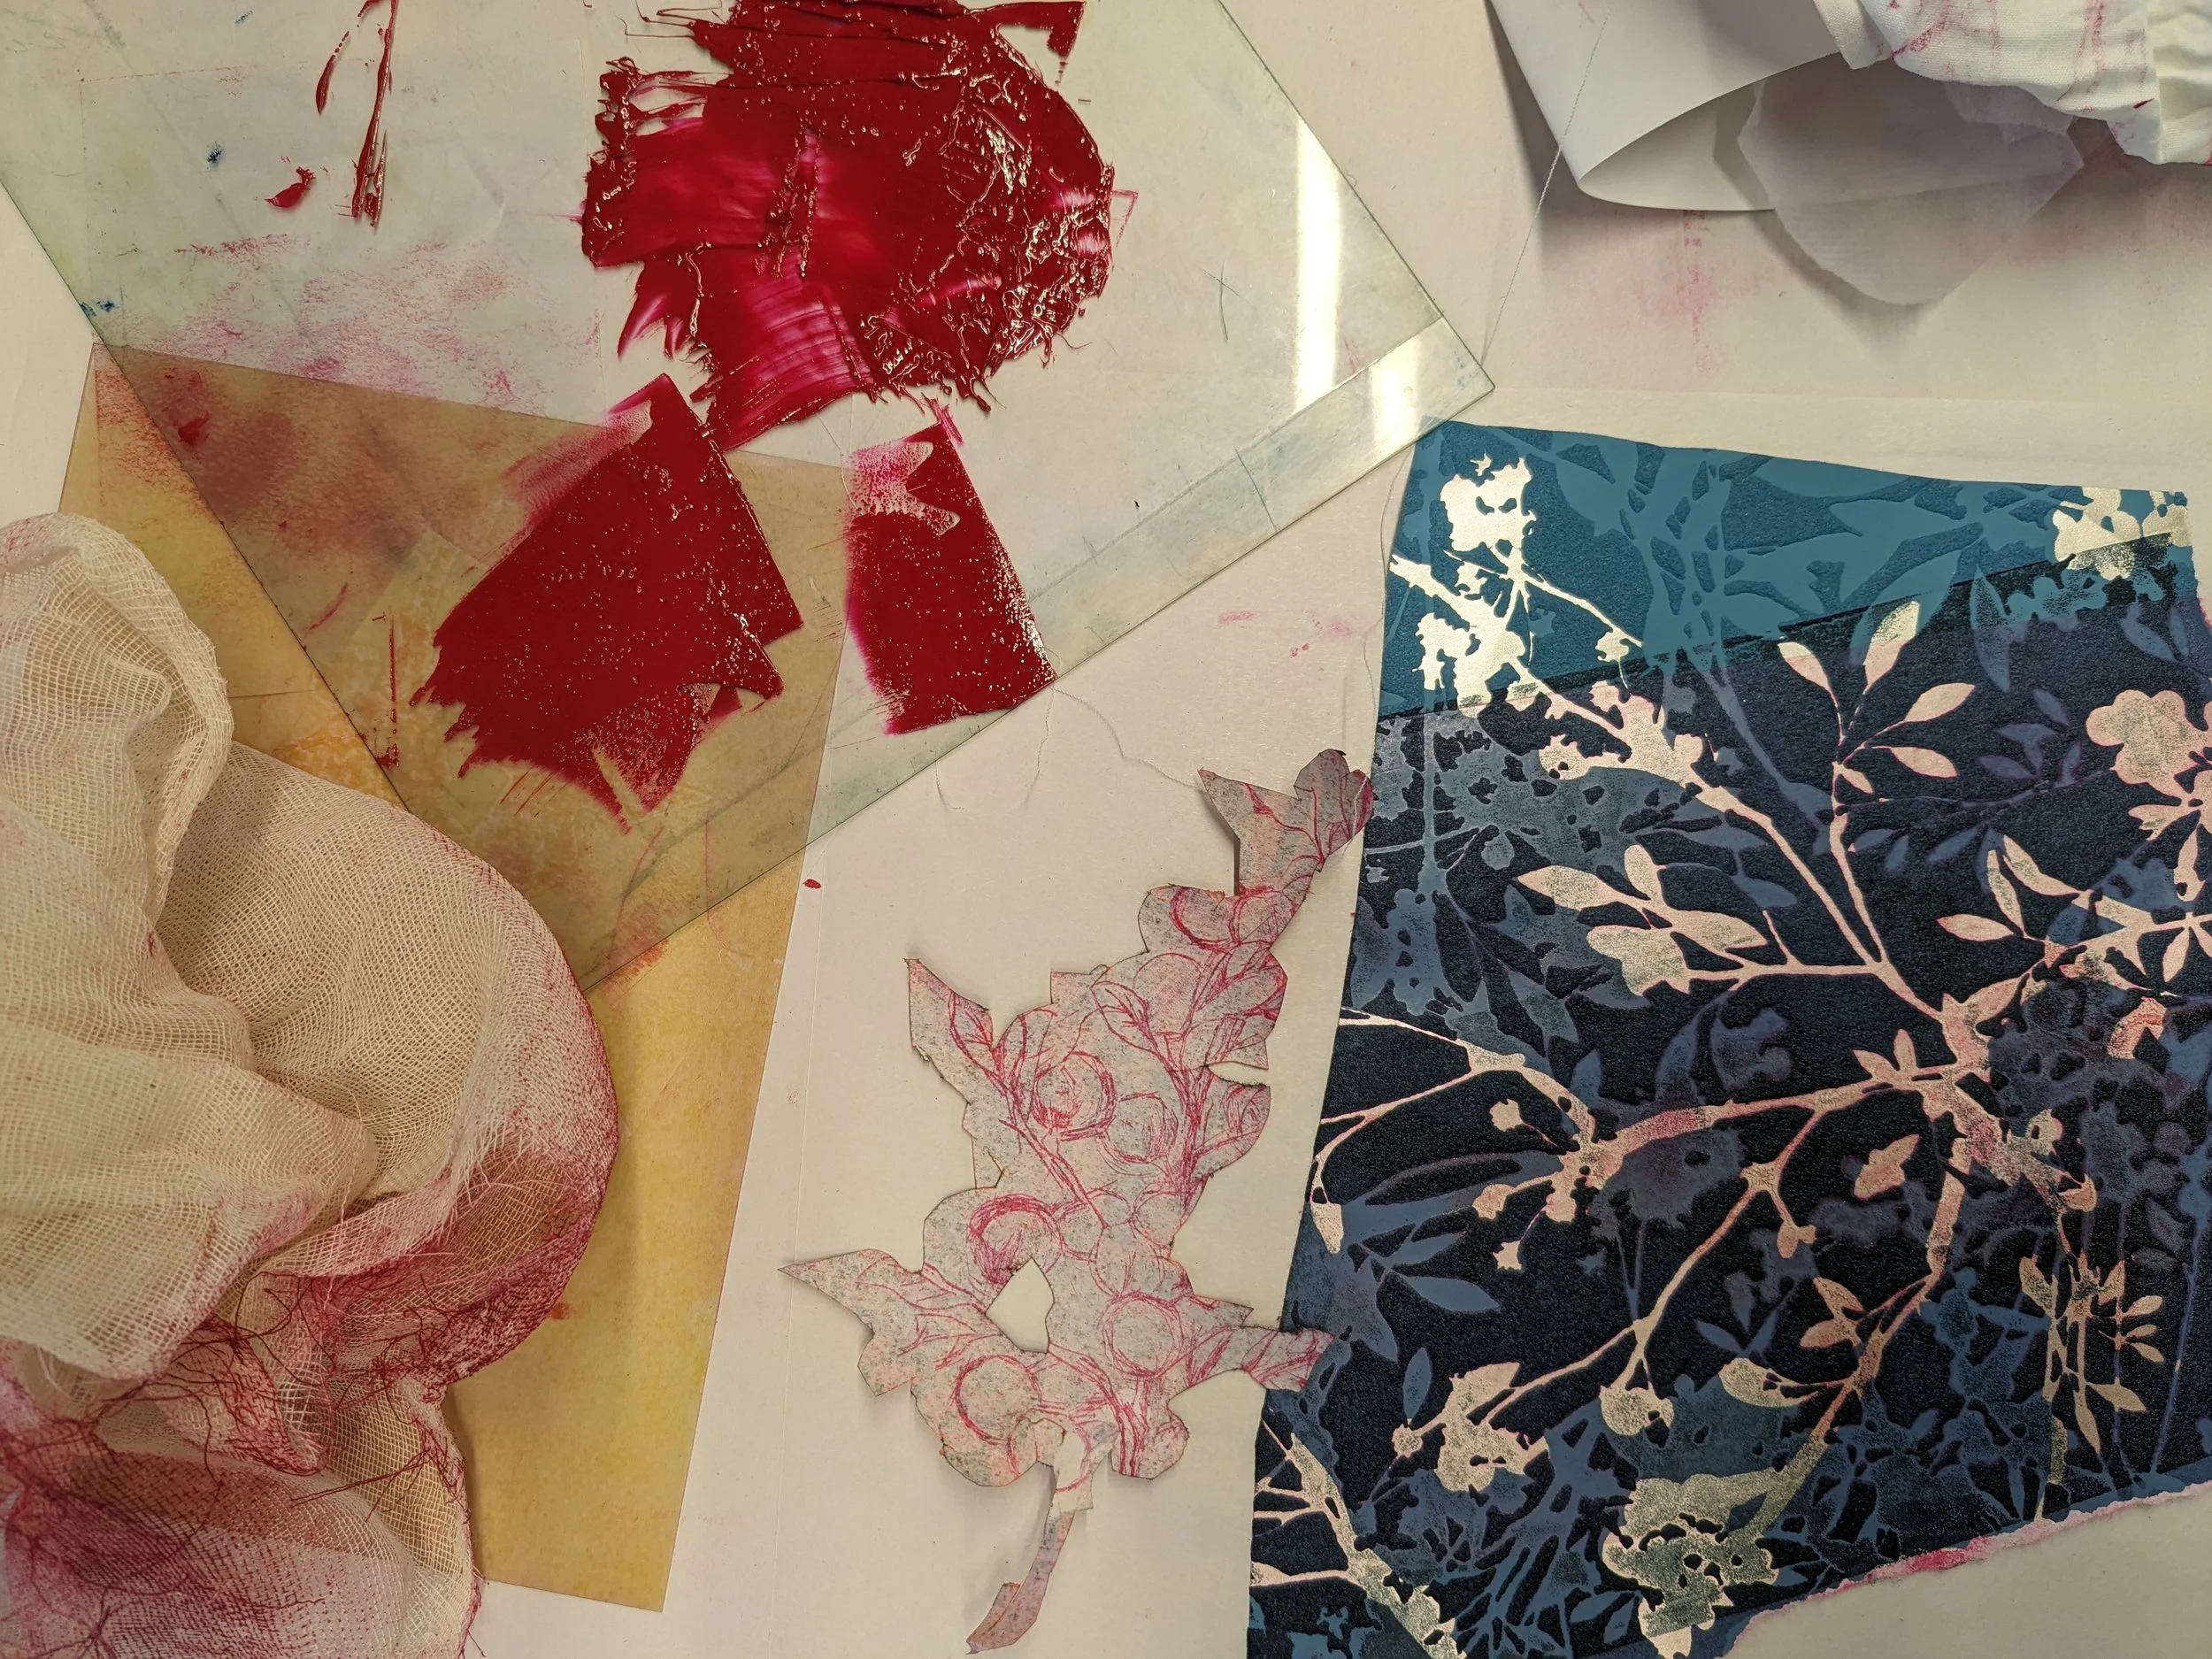
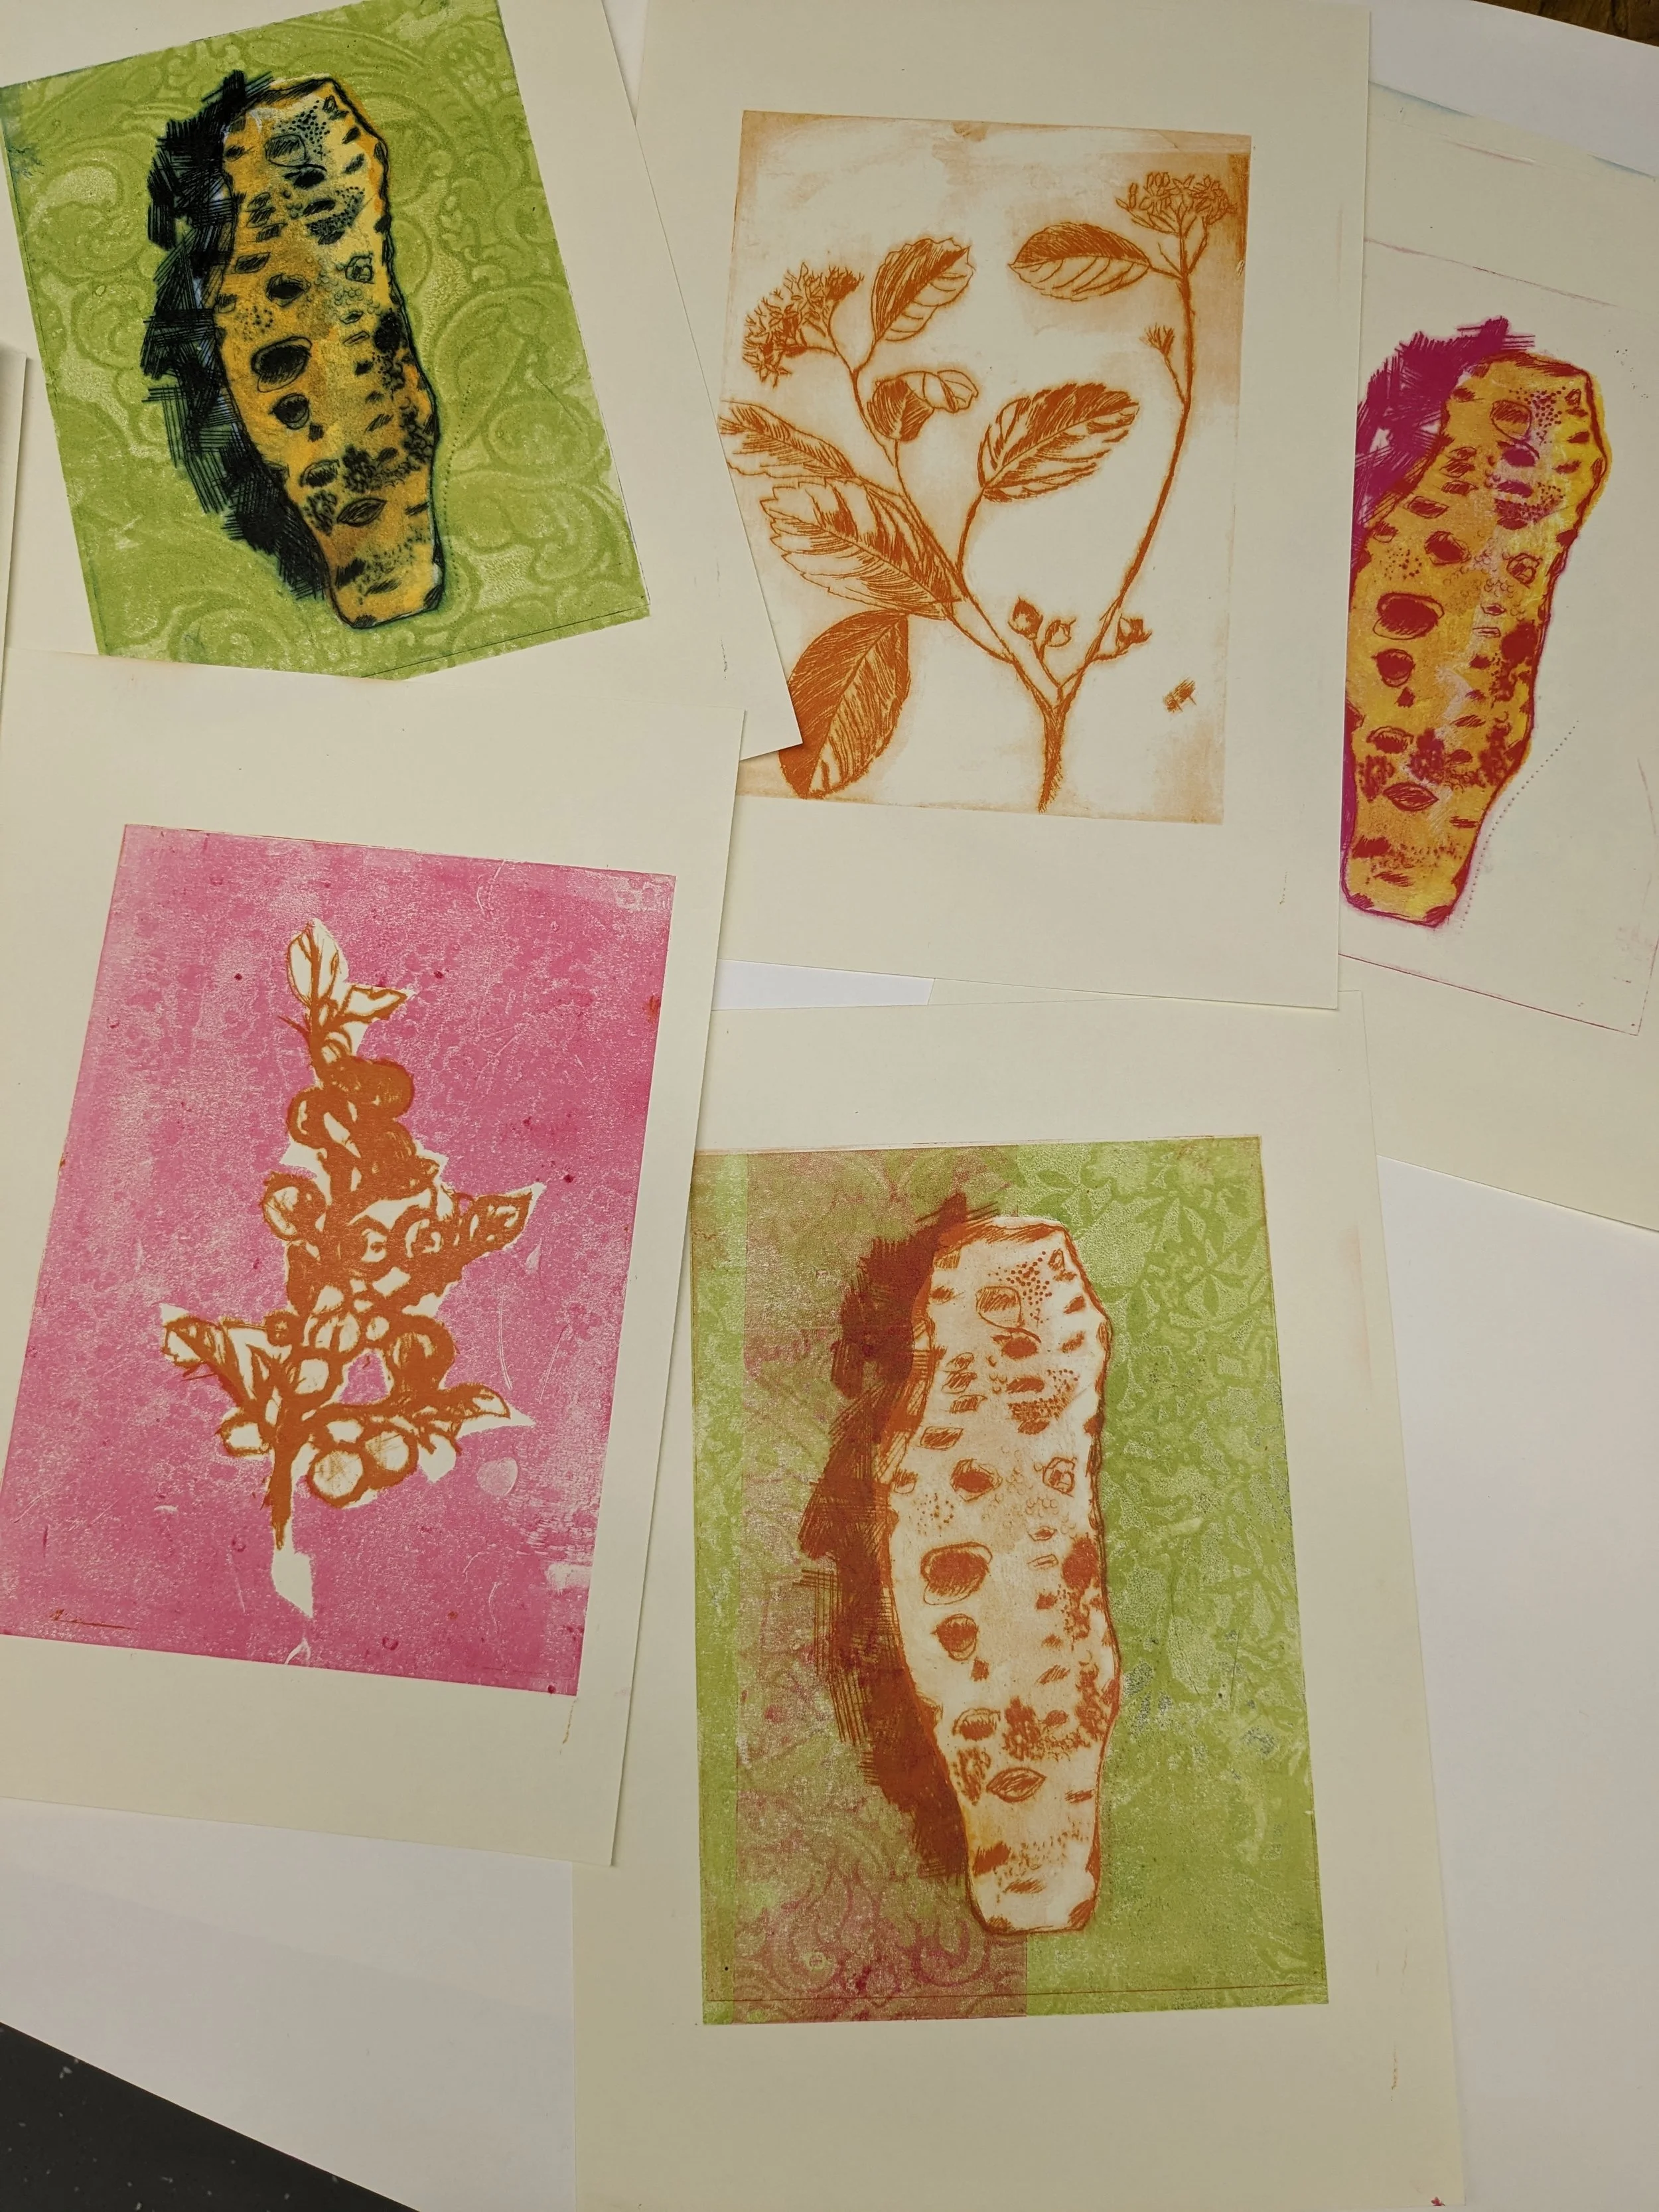
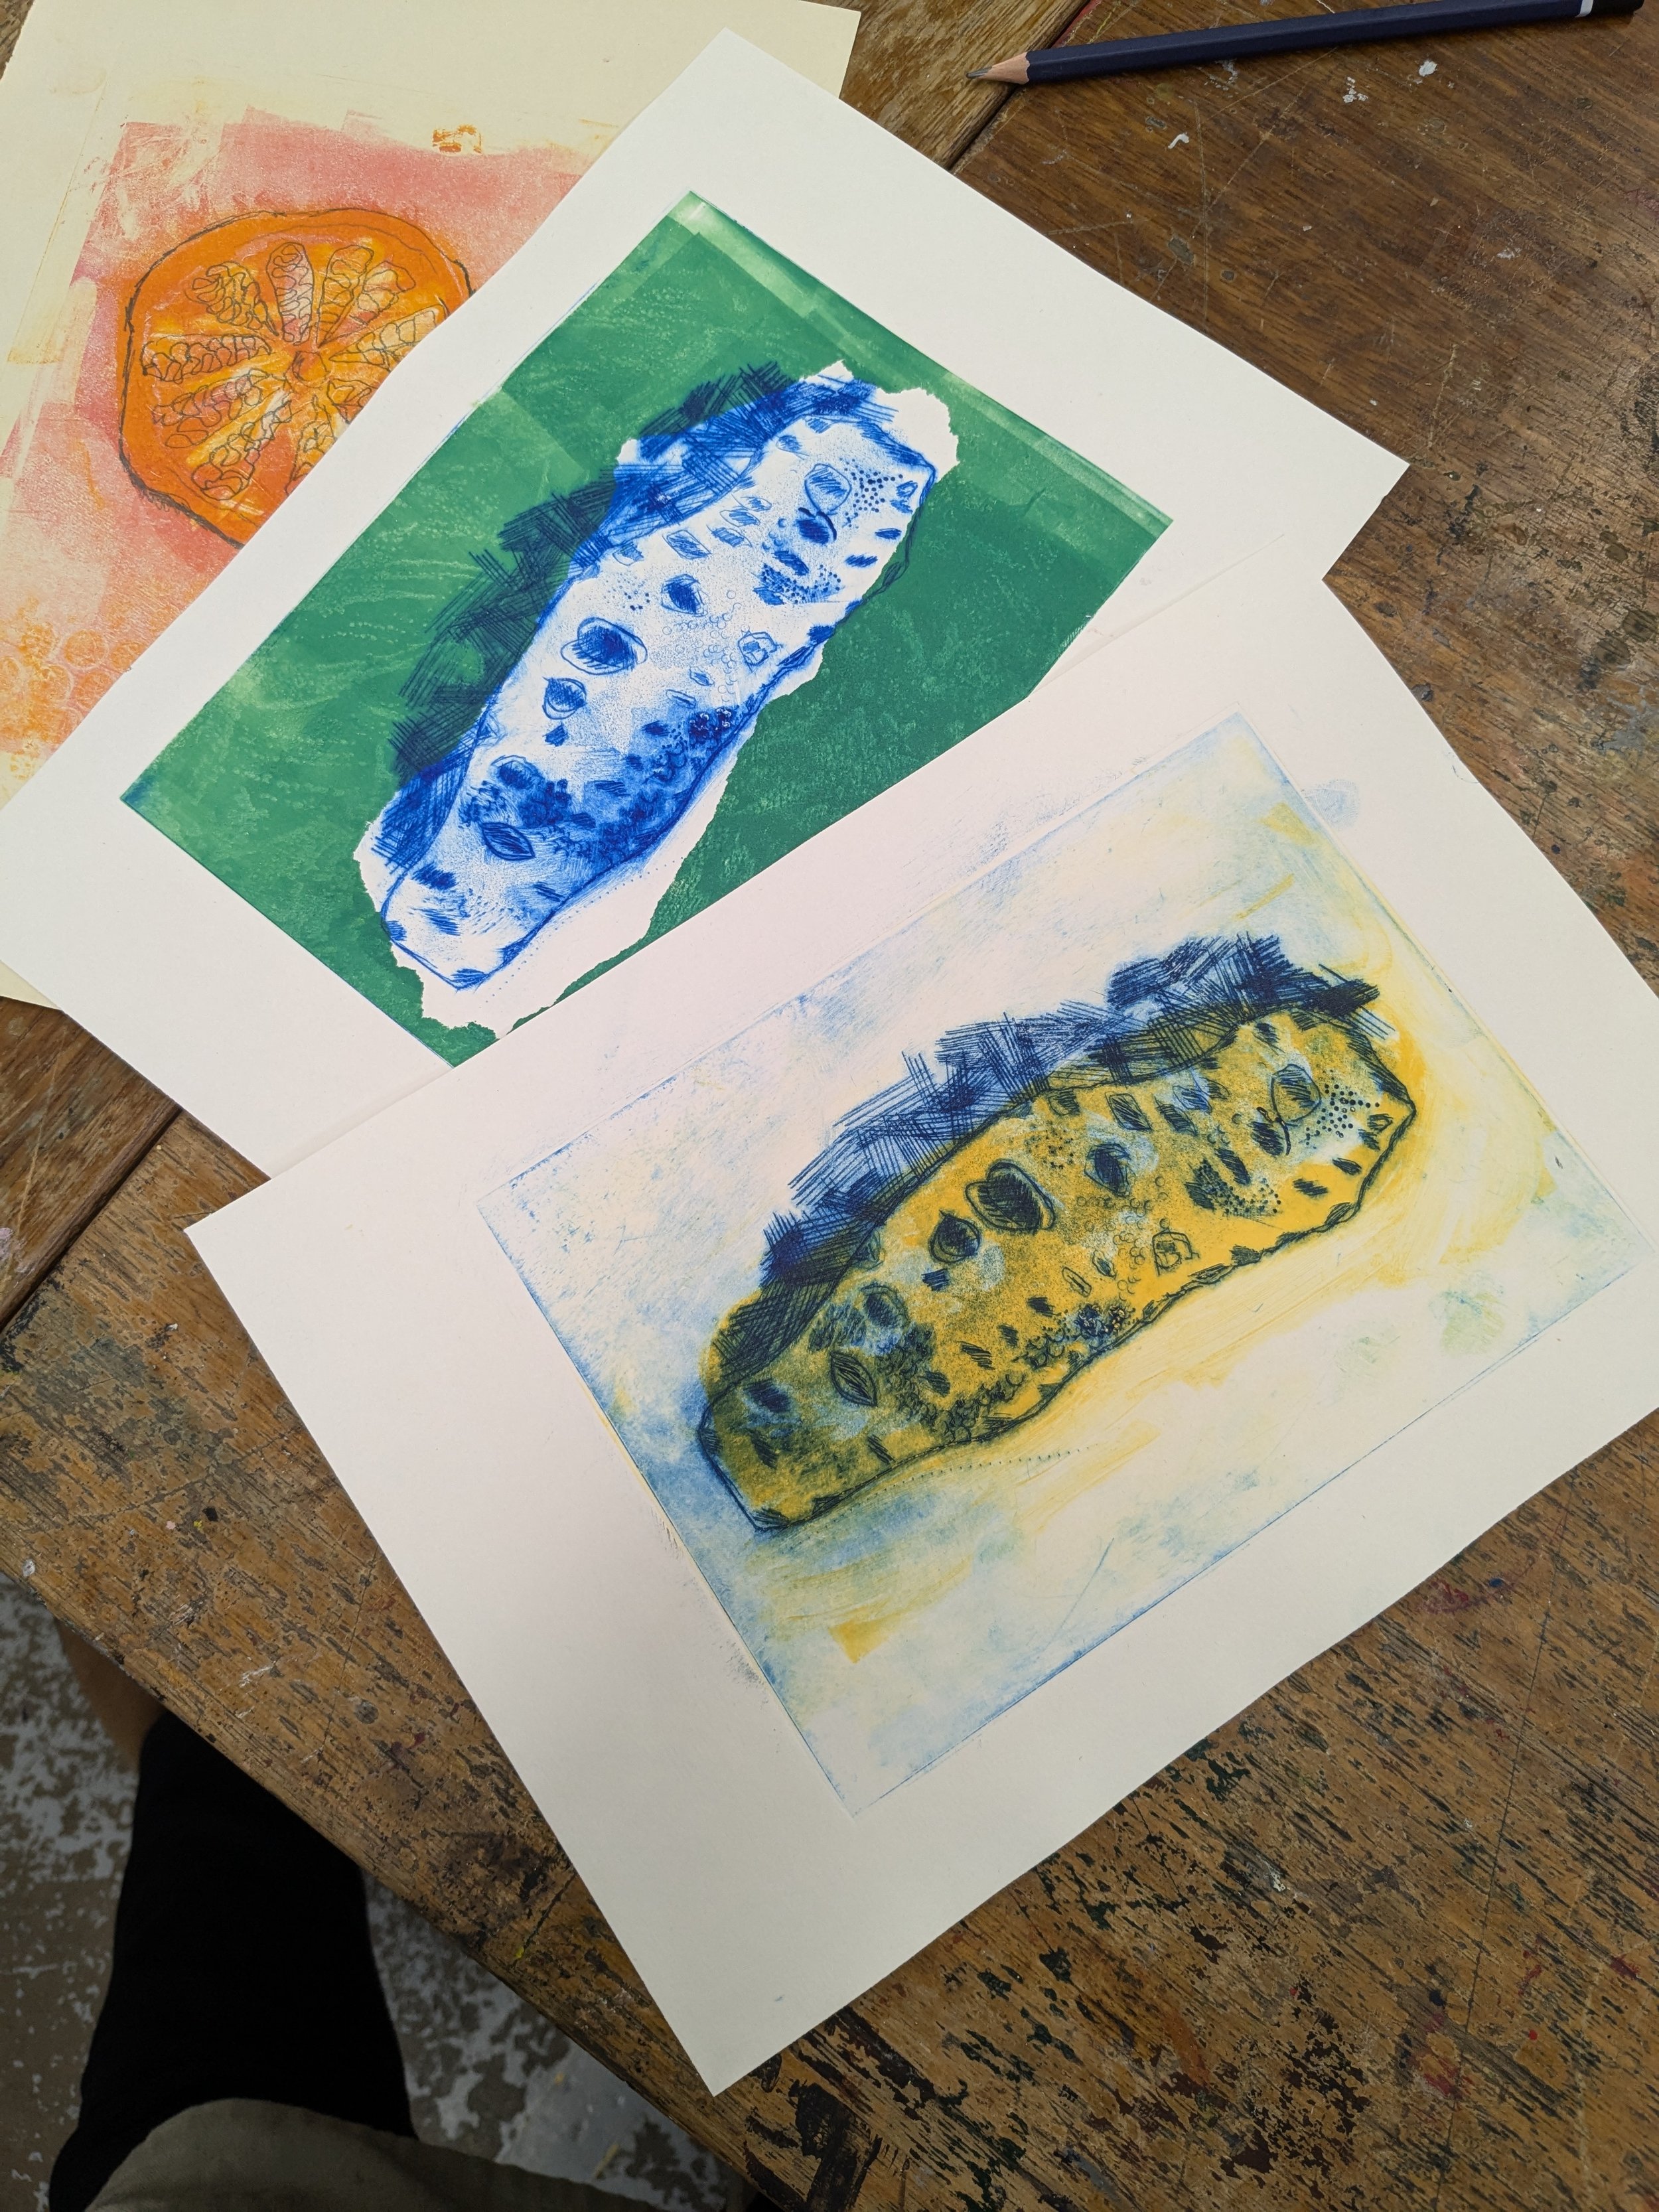
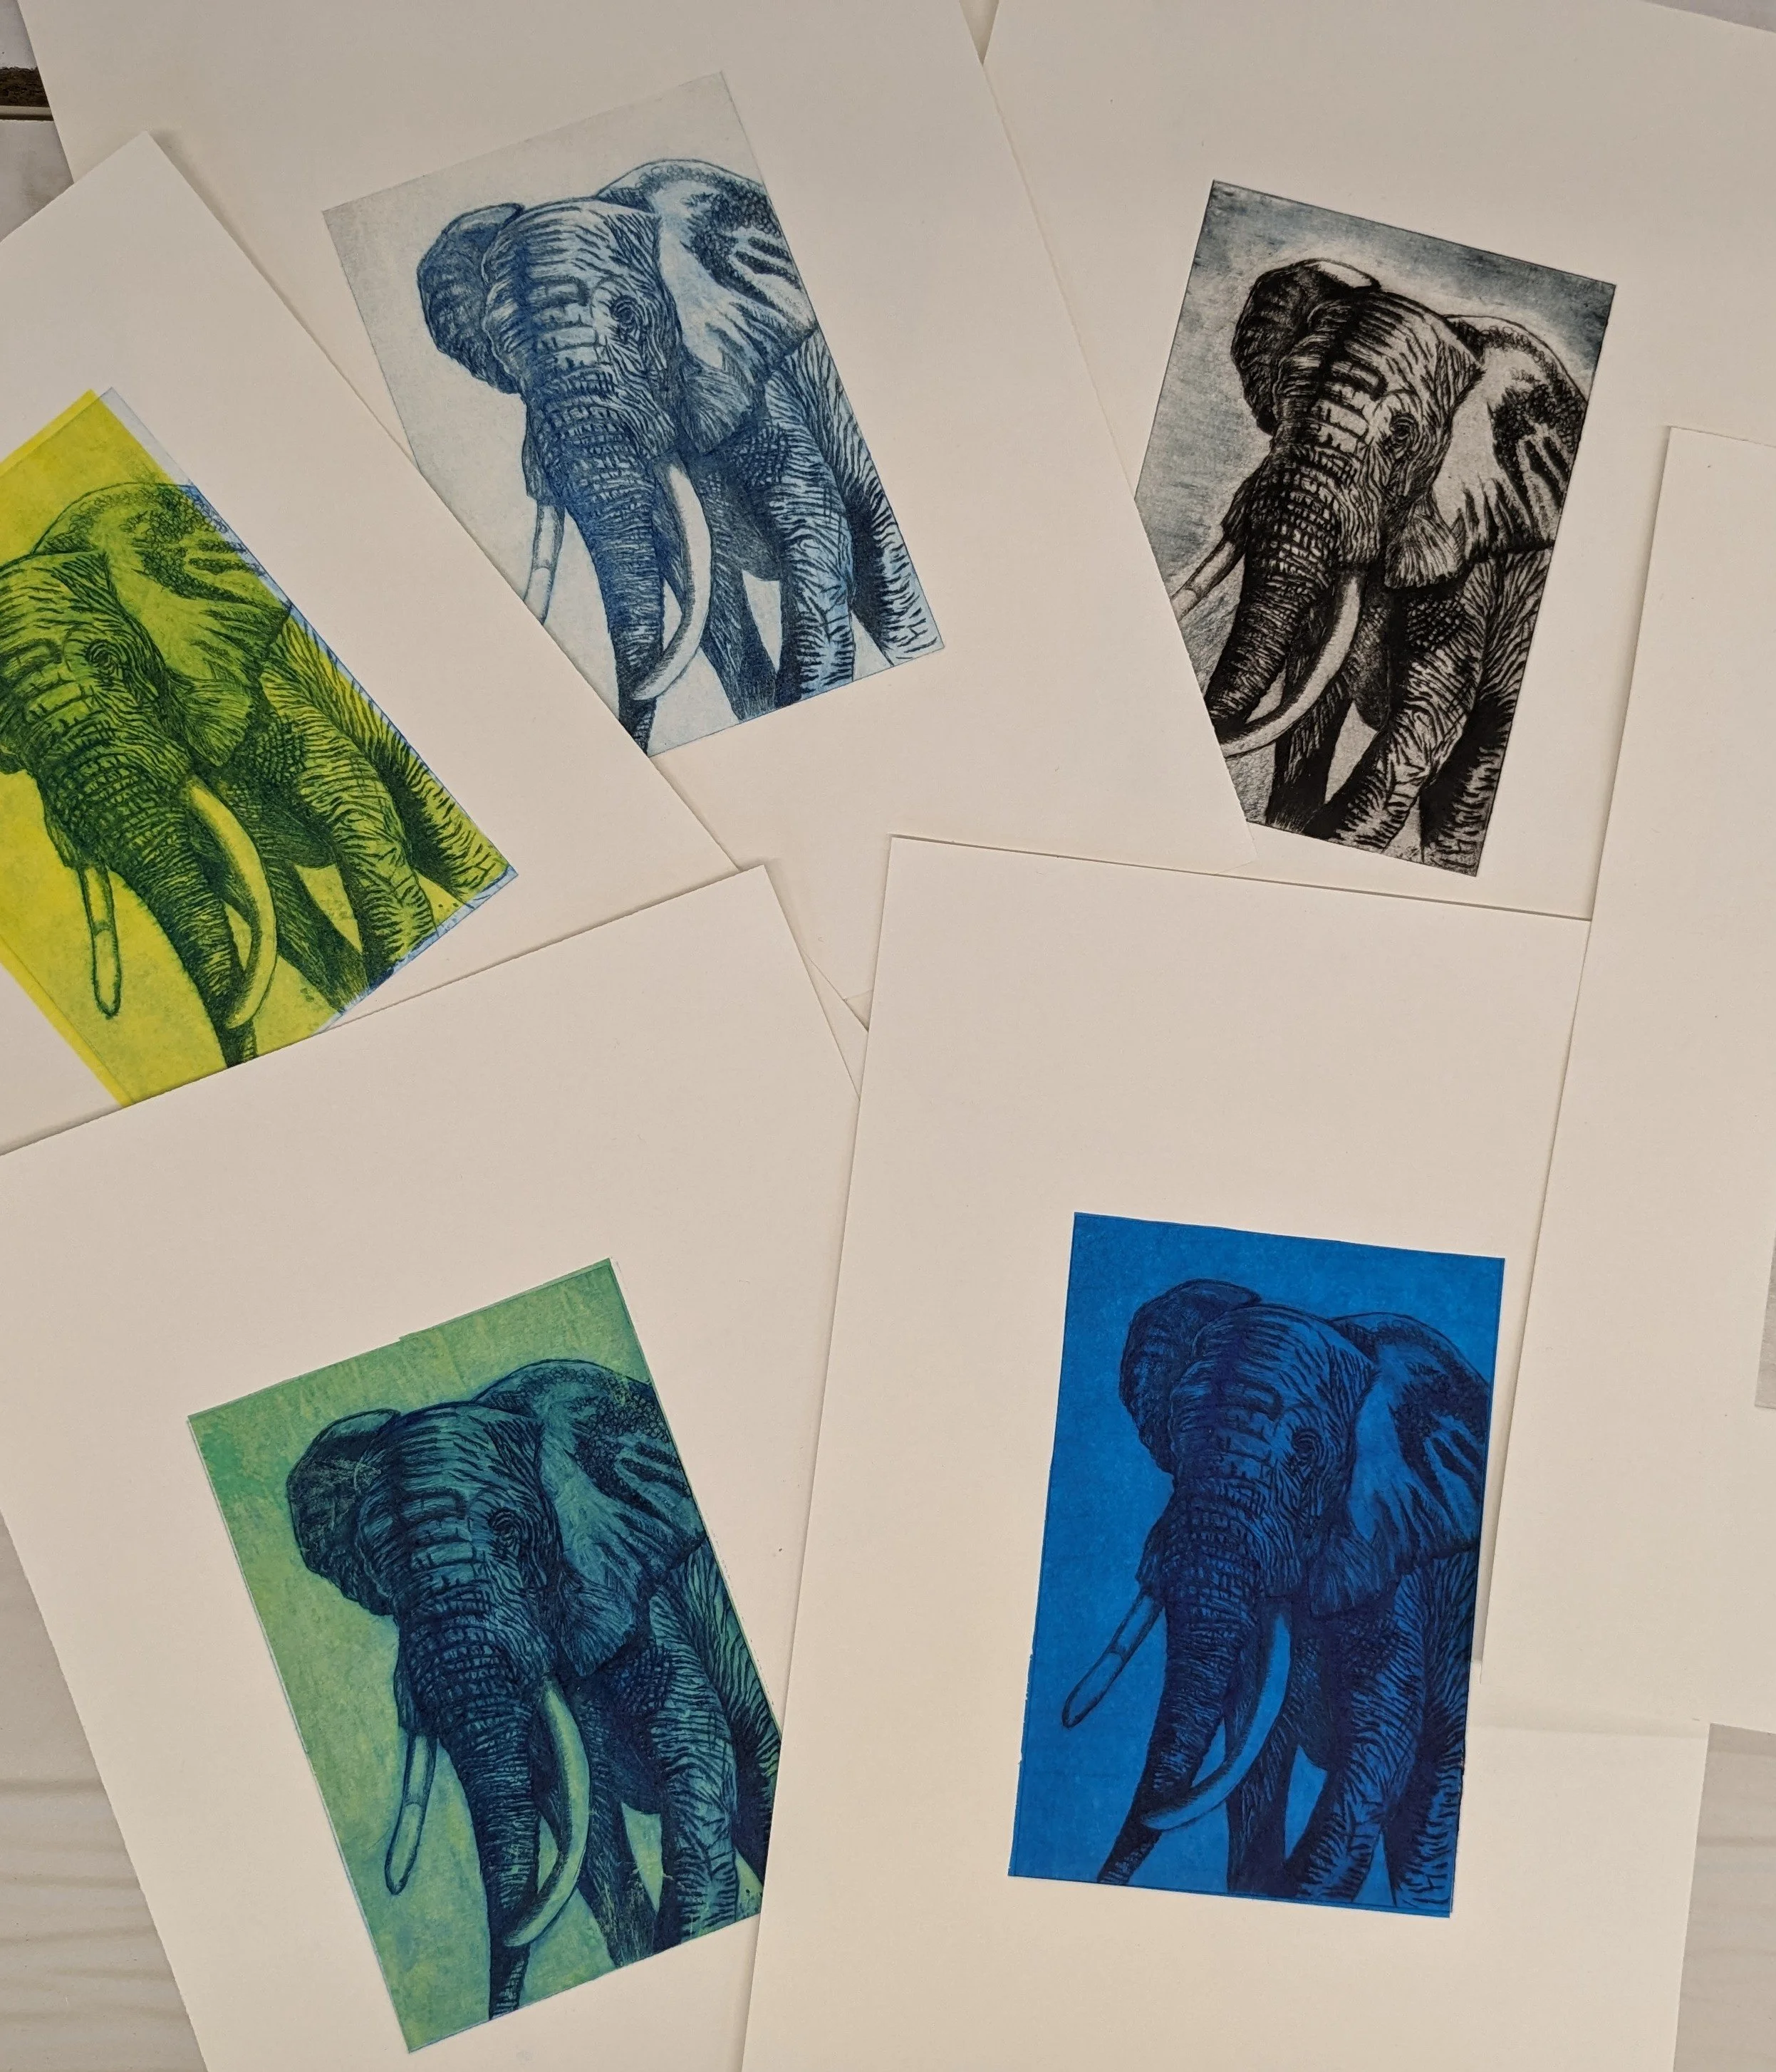
Versatile - once you have your plate there are lots of different ways to experiment with them or add colour e.g. watercolour, chine colle or overprinting with different inks
The Cons:
Drawing into plastic can make an irritating sound that some students find annoying,
Because of the resistance of the plastic plate it’s difficult to get smooth fluid lines you’re in complete control of. If you want a more natural drawing process you should progress on to learning about etching which works on a similar principle but you draw your marks into a smooth wax ground.
You need access to an etching or craft press that can exert enough pressure to print a detailed image. - there are tutorials showing different work arounds but realistically best results will always need a press. - Sally Hirst has an excellent video comparing craft presses.
It’s quite a messy process and best to do with a bit of space around you and if you intend to make several copies as the set up takes a while.
Follow this step-by-step guide to create, ink, and print your own plate using an etching press.
1. Gather Your Materials
Before you start, make sure you have your supplies ready: - Highlighted materials are essential, other materials are optional
Drypoint plate (such as a clear or smooth plastic/acetate plate) 0.5 or 1mm are good thicknesses. I buy mine from jacksons art supplies in the UK
Sharp scratching tool and mark making tools such as drypoint needles (available from £2.00) but an large nail wrapped in tape to protect your hands will also work,
Masking or washi paper for attaching your plastic plate to your image
Course sand paper - for adding tone
Roulette tools (optional) - these are expensive but a single roulette tool can be bought and is a wheel with textures teeth on for adding tone in small areas
Oil-based printing ink. - I use caligo oil based water washable ink - relief inks can be used if you don’t have etching ink.
Application tools like pieces of stiff card or rubber, mini squeegee or credit card would also work to spread the ink.
Wiping materials including scrim, rags,
Plate polishing - tissue paper, newsprint or yellow pages for polishing
Cotton buds - these are useful for adding highlights with detailed wiping.
Dampened paper, Printmaking paper such as fabriano rosaspina or watercolour paper or heavyweight cartridge paper (200gsm+) also works well and is more readily available in shops such as hobbycraft - it should be paper that can be soaked in water and withstand the press so should be fairly robust.
a tray or sink for soaking water for a few minutes before use.
Access to an etching press, craft press or pasta machine - Sally Hirst has a very good blog post comparing craft presses
Newsprint or paper or jayclothes for blotting damp paper
Heavy books or boards for flattening your finished prints or they can be ironed on a low heat.
2. Designing and Making Your Plate
Most people use a photograph or found image to work from. I’d start with a postcard size or slightly larger image as the scratching takes a while. Resize your image to the size of plastic you have or vice versa (cut the plastic down with a craft knife to the size of your image.
Remember your image will print the the opposite way round eventually so you will need to mirror image this on a photocopier or online software before printing if there is text for example. I don’t usually reverse my images.
Tape your plastic over your image with masking or washi tape so it doesn’t move while you’re making the plate.
Use drypoint tools, or sharp tools such as a long nail wrapped in tape to make marks, scratch, and score lines directly into the surface of your plate. These scratches will create a raised ridge of plastic called a burr alongside the line - you can usually feel these with your fingertip. When inking the burr will hold onto ink giving the characteristic soft fuzzy line you get with drypoint.
You need to scratch deep enough to feel a groove in the plate with your fingertips but not so deep that you go right through.
Dampen your paper by soaking for a few minutes in a tray or sink of cold water. This will soften the paper. It’s best to do this while your hands are clean, blot dry on towels or paper so its slightly damp and not wet, you should not be able to see any water visible on the surface. If you aren’t going to be using it for a while then keep it in a plastic bag or sheet to stop it drying out.
3. Intaglio Inking
Push oil-based printing ink into the lines, gaps, and recesses of your plate using pieces of stiff card, rubber, credit card or mini squeegee.
you can wear gloves if you prefer as this will be messy.
Once the whole plate is covered, wipe off all the excess ink from the plate surface, you can use bits of card for this but then will need to use scrim or rags leaving ink only in the grooves.
Polish the surface with paper to clean off excess ink and wipe around the edges and from the back of the plate to avoid an inky border around the print
You can use a rag or cotton bud to wipe further ink off the surface to show as a highlight. Ink left on the plate adds plate tone. For the first few prints you don’t want to leave too much plate tone as you want to see what your intaglio marks look like.
Give the surface and edges a final wipe with tissue or paper to clean it up.
4. Printing on an Etching Press
Place your inked plate onto an etching press - protect the press bed with paper to avoid getting ink on it.
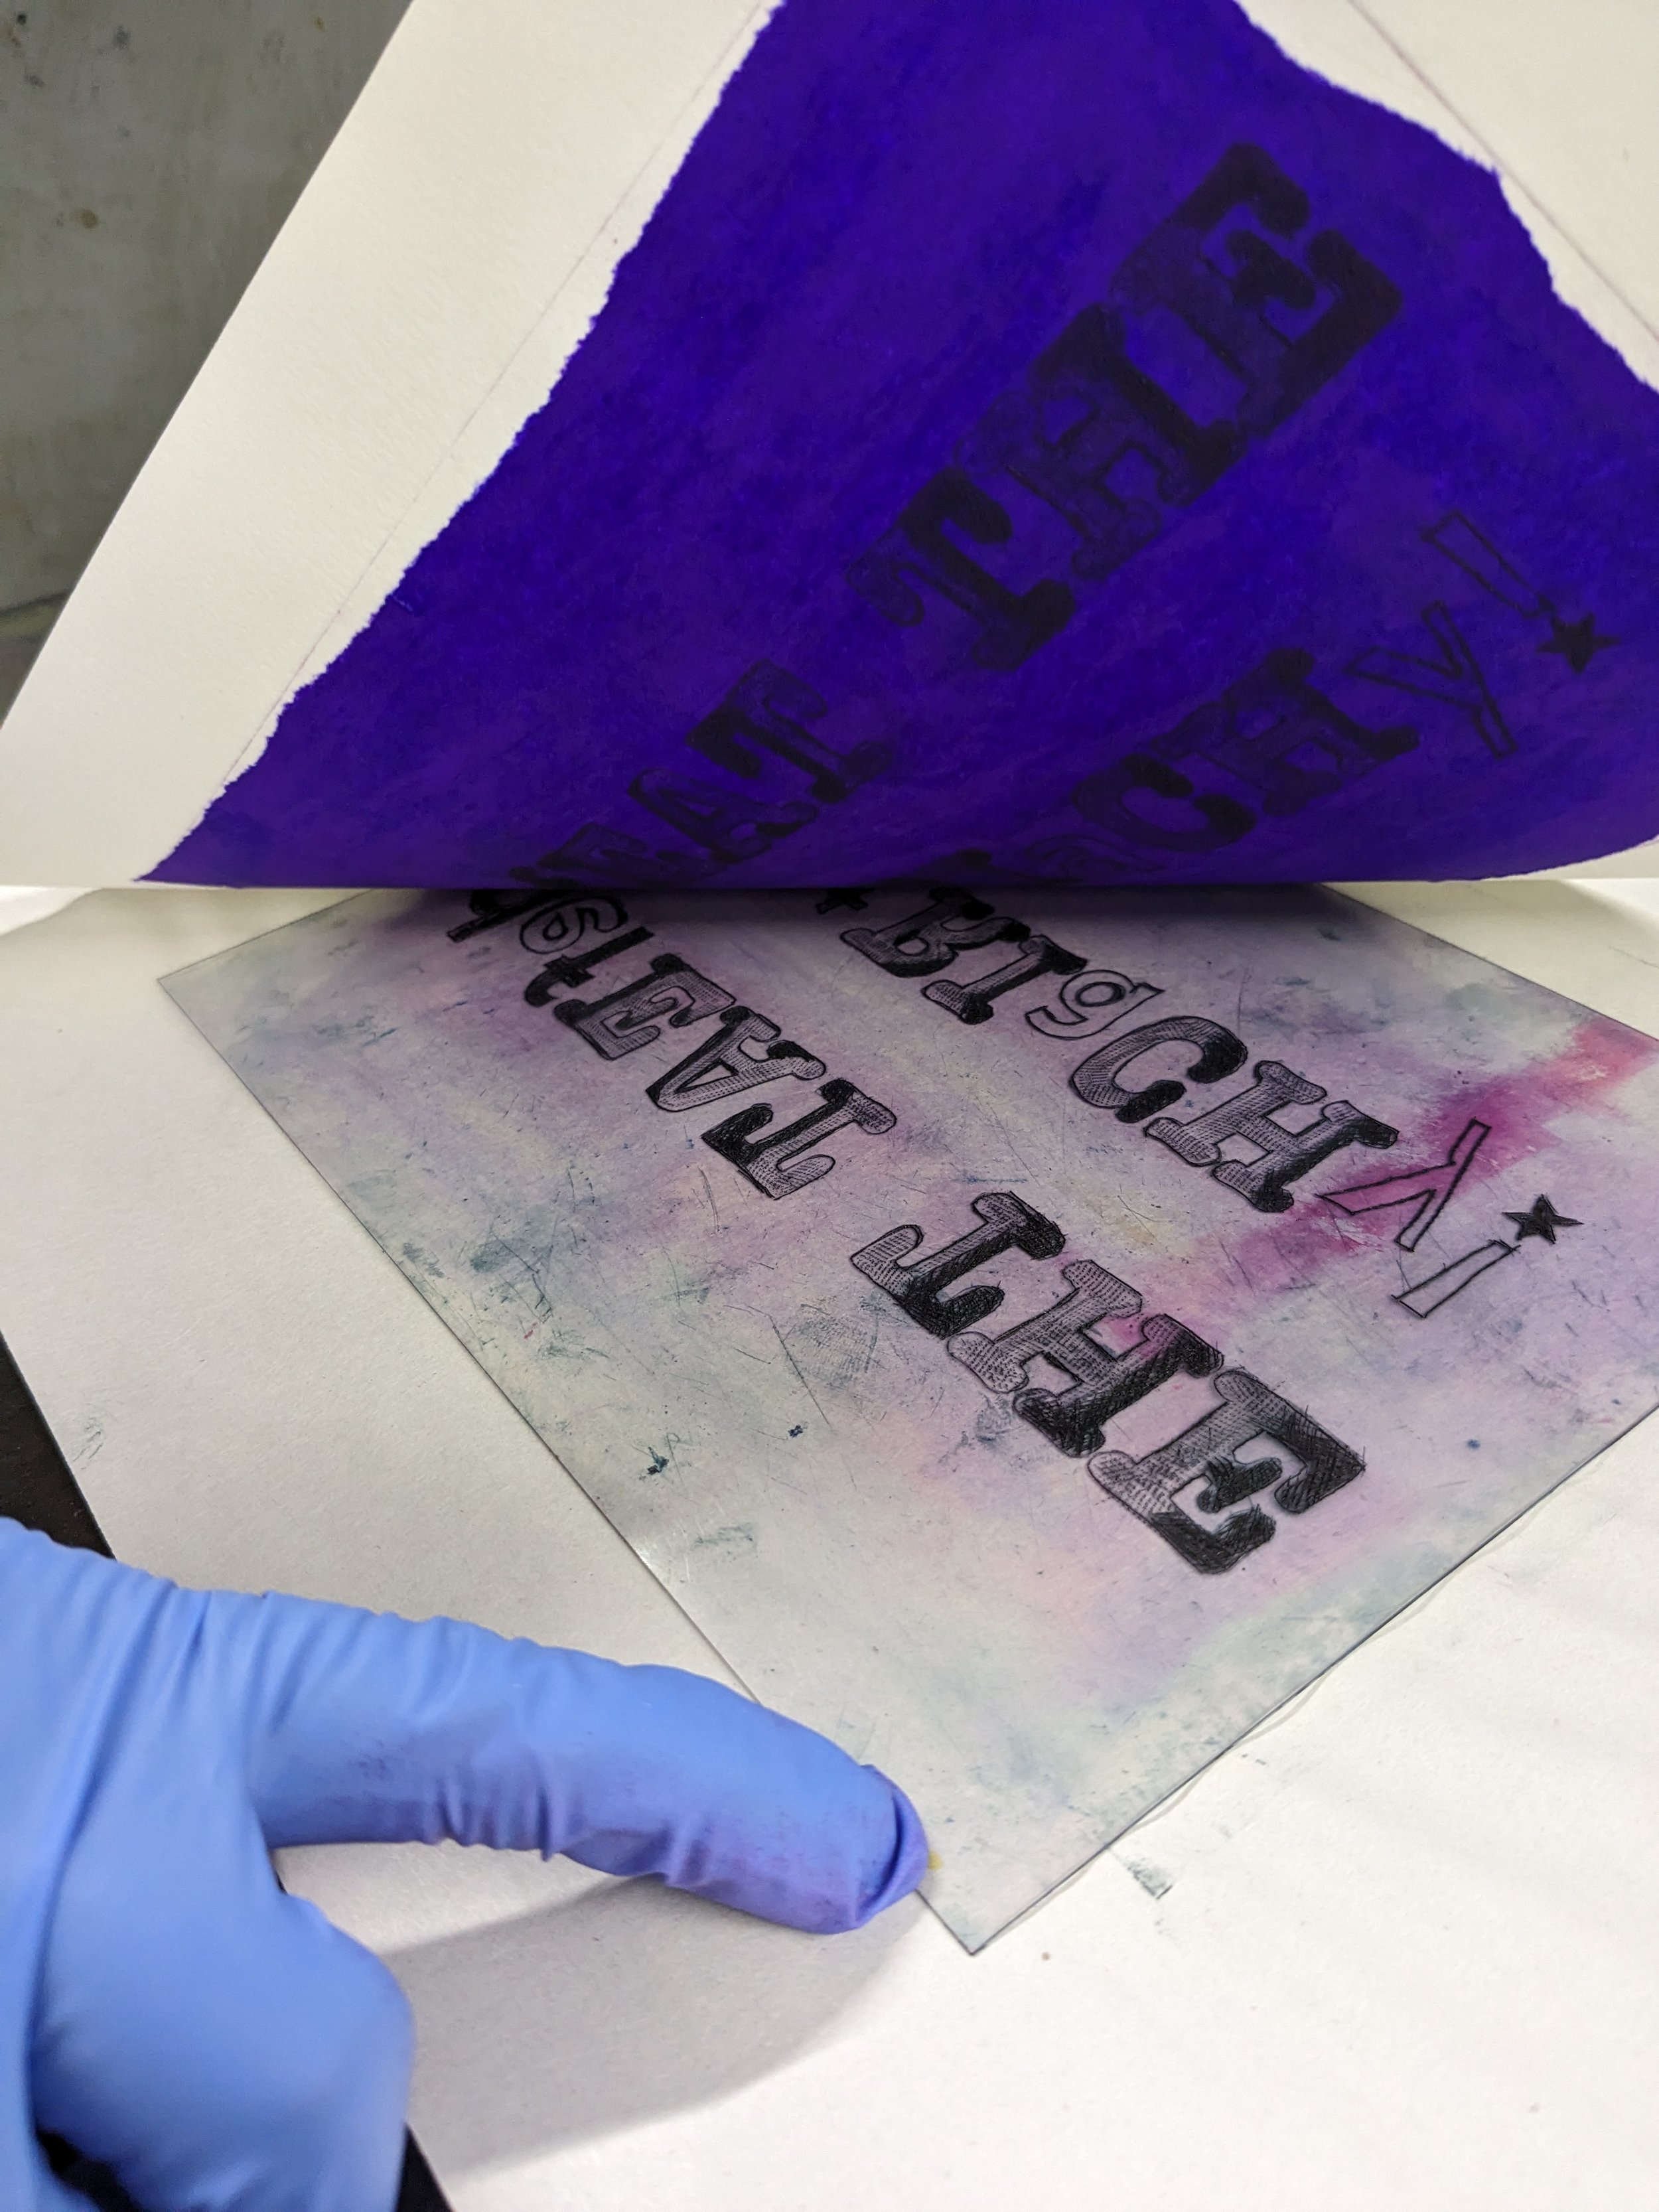
Cover the plate with dampened printmaking paper - use small pieces of folded paper aka ‘printers fingers’ to pick up your paper to avoid getting inky finger marks on it.
cover the paper with a further piece of paper to protect your press
Adjust your press pressure, it should be pretty tight and the resulting print will have a faint plate mark on the back - the indentation of the plate embossed into the paper
Roll the plate and paper through the press, which forces the paper into the grooves where it picks up the printing ink.
Peel the paper off the plate to reveal a mirror-image print with very fine detail visible.
TROUBLESHOOTING -
Although it sounds perverse to say this there are several reasons a print made on an etching press doesn’t come up as expected. Over time you learn from the outcome which is the most likely thing that didn’t go to plan but as you’re learning it can be grouped into -
Too much or too little ink - have you overwiped the plate? - the first print is rarely the best and it may take a few prints to build up a good layer of ink, equally too much ink in the lines change squidge out and make a mess. Could your scratch marks also be too faint to hold enough ink.
Too much or too little pressure - look for the plate mark to check there was adequate pressure but not so much that your paper has cracked or split
Paper is too damp or too dry - if the paper is too damp it can repel ink, if it’s too dry it may be too inflexible to lift the ink from the fine lines.
There are other factors that go into getting a good result the majority of the time but that comes with practice.
5. Post-Printing Care
Because damp paper will wrinkle as it dries, it is best to flatten your finished prints under boards or weights (such as heavy books) to minimize this. If you haven’t done this and the prints have developed a wave you can lightly iron them between clean paper or even spray them lightly with water and reflatten or iron.
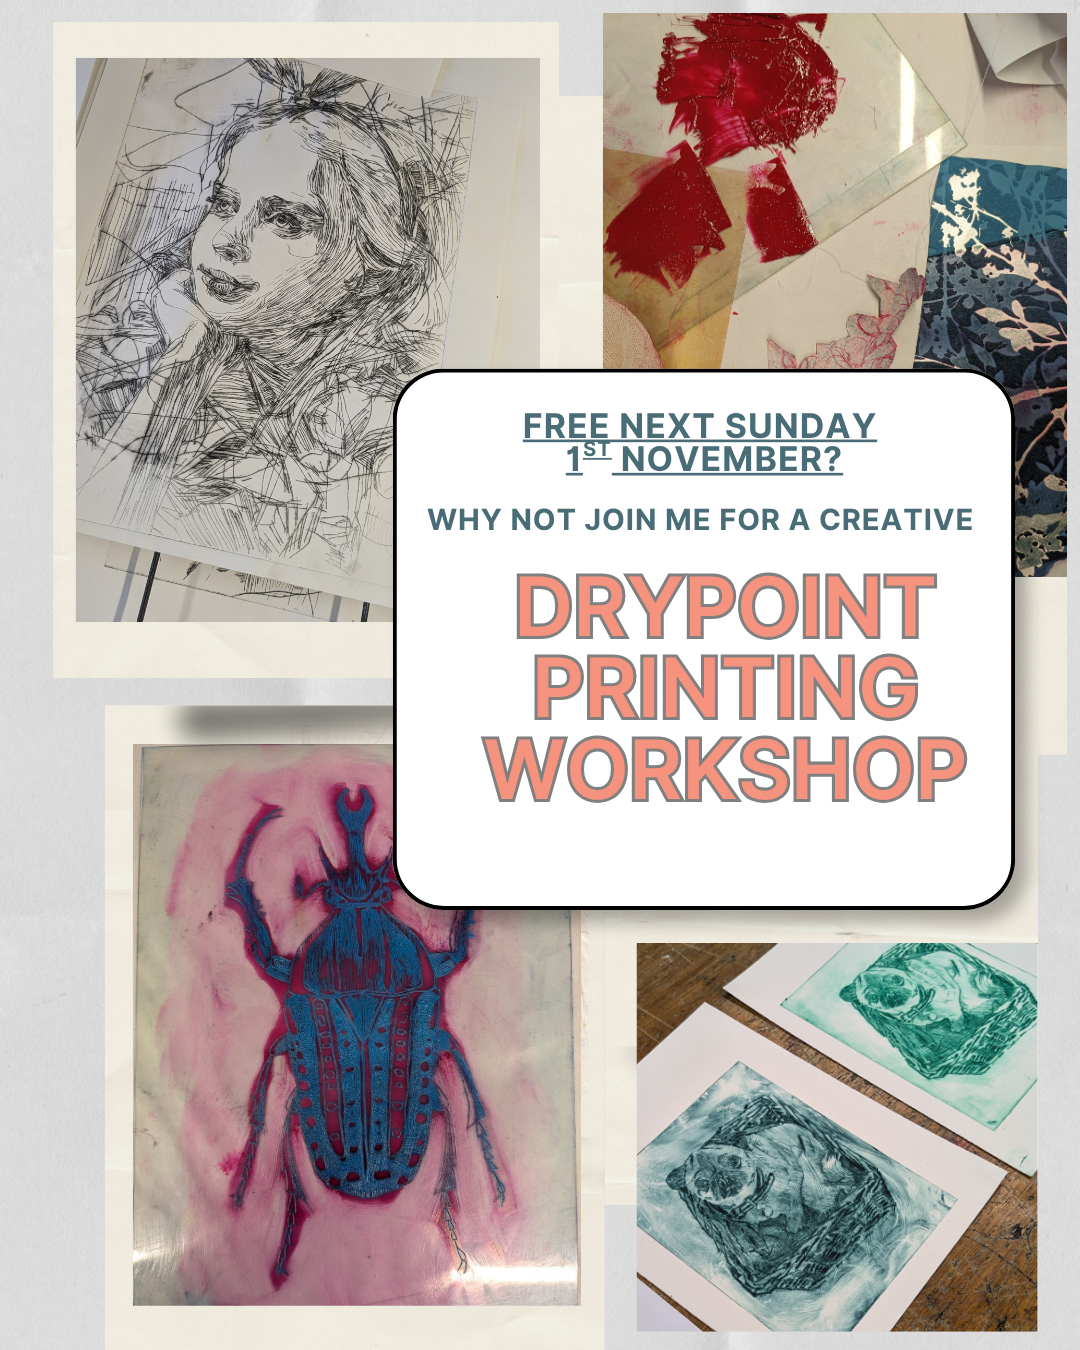
Drypoint printmaking course 10-4pm at Sir Harold Hillier Gardens on Sunday 1st November 2026