
BEGINNERS GUIDE TO LINO PRINTING


I make a lino printing kit which comes with a youtube lino printing tutorial for beginners. If you’d like to take a look, click the button above or link here
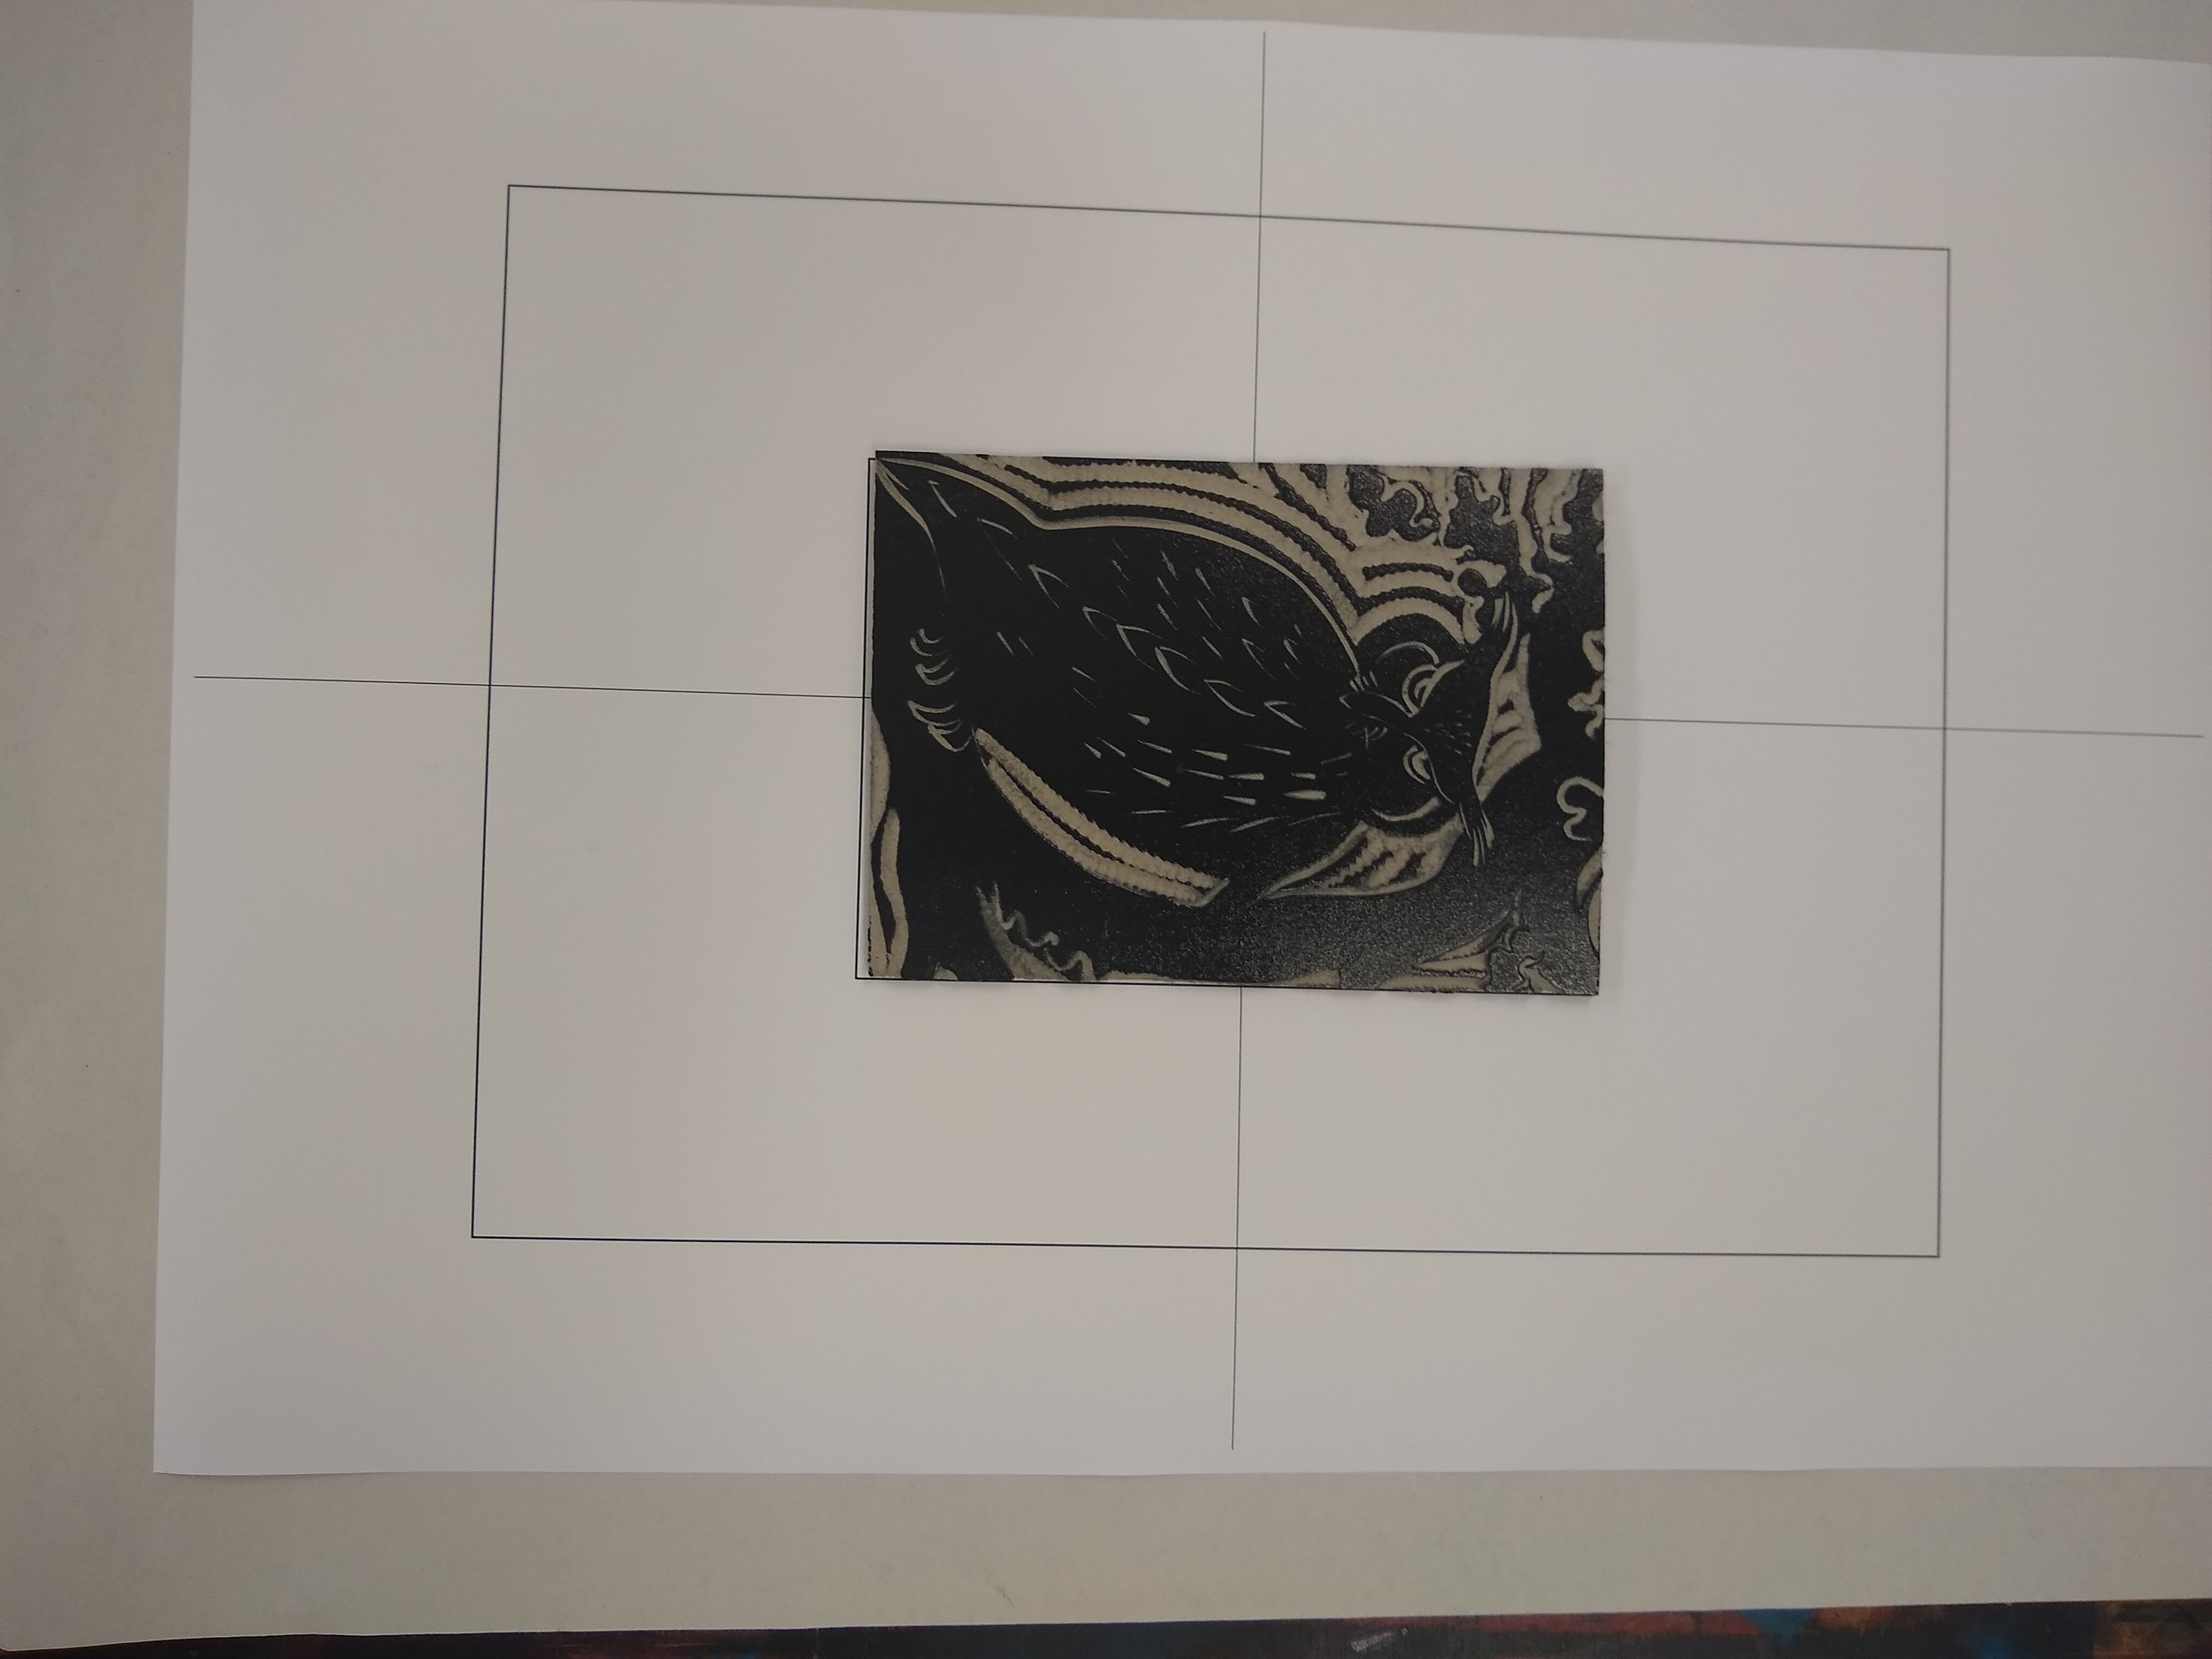
PLAN your design on paper first. Simple, bold shapes work best when starting out. Sketch a few ideas first or look in books or online for examples of simple lino designs to inspire you.You can trace designs from photographs, illustrations etc or work from imagination. This block was created by Artist Charles Shearer as a demo for a lino workshop at Solent University Printroom.
Remember your lino print will be a mirror image of your drawn design (particularly important if includ ing text). You can reverse your design when transferring it to the block to account for this. Remember any areas you cut away will print as white (or your background paper colour), and areas left on the surface will print in your ink colour.
2. TRANSFER your design to the printing block. There are many ways to do this.
You can use carbon/transfer paper by placing it between your drawing and the block, shiny side facing down. Then press firmly with a pencil or pen and go over your design. If you need to reverse your drawing you can copy your design onto the tracing paper with a soft pencil. Then placing the tracing paper face down on the block and rub bing over the lines from the back to transfer the pencil marks to the block. The resulting lines will be faint so it can be a good idea to go over them in permanent pen (e.g. sharpie) and to shade in the areas you need to cut out as a guide.
SAFETY: Remember to use the non slip mat under the lino and keep your fingers behind the blade at all times.The light grey lino can be easier to cut if warmed gently first e.g. with a hairdryer. Cut into the surface deep enough to remove the lino but not so deep you go down to the backing.
3. CUT: Before cutting your design it's a good idea to practice on a test piece first, making a whole range of different marks with the different cutters. Keep your fingers behind the blade, cut with a scooping motion cutting into the surface at a shallow angle then gently coming back out once you’ve cut a line, You don’t have to cut deeply into the surface. It can also be a good idea to cut around main shapes to give a cleaner edge. Remember to change the blade depending on the size of the mark you’re cutting, small v cutters for the smallest lines, larger u gouges for larger areas. Any raised or ridged areas will pick up ink when printing. In areas you wanted clear is called chatter, it is part of the charm of lino cutting. However if you want a completely clear area you will need to flatten the ridges by cutting away with the widest cutter so they don’t pick up ink. When you have finished your design clear away any loose bits of lino/vinyl to leave the block clean for printing. You can also cut the block to an irregular shape, be careful as the grey lino will require a strong craft knife, whereas the softcut can be cut with both a knife and sharp scissors.
*You can make a quick printing guide by taking an A4 piece of paper and placing one of the pieces of A5 printing paper in the middle and drawing around it in pencil. Next place a clean printing block in the middle of the paper and draw around that. This can be used as a placement guide when printing so that your lino print will be in the middle of the printing paper.
4. PREPARE: Protect your clothes and working area before using ink as it may stain fabrics.
Roll out a small amount of ink (around 3-4 cm to begin with - you can add more as needed) onto a non porous clean, hard surface e.g. thin plastic chopping board, toughened glass, sheet of acetate etc.
Use the roller to spread it into a small square shape a little bigger than the width of the roller. Roll back and forth spreading it evenly so it covers the whole roller. It should make a quiet shhhhing sound rather than a loud ripping or squelching sound. You need a thin even layer or ink to get a good print. If the ink is very sticky use the inked roller to roll out a second square next to it to get a smooth even layer of ink.
5. INK your lino block evenly all over, you can ink in both directions to make sure all of the block is well coated. It can reduce mess if you use pages from a magazine or newspaper to ink up, that way when one page gets messy you can turn over and move your block to a new clean area to ink up again.
There should be a thin even layer of ink that is not too sticky. If the block has too much ink on it can fill in the shallower cuts you have made. When finished place your roller upside down on its stand to keep the roller from touching your working surface. The ink provided is water based which dry out more quickly than oil based alternatives. Therefore you may need to use more ink during your printing session. Don't leave the roller for long periods with dried ink on as this can damage the surface and make it more difficult to clean. Make sure your hands are clean before picking up your printing paper. Move your block to a clean part of your working area ready for printing.
6. PRINT You may choose to begin by making a few test prints on cheap paper to see if you have carved enough and your block is printing correctly. When printing by hand it is best to use thin smooth paper such as five seasons paper (provided), thin cartridge paper or other specialist lino printing papers.
If you made a printing guide place the inked block face up in the middle of the printing guide. Place your block face up and lower your paper gently onto the block, using your hands to gently smooth it so it sticks to the block and won't move around. To hand print you can use the heel of your palm, fingers, a metal or wooden spoon to firmly burnish the back of the paper all over. You can place a piece of greaseproof paper over the back to reduce friction. Make sure you have gone over all areas of the block several times with a firm, even pressure.
7. CHECK & REPRINT To check progress, keep one finger on the corner of the paper and block and gently peel up one corner to check if the ink is transferring. If not carefully place the paper back down and continue rubbing all over, making sure to rub well along the edges. If it is still not printing you may need to re-ink and try again. Check the print for areas which may not have printed or where you could add further detail or marks by cutting into the block once the ink has been wiped off.
Re ink and print again so you have several copies, your first print may not be your best, the first few prints can be patchy. Once you've mastered the basics there are a whole range of different cutting and printing techniques, inks and printing papers to be explored. e.g. most beginners once they know they want to make more lino prints will progress onto caligo inks which are oil based.
8. DRY Hang up or lay prints out of the way to dry. Water based ink dries quite quickly - it should be touch dry within around 30 minutes but can take longer depending on how thickly the ink is applied.
9: CLEAN UP The rollers and vinyl blocks can be safely washed with water and a small amount of washing up liquid. The light grey lino should not be immersed or soaked in water as this can cause it to curl once dry and make it difficult to print from again. It is better to use a damp cloth to wipe ink from the surface and if necessary leave it under something heavy to flatten out.
There are lots of great books on lino cutting as well as excellent online resources offering inspiration, techniques and guidance.
HAPPY PRINTING!